How I use Frequency Separation for Skin

I love using frequency separation for skin because you can take care of shadows or inconsistent skin tones without over smoothing or over processing. No one wants plastic skin!! This technique separates the color from the texture, allowing you to adjust the tones, and imperfections.  For my example I am using a picture of my nephew.  And while his sweet little baby skin is PERFECT, he does have a little stork bite right in the middle of his forehead, and some tiny tiny bumps.  Using frequency separation is the perfect tool for taking care of this.

Here is my image before:

cute baby before editing image, Callihan photography

And here is the final image:

final image, Columbus, Indiana Family and child photographer, Callihan photography

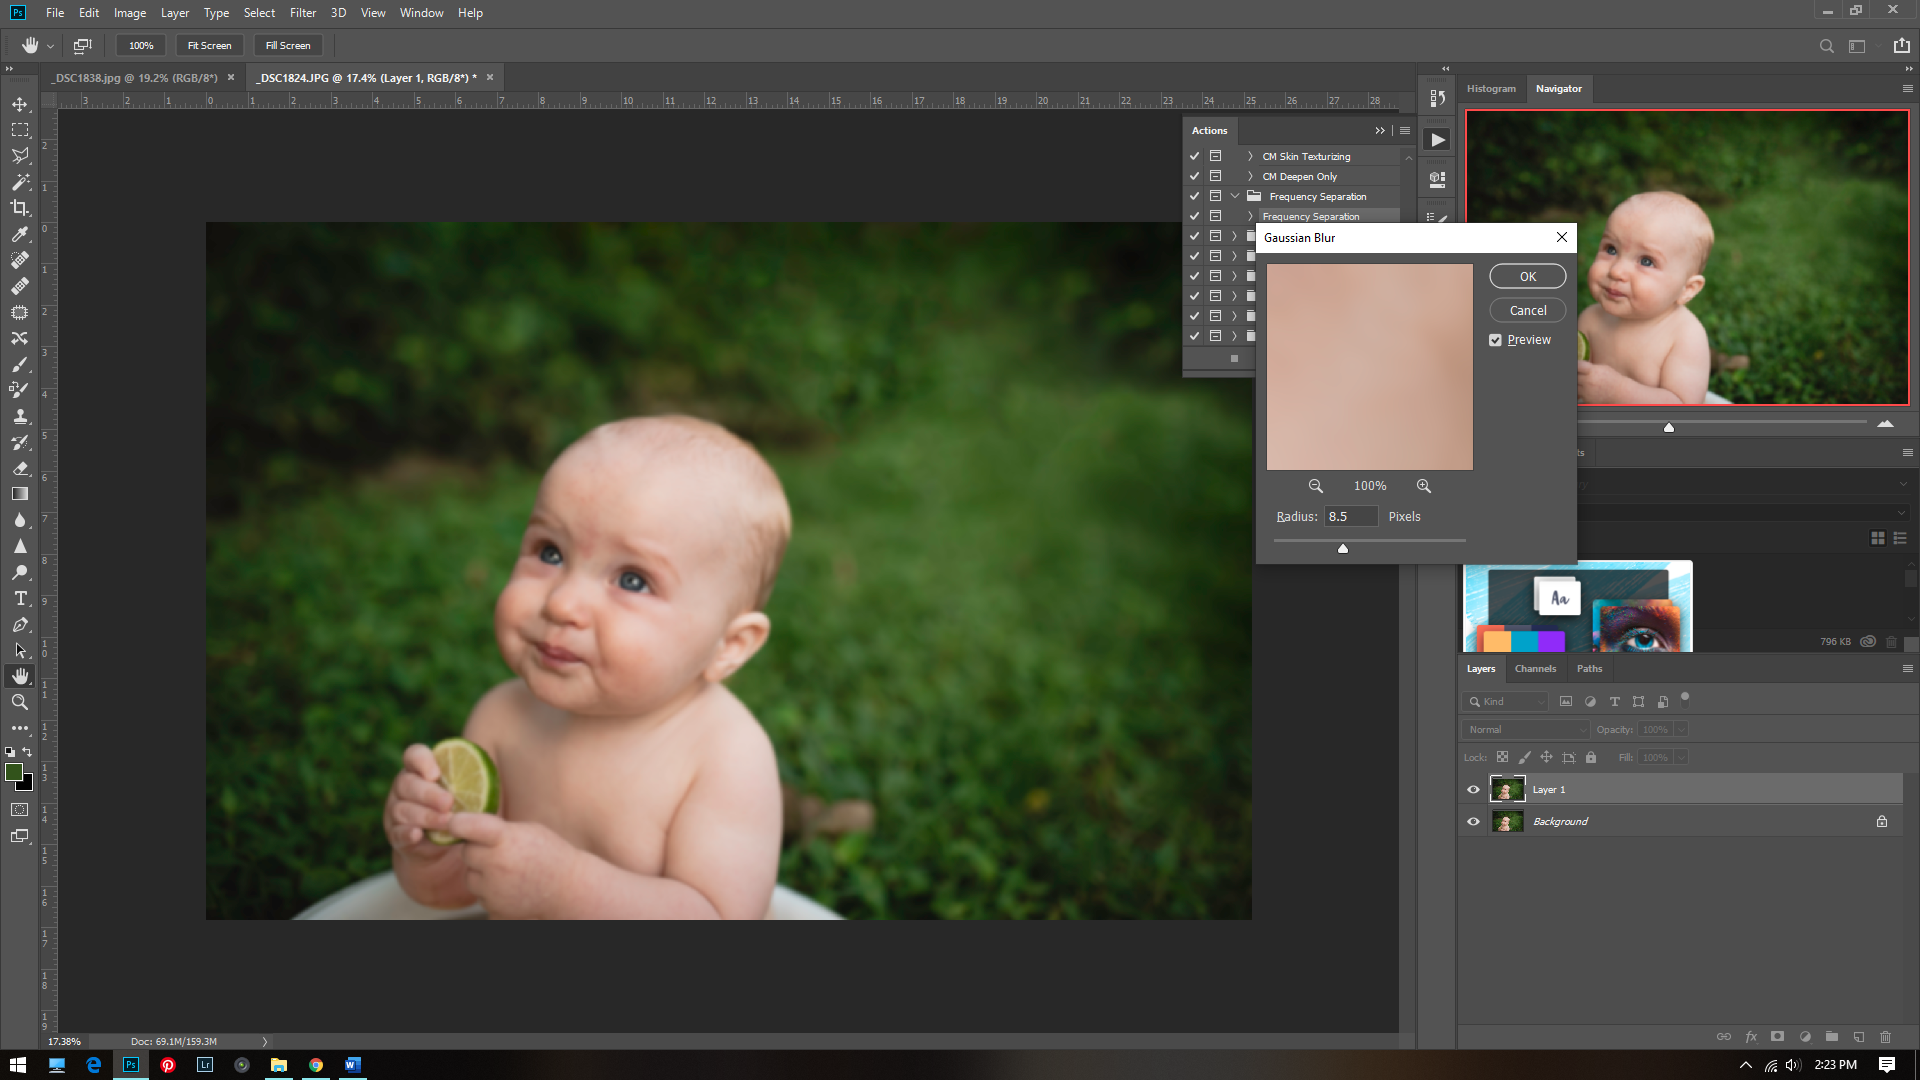
After making my normal adjustments I start by making 2 virtual copies of my image using ctrl+j. I rename one layer high and one layer low.  Put them in a group folder. I then use a Gaussian blur over the lower layer and set the radius around 8. This may vary.  

Columbus, Indiana family and child photographer, Callihan Photography Photoshop example

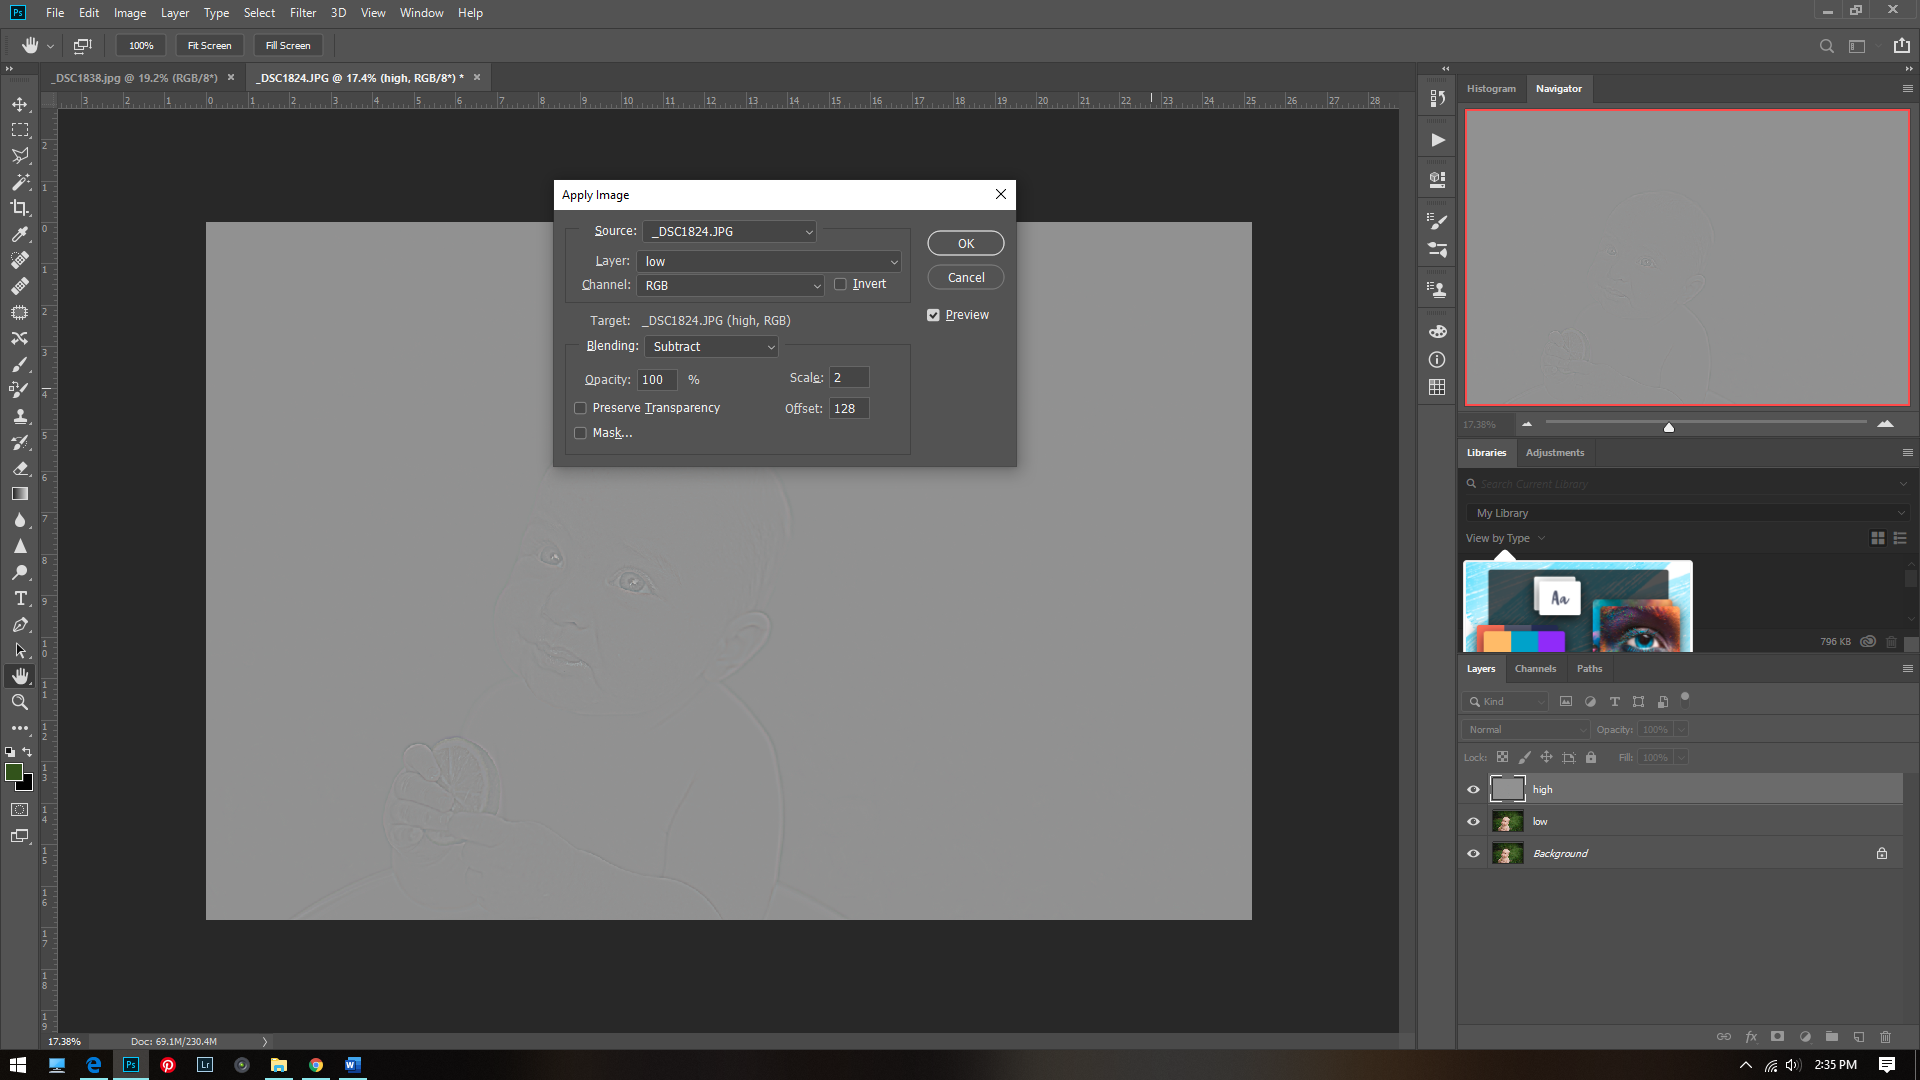
For my top layer I use  Image>apply Image. Then set the layer to Low, and the channel to RGB. Set the blending to Subtract, and the scale to 2, and the offset to 128. Set this layer to linear light.

Photoshop example for frequency separation, Columbus, Indiana Photographer, Callihan photography

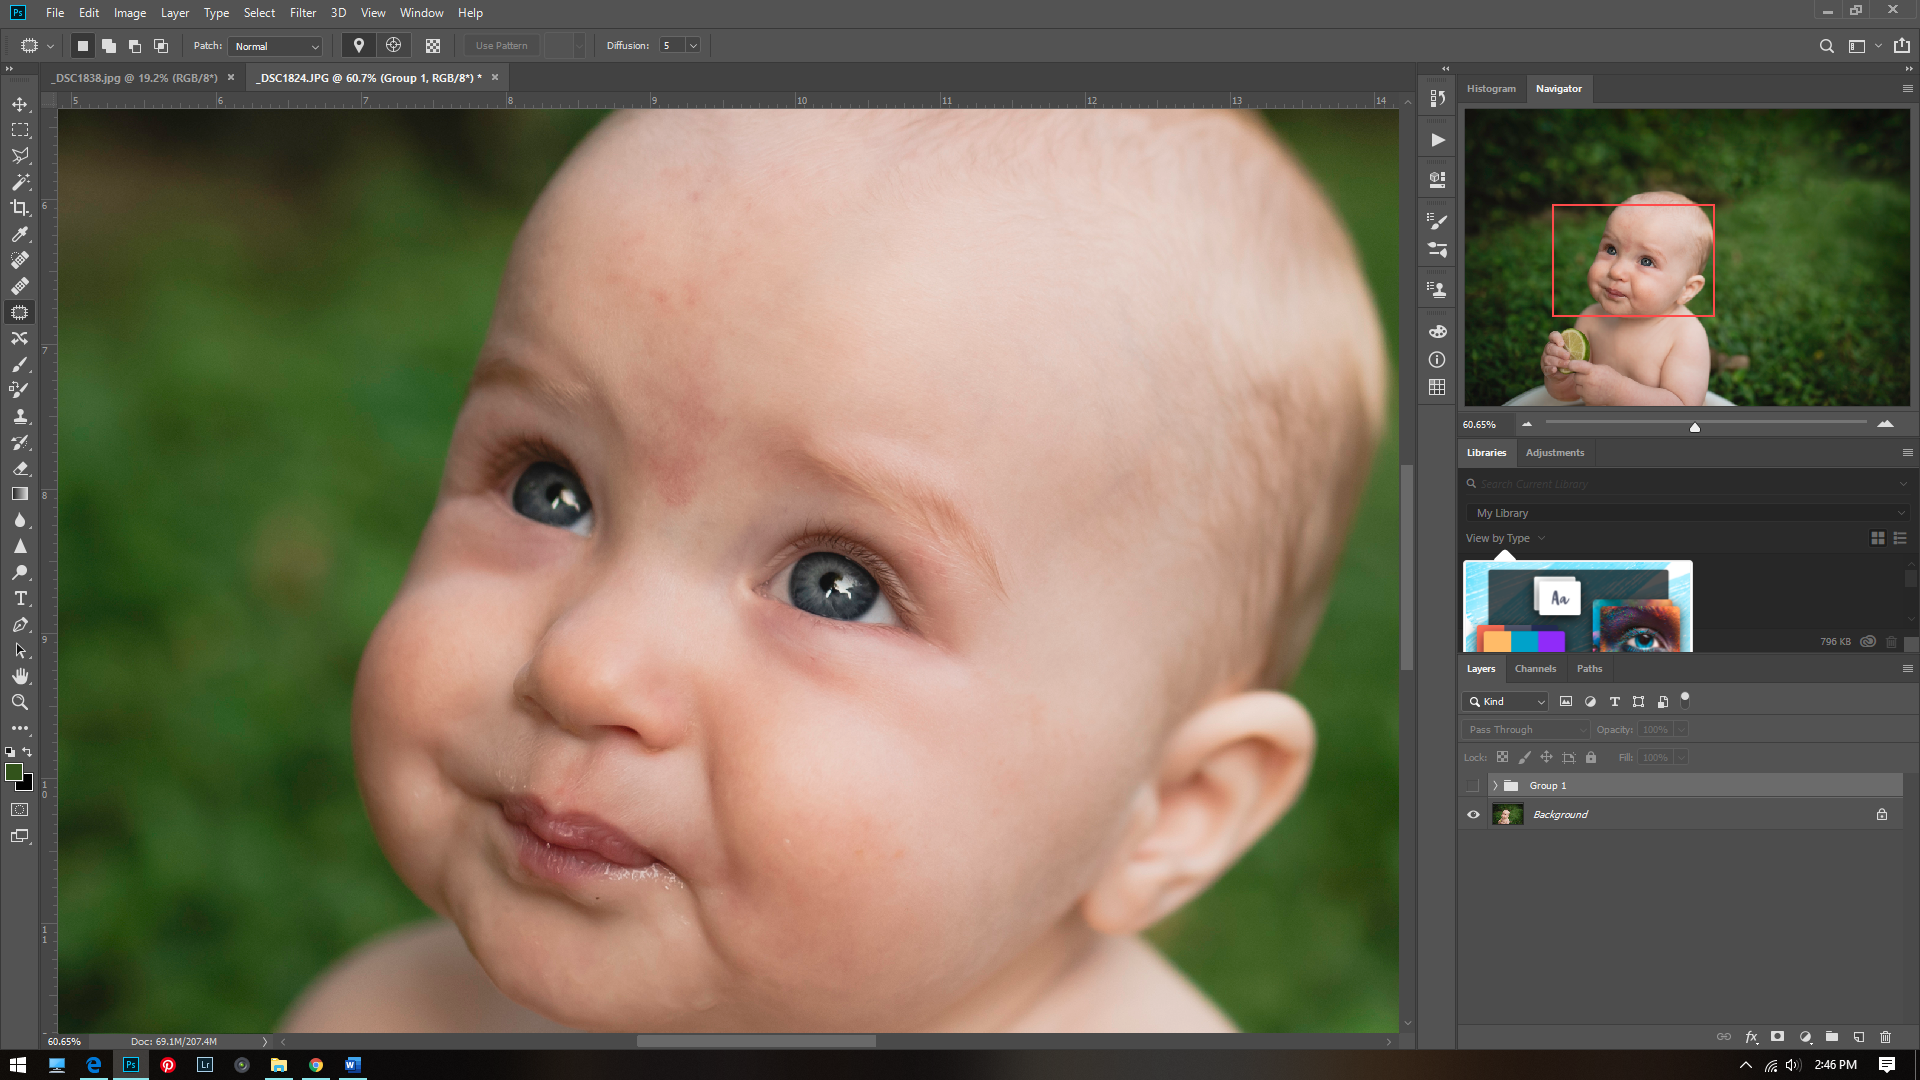
For the next part I like to turn off the high layer and look for red patches or inconsistent colors.  I then use the patch tool (the shortcut is j).  I then go around all the places I see inconsistencies and correct them with the patch tool.

fixing inconsistent skin tones with frequency separation

I then turn the high layer back on and use the patch tool on it to correct any tiny bumps, or rough skin.

And there you have it! Here is the before:

before image screen shot, Columbus, Indiana photographer, photoshop example

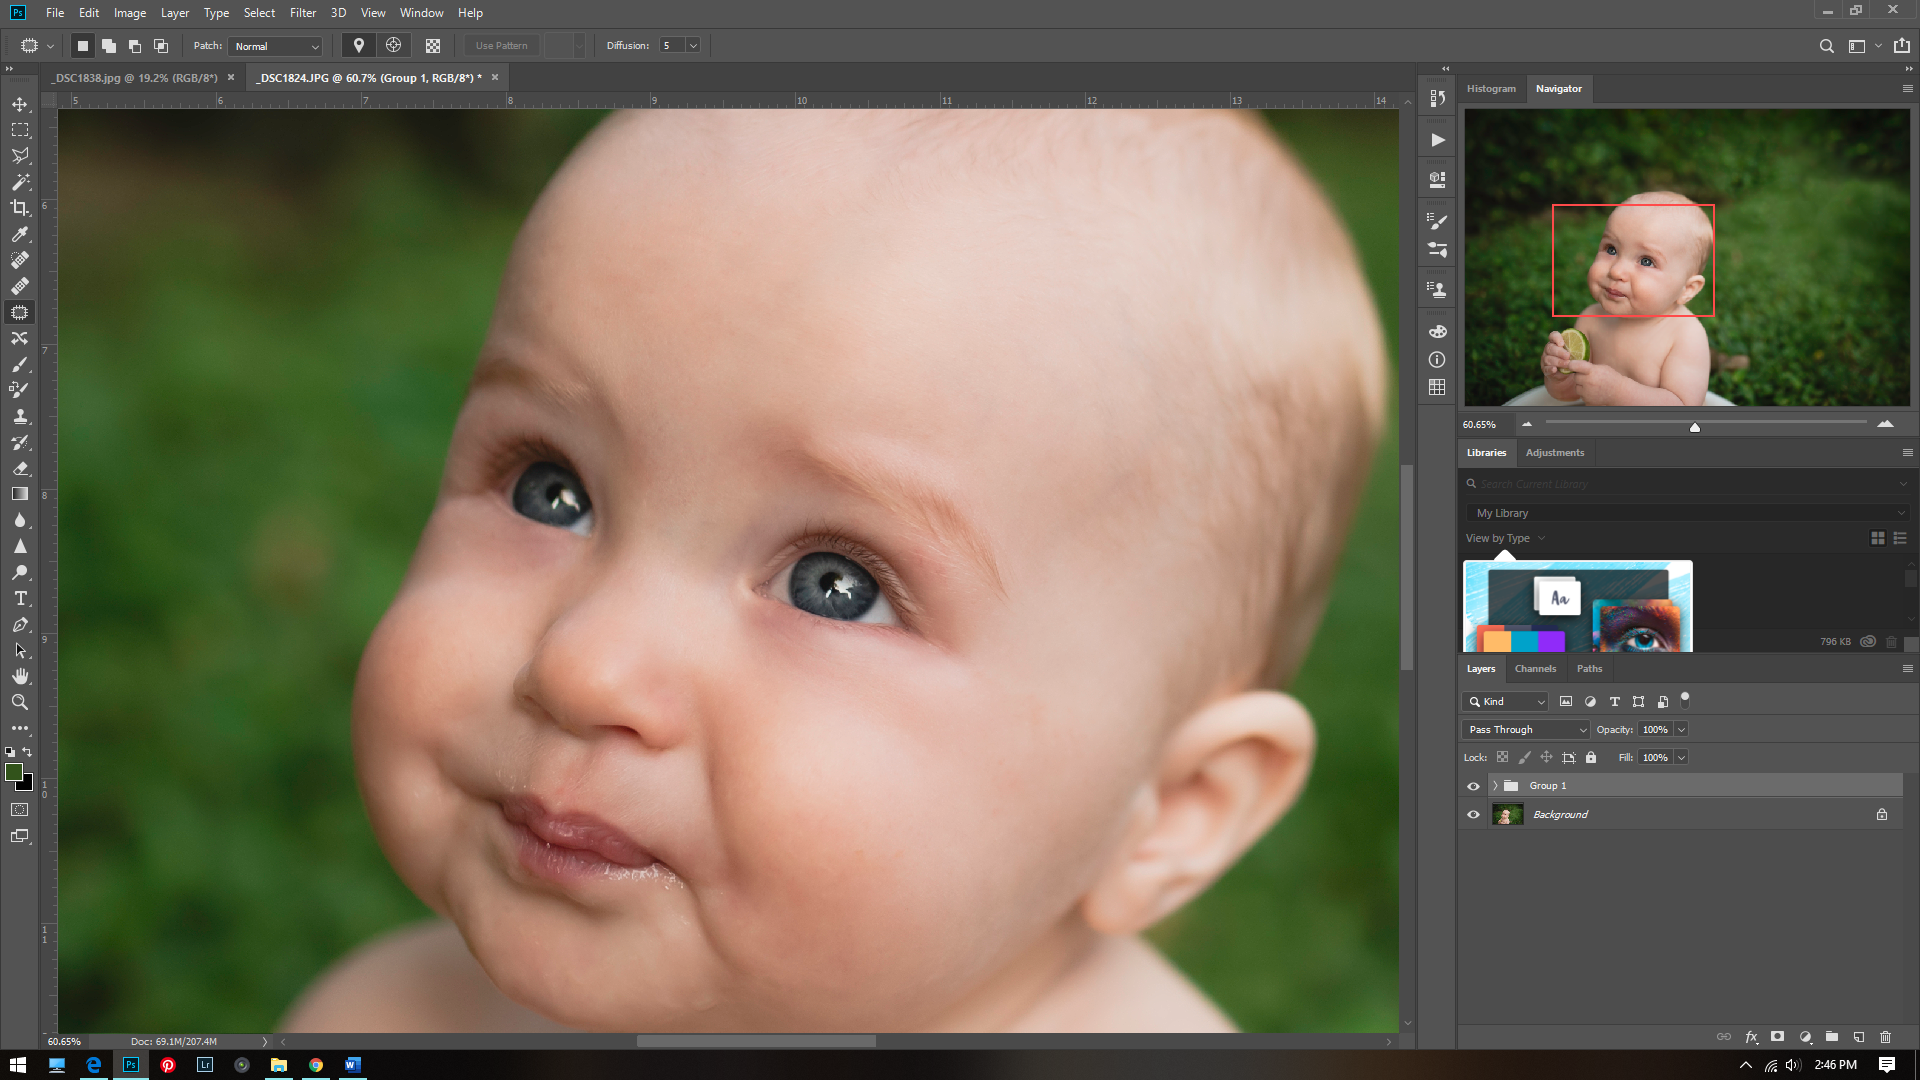
And the after:

correcting skin tones example in adobe photoshop, Columbus, Indiana Photographer

It is subtle adjustments like this that can make a big difference.  Frequency separation works well for acne, undereye circles, birthmarks, weird shadows, basically all skin issues!! Phlearn has an excellent Photoshop action for frequency separation you can purchase here.

Here’s just a few more from this adorable session.

 Thanks for reading!!

How to Add Fireflies to A Photo

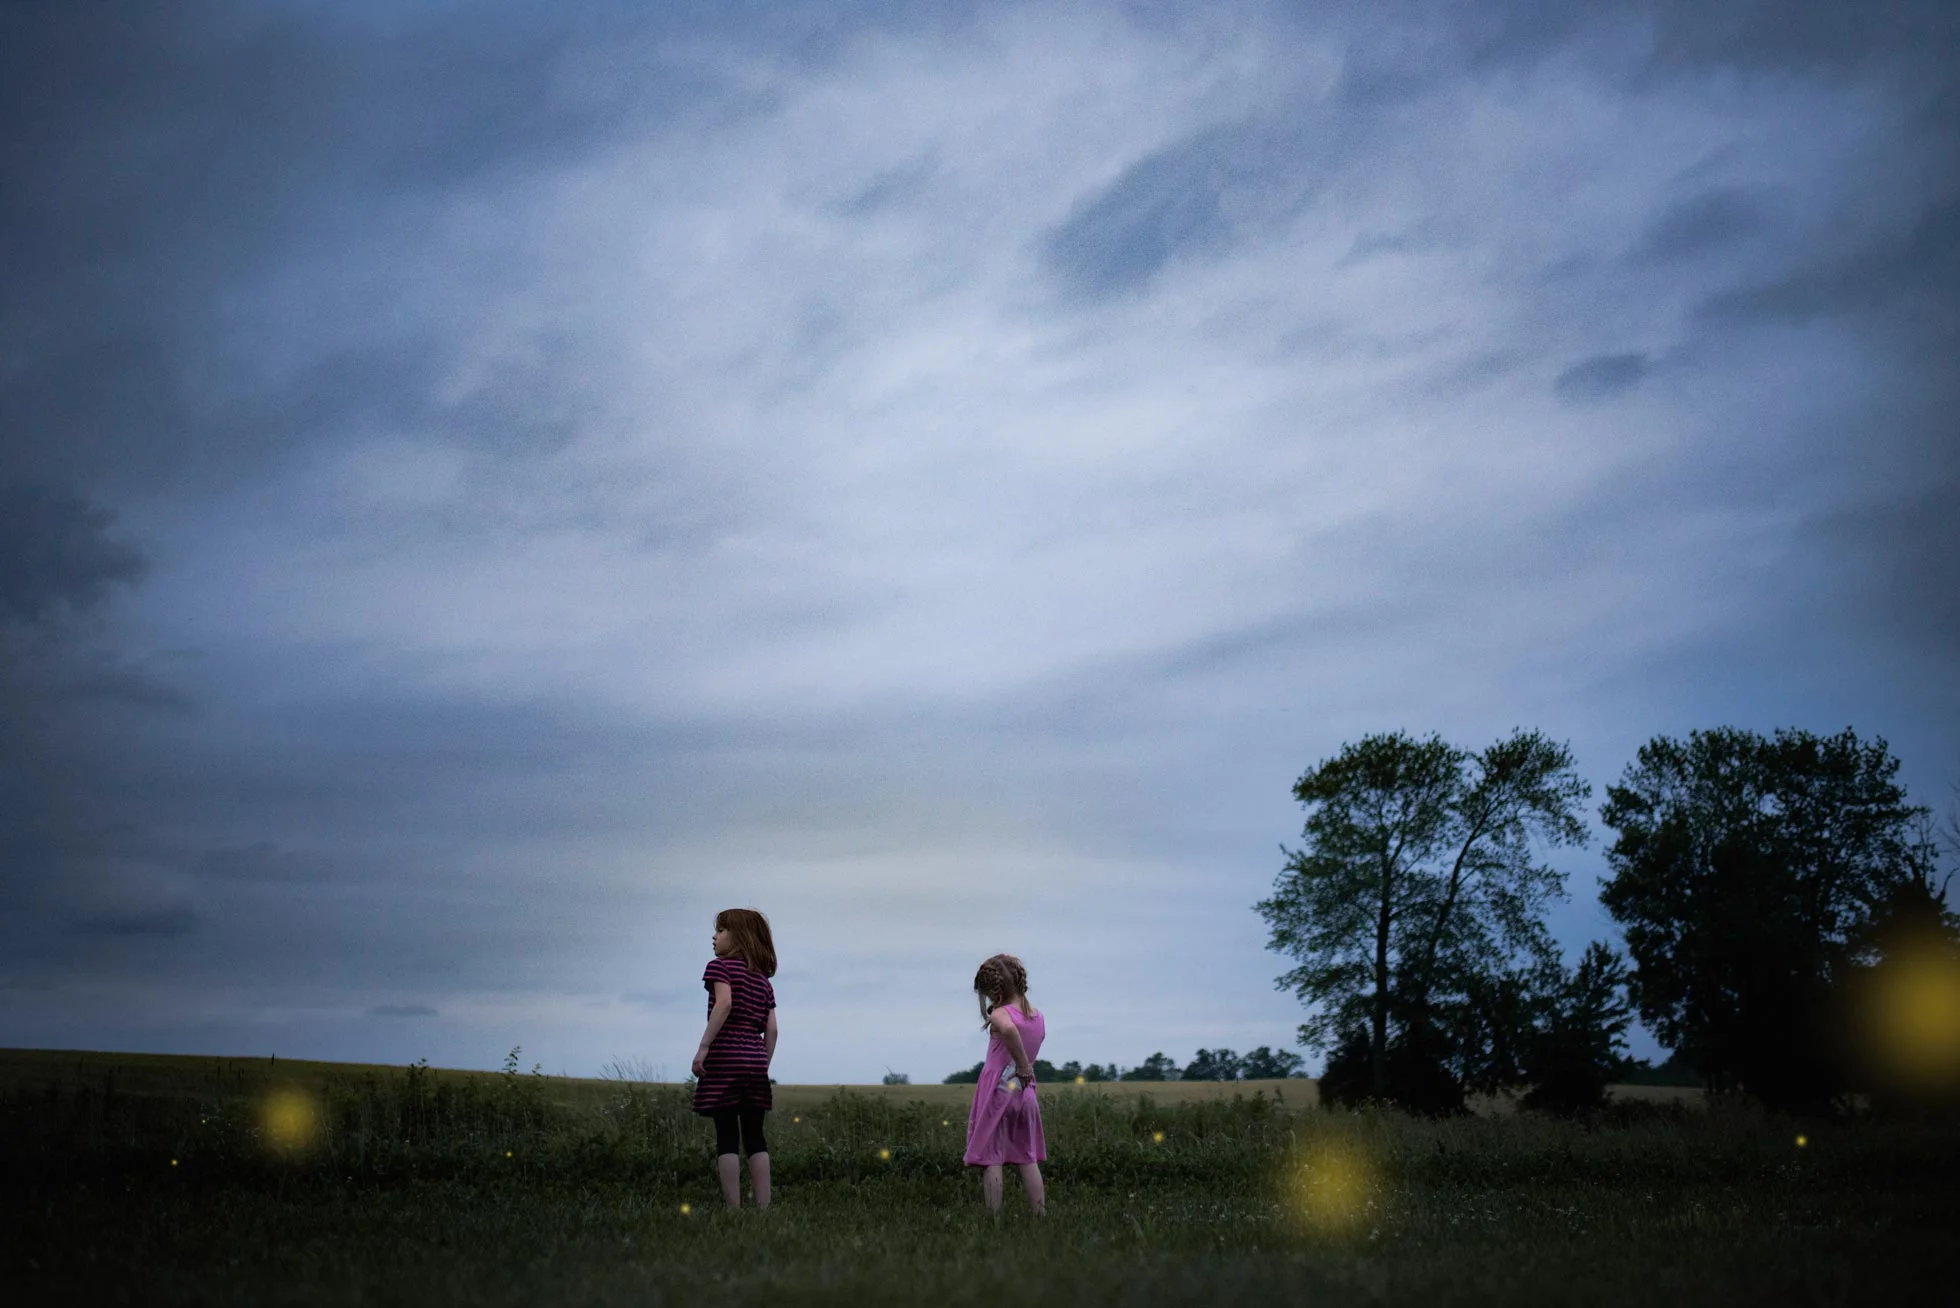
Fireflies, lightning bugs, bioluminescent creatures of the night, (whatever you call them): they are fascinating creatures to catch and watch. Not to mention it is a staple of childhood! I remember staying up late and catching them as a child, and I love to watch my kids as they chase them all over the yard.  We used a pickle jar, and punched holes in the top of the lid.  It is easiest to catch them when they land on the ground!  They are hard to see, which is also part of the fun of catching them.  If you live in the Midwest, this is a MUST!  

Firefly catching, Columbus, Indiana, child photographer

However, in pictures they just don’t show up so well.  Not to mention it is not that easy to snap a shot when they are all lighting up.  In order to make that picture as magical as it is for your child you will need an overlay! That is how I have created these pictures. I used an overlay in photoshop and set the layer to SCREEN.

Columbus, IN photographer tutorial example

Then I hit ctrl/j to duplicate the layer as much as I want.  I use the shortcut ctrl/t to transform and adjust the size. Then I place them in varying areas and sizes to add depth and atmosphere. The closer they are to your camera the bigger and blurrier you will need to make them.  I have created my own shortcut in photoshop to add a Gaussian blur.  But you can get there by going to filter>blur> Gaussian blur, and then blur to your taste.  I also lowered the opacity on some to make them blend better.

Columbus, IN photographer, example for Gaussian Blur

Remember the rule of odds if you place them close together or in the jar. To read more about the rule of odds, go here. This adds visual interest and helps to move your eyes throughout the picture. 

Fireflies in the pickle jar, Columbus, Indiana, Midwest picture ideas

I have made this overlay available for download for free! I added some noise to the overlay, because chances are if you are out catching lightning bugs it is going to be very low light. I had to increase my ISO to a very high number in order to capture anything and keep my shutter speed reasonable. Make sure to set the overlay to SCREEN. I hope you enjoy it! Please let me know if you do! Please share your pictures with me!  I would love to see what everyone comes up with!


Download the Firefly overlay here.

Lightning bugs, Columbus, Indiana Family Photographer

Thanks for reading!


Your Vacation Guide to the Smokey Mountains

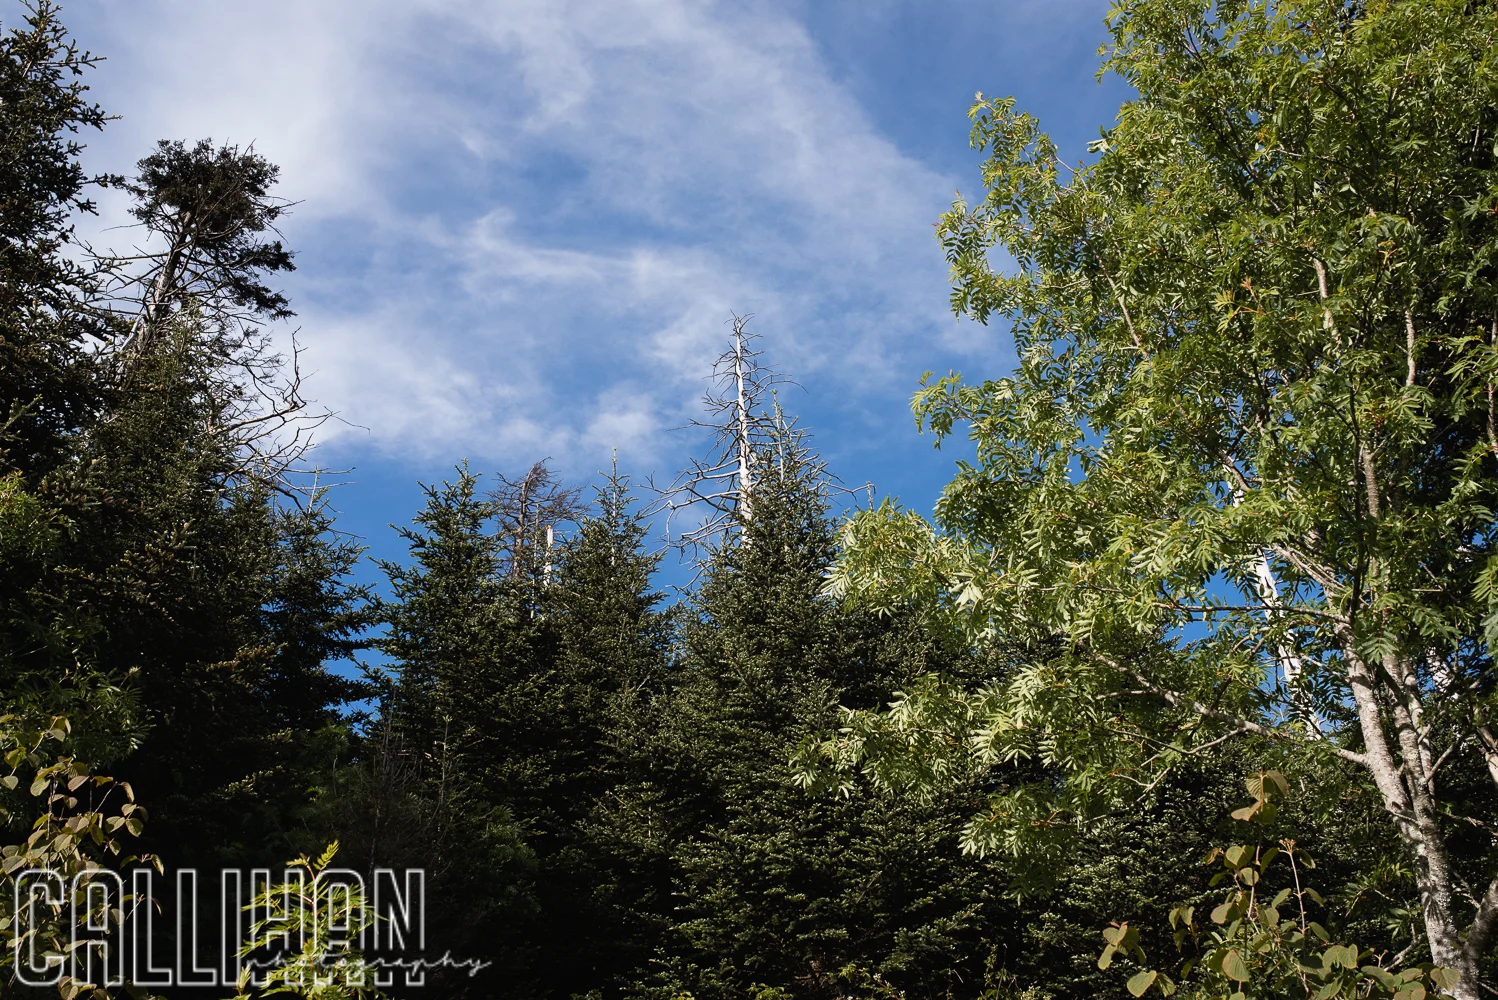
If you have not been to Gatlinburg, Tennessee you need to go!  The smokey mountains are beautiful and there is so much to do! My husband and I took a short getaway recently without the kids, but there are plenty of family friendly things to do.  The cabins are always reasonably priced, and they are located with beautiful views and minutes away from downtown things to do. The drive through the park alone is worth it! There are tons of places to pull off and admire the view.  

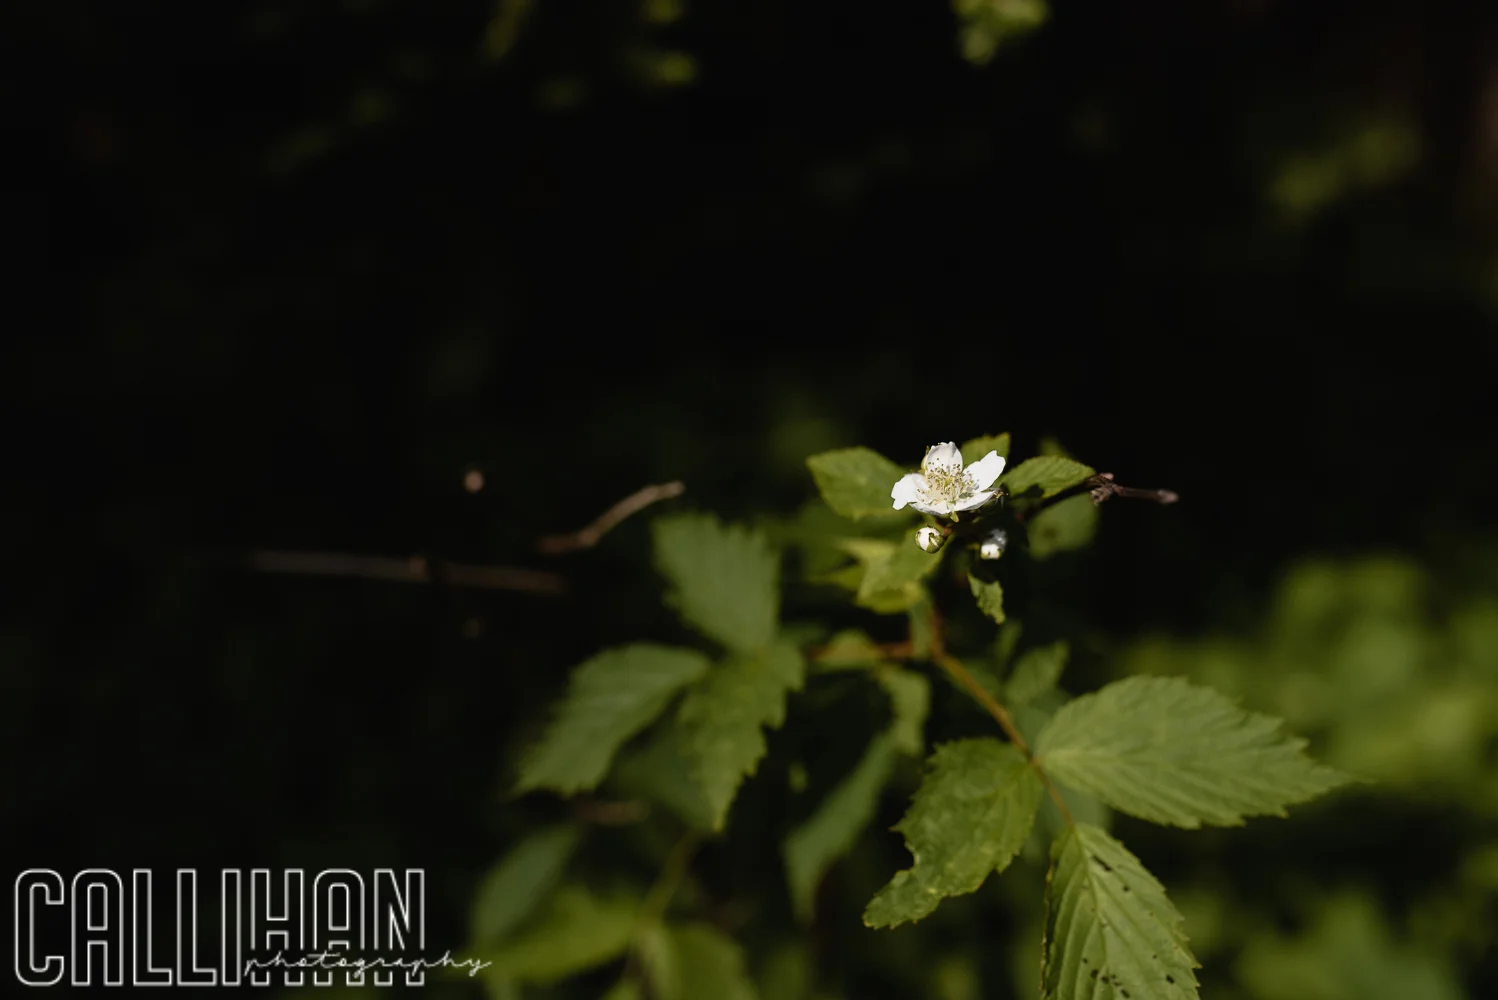
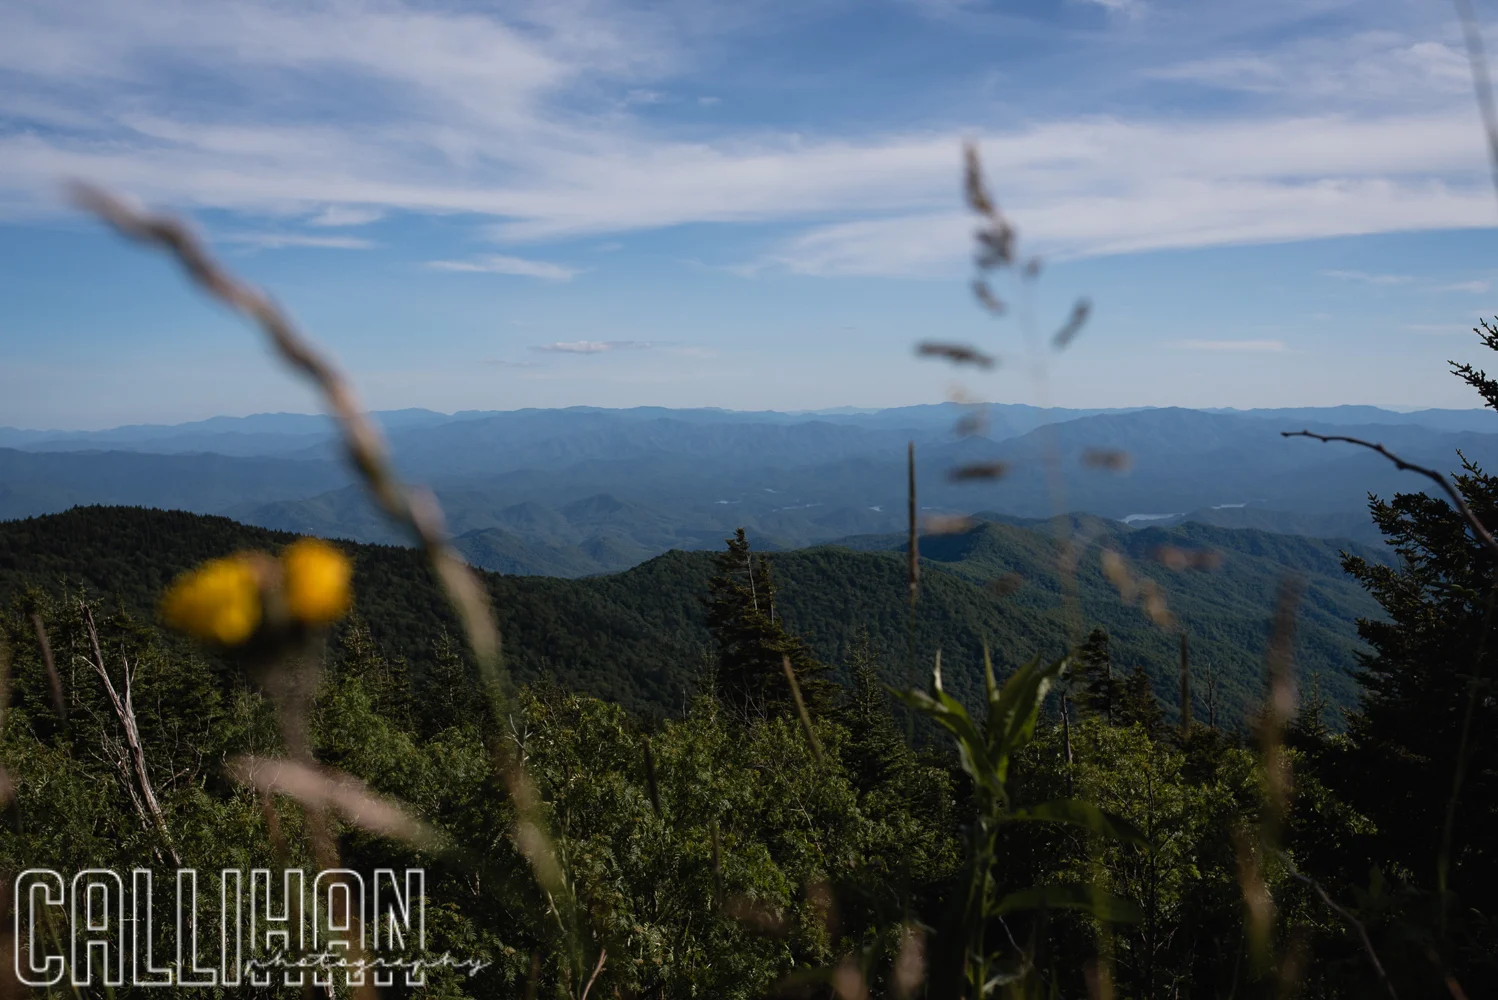
Gatlinburg, Tennessee, Travel Photography, Landscape photography,

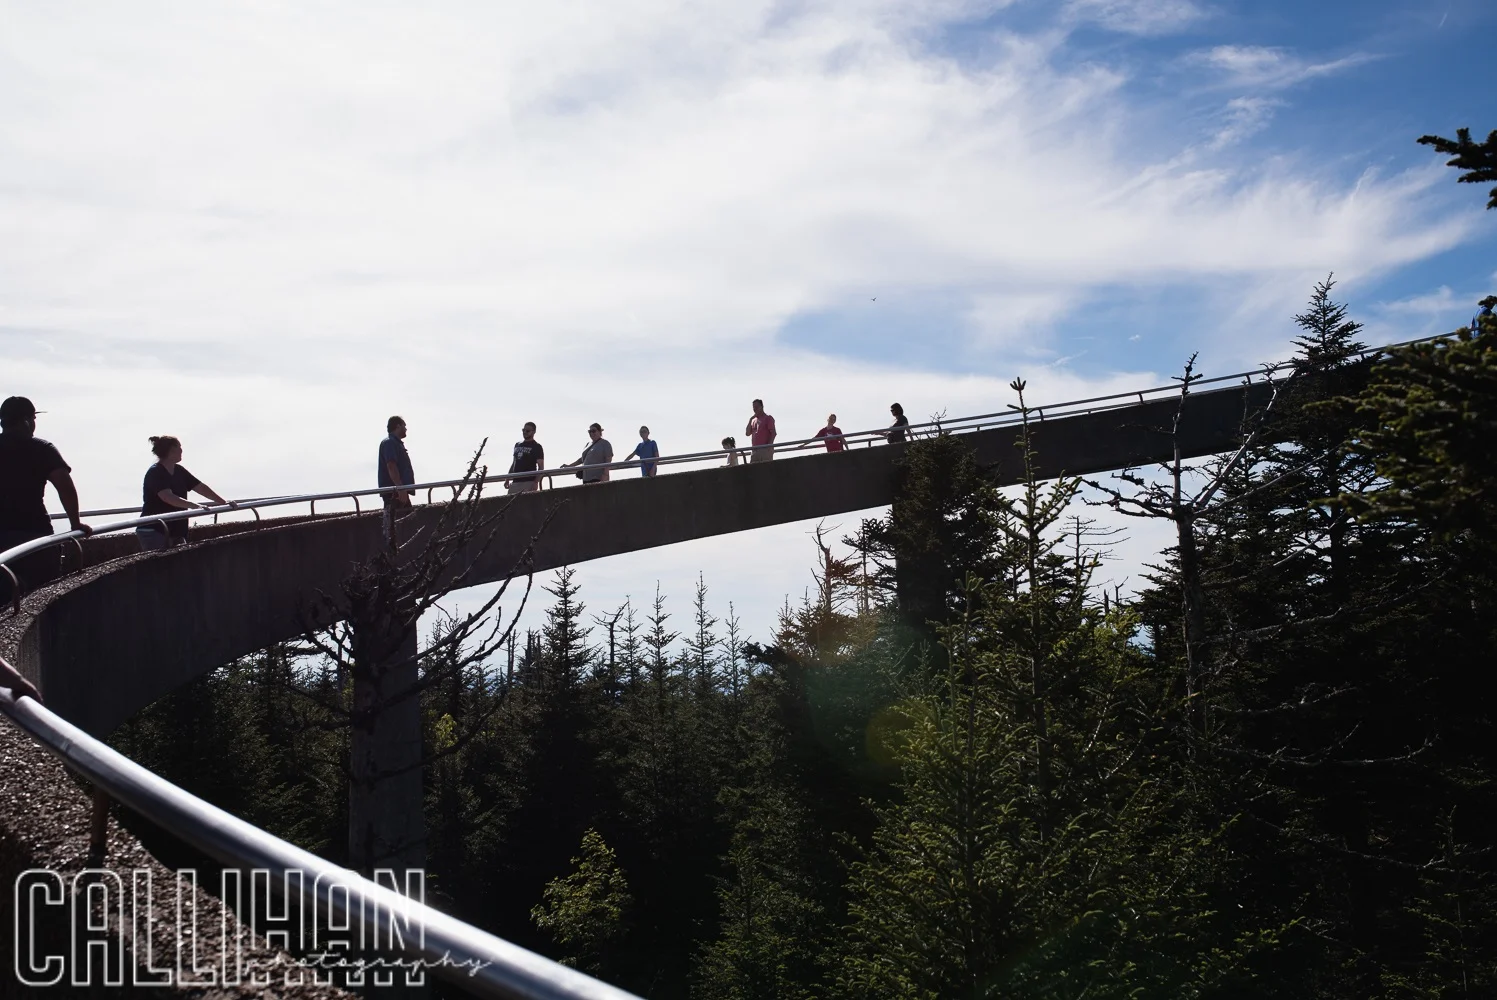
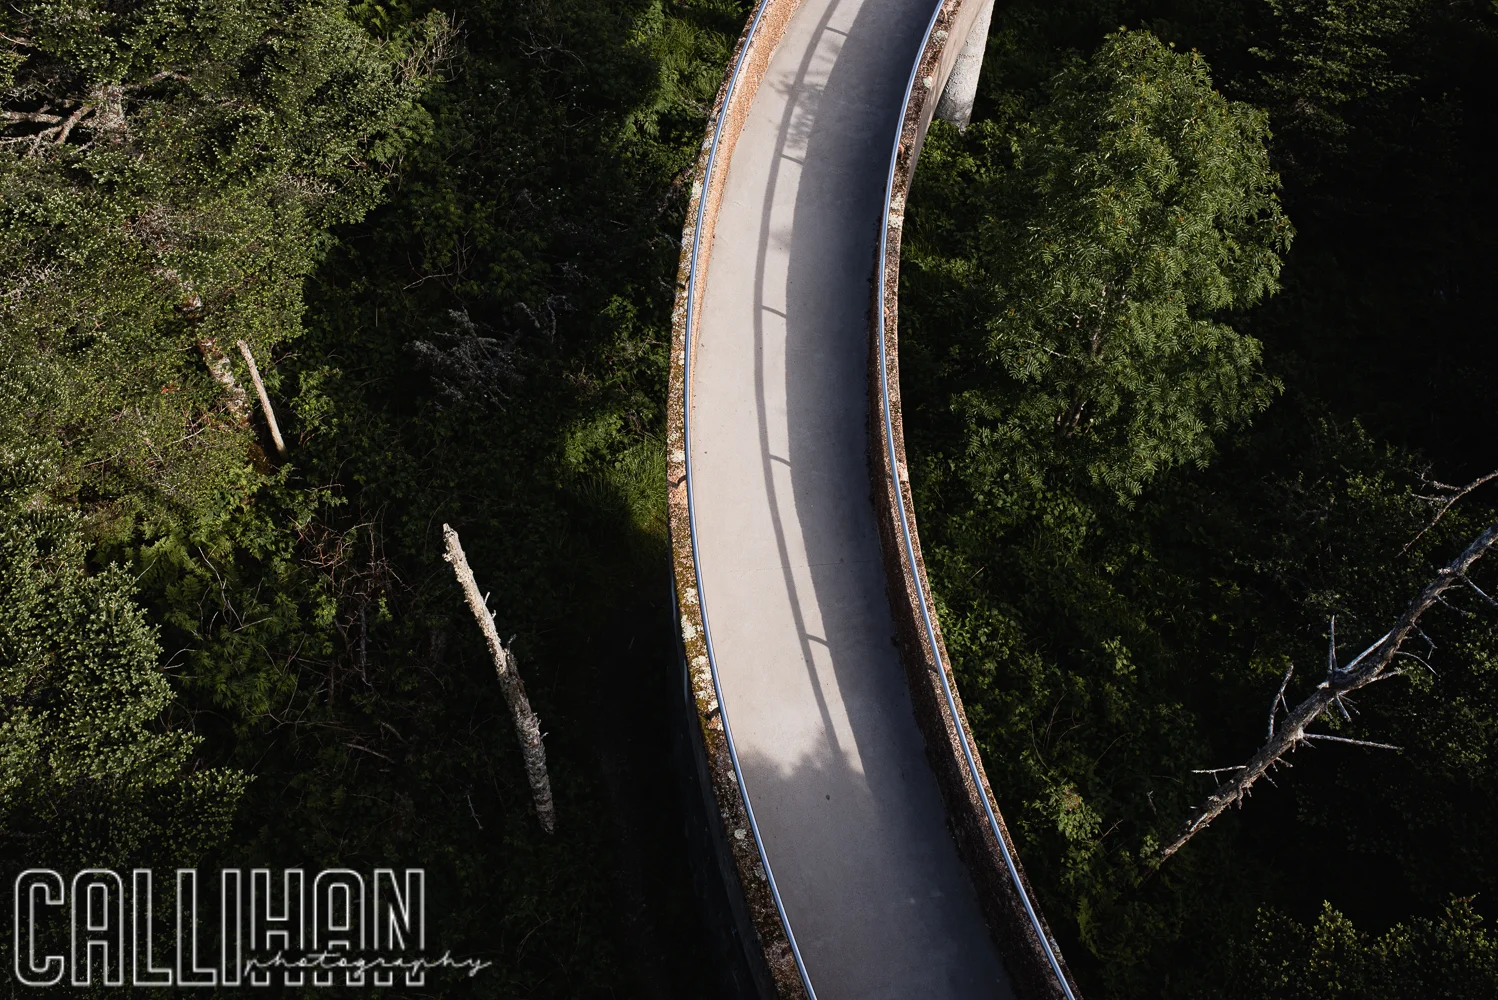
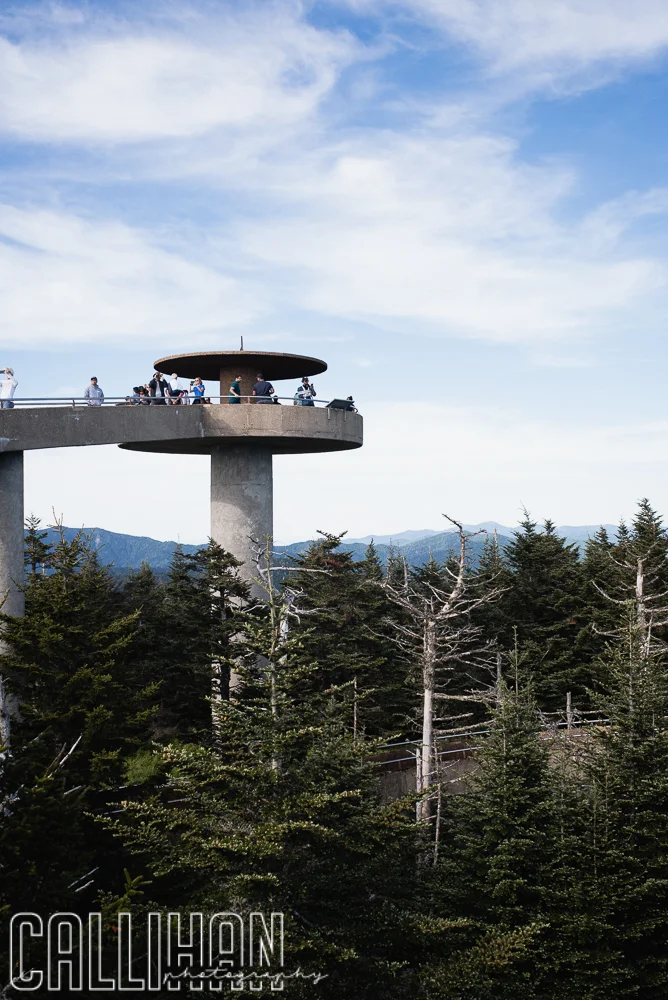
We went to Clingman’s dome.  The hike is a paved way to an amazing view! It is somewhat steep but very doable! There is a tower at the top and the view is beautiful.

Clingmans dome, travel photo, Gatlinburg, TN
Clingman’s dome, Travel Photography, landscape photography, Gatlinburg, TN

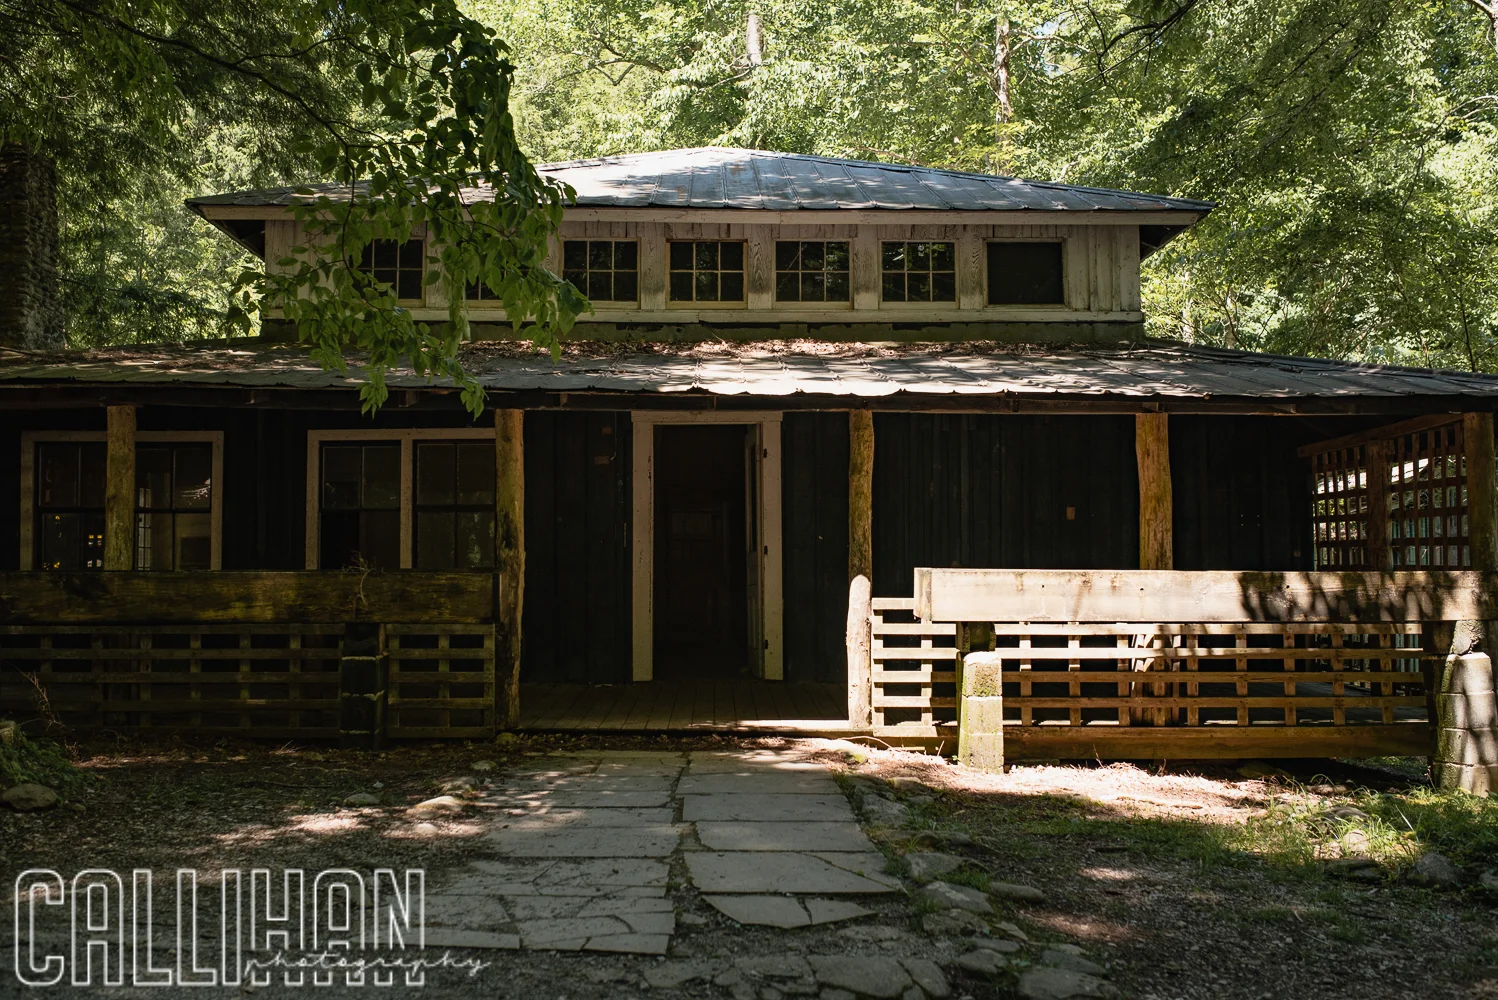
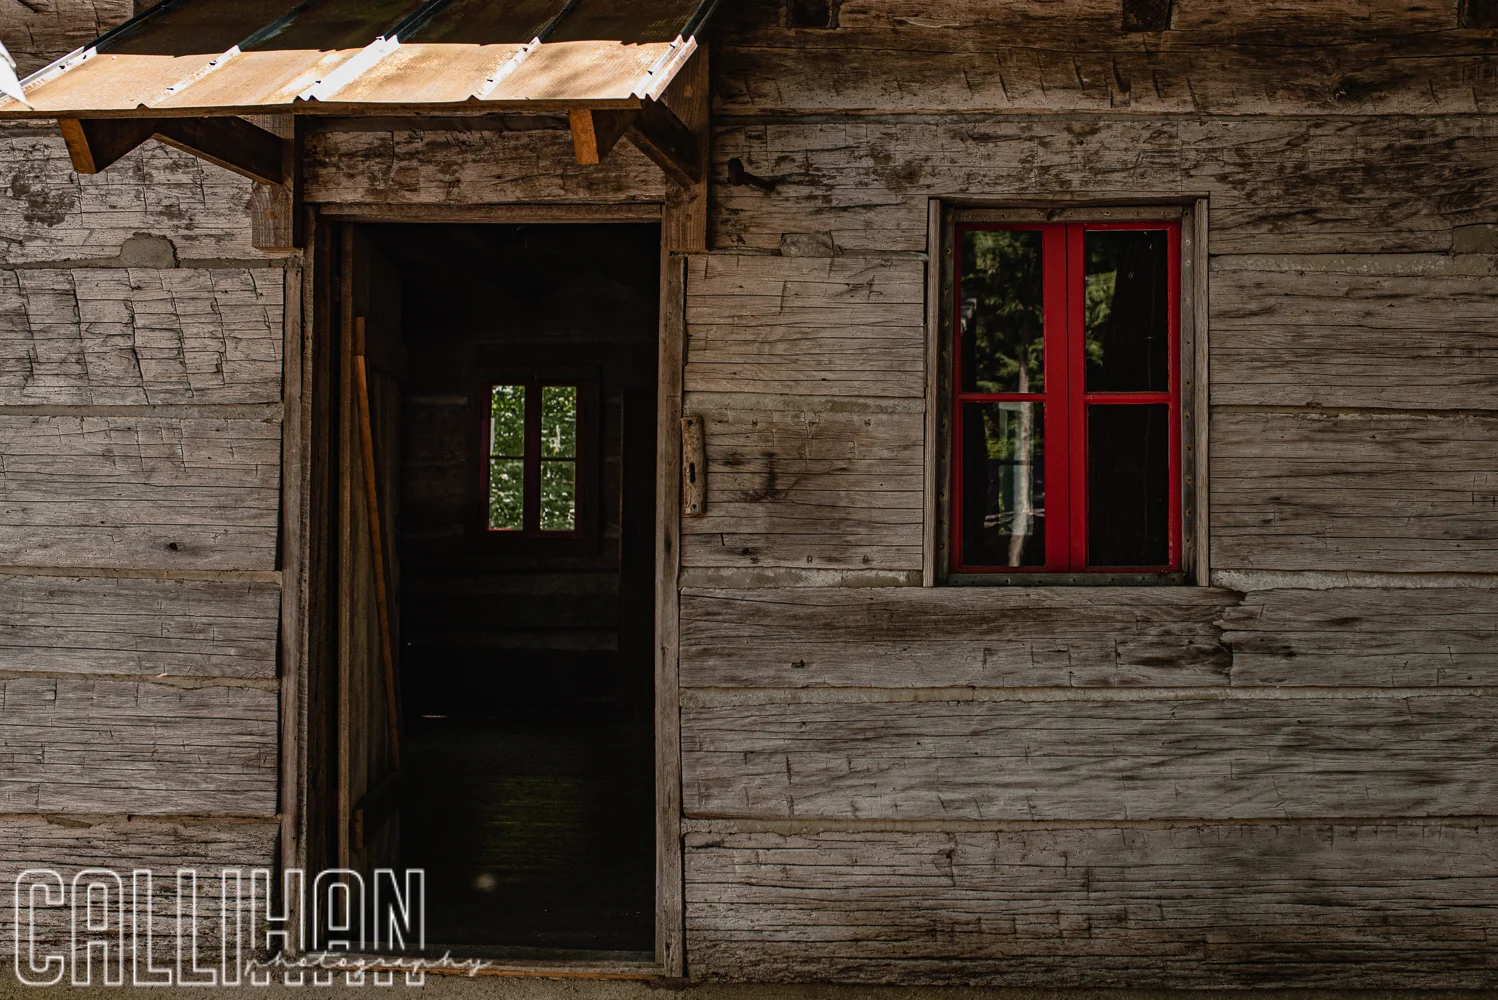
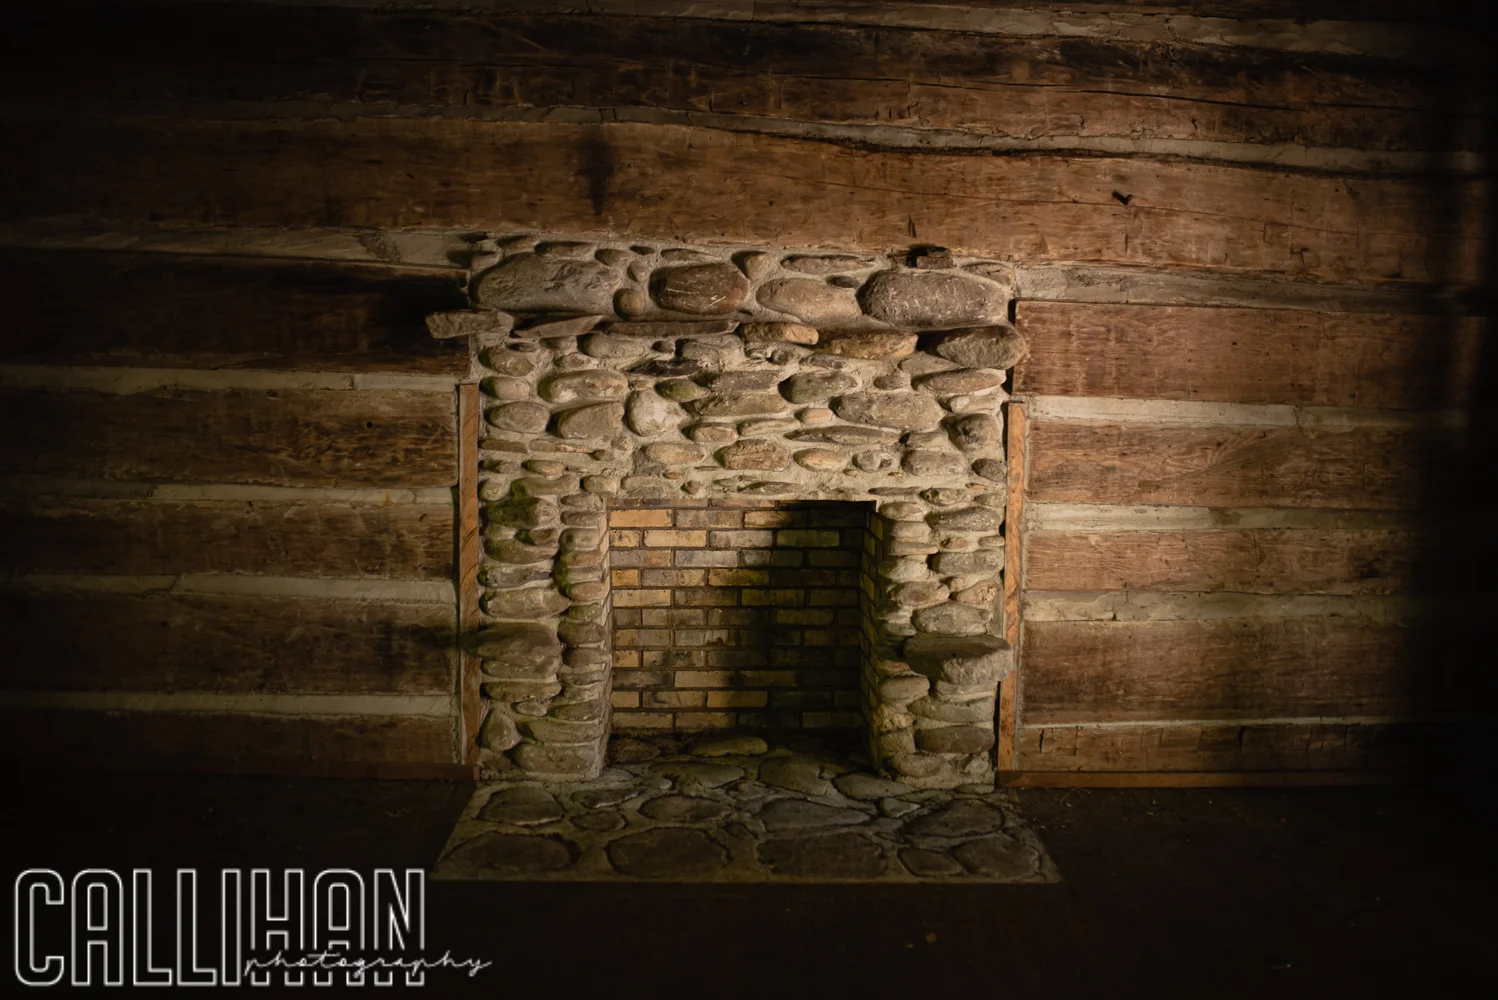
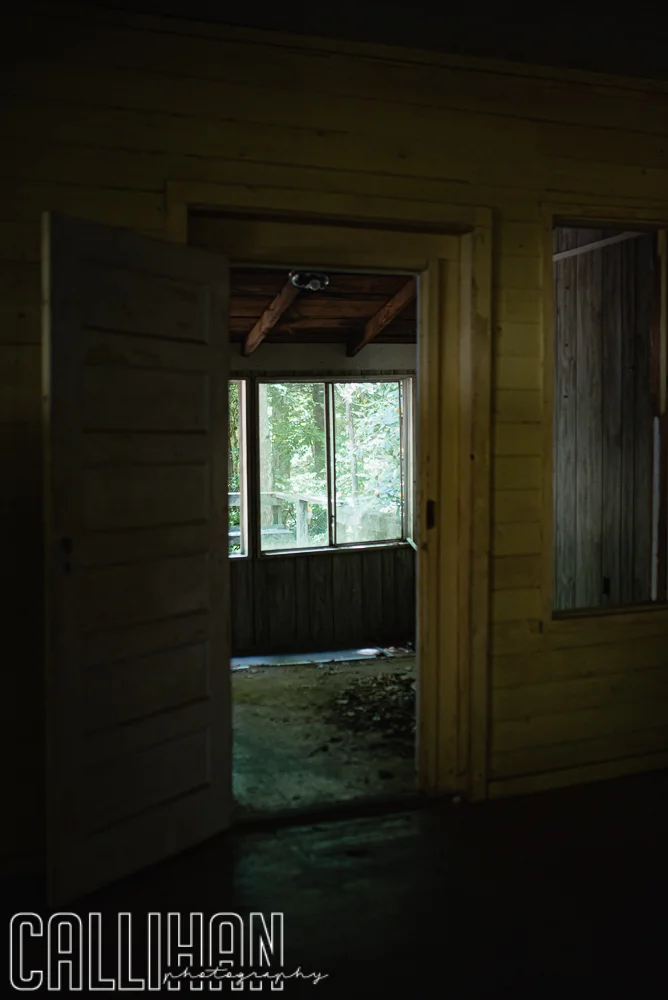
We stopped by Elkmont ghost town. I found it to be a photographer’s dream! Full of interesting angles and textures. I could’ve spent hours there exploring. We visited midday so the sun didn’t give the pictures the atmosphere it deserves.  Maybe this spot deserves a revisit sometime in our future, but maybe that’s just me.

We went up the Gatlinburg Skylift park, where you ride a ski lift up the mountain.  There is a suspension bridge at the top which has glass floor panels in the middle.  It is not for the faint of heart if you are afraid of heights.  I didn’t have my big camera up there, which was unfortunate.  I was terrified of dropping it!

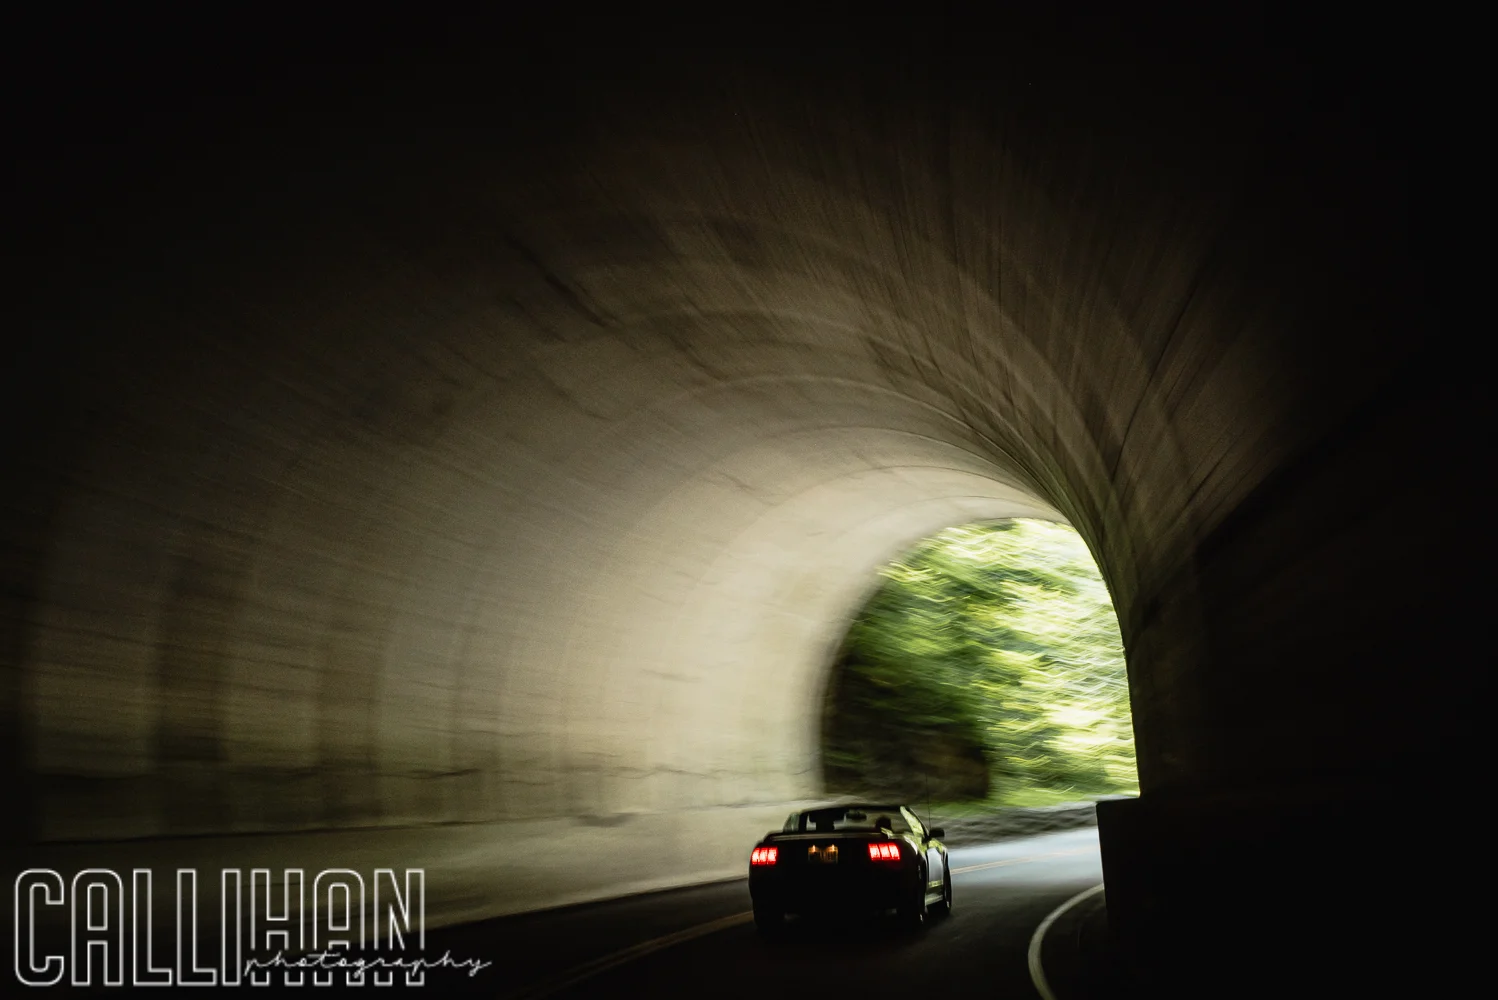
We drove on the Tail of the Dragon! Which is 318 curves in 11 miles.  Let me tell you, I never want to do that again! I was so carsick afterwards! If you get motion sick this one is not for you. But it was a once in a lifetime experience that was worth it.  However, NEVER AGAIN!!!

Panning Car, Gatlinburg, TN Travel Photography,

On the way home we went by Cumberland falls.  This was a worthwhile stop! The falls are beautiful, and it was a good break from driving.
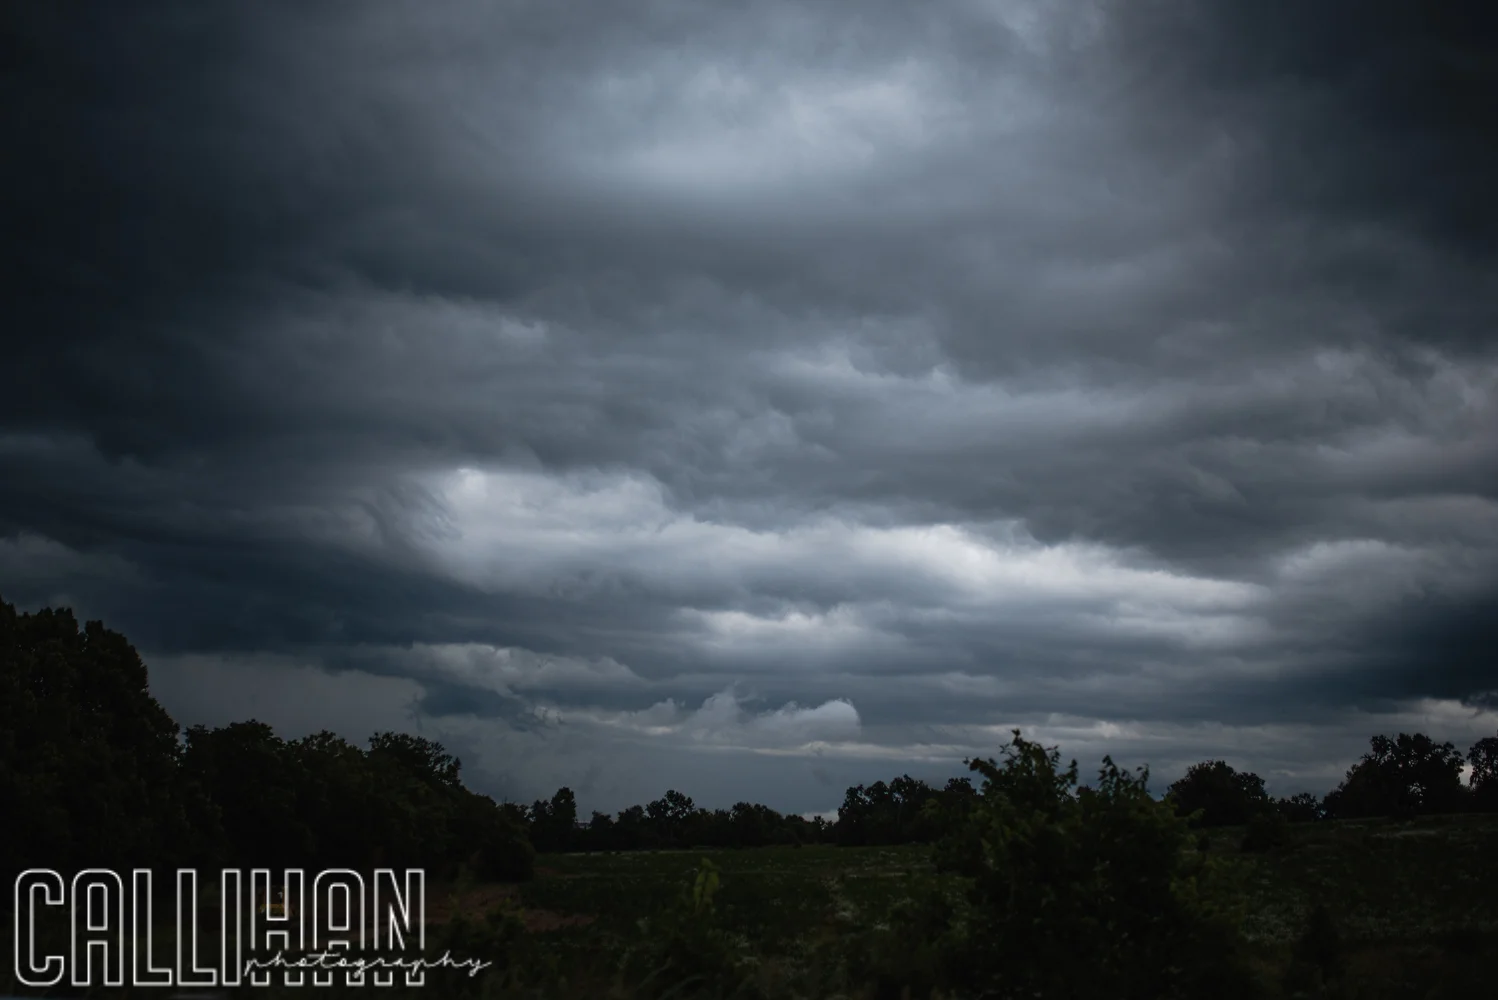
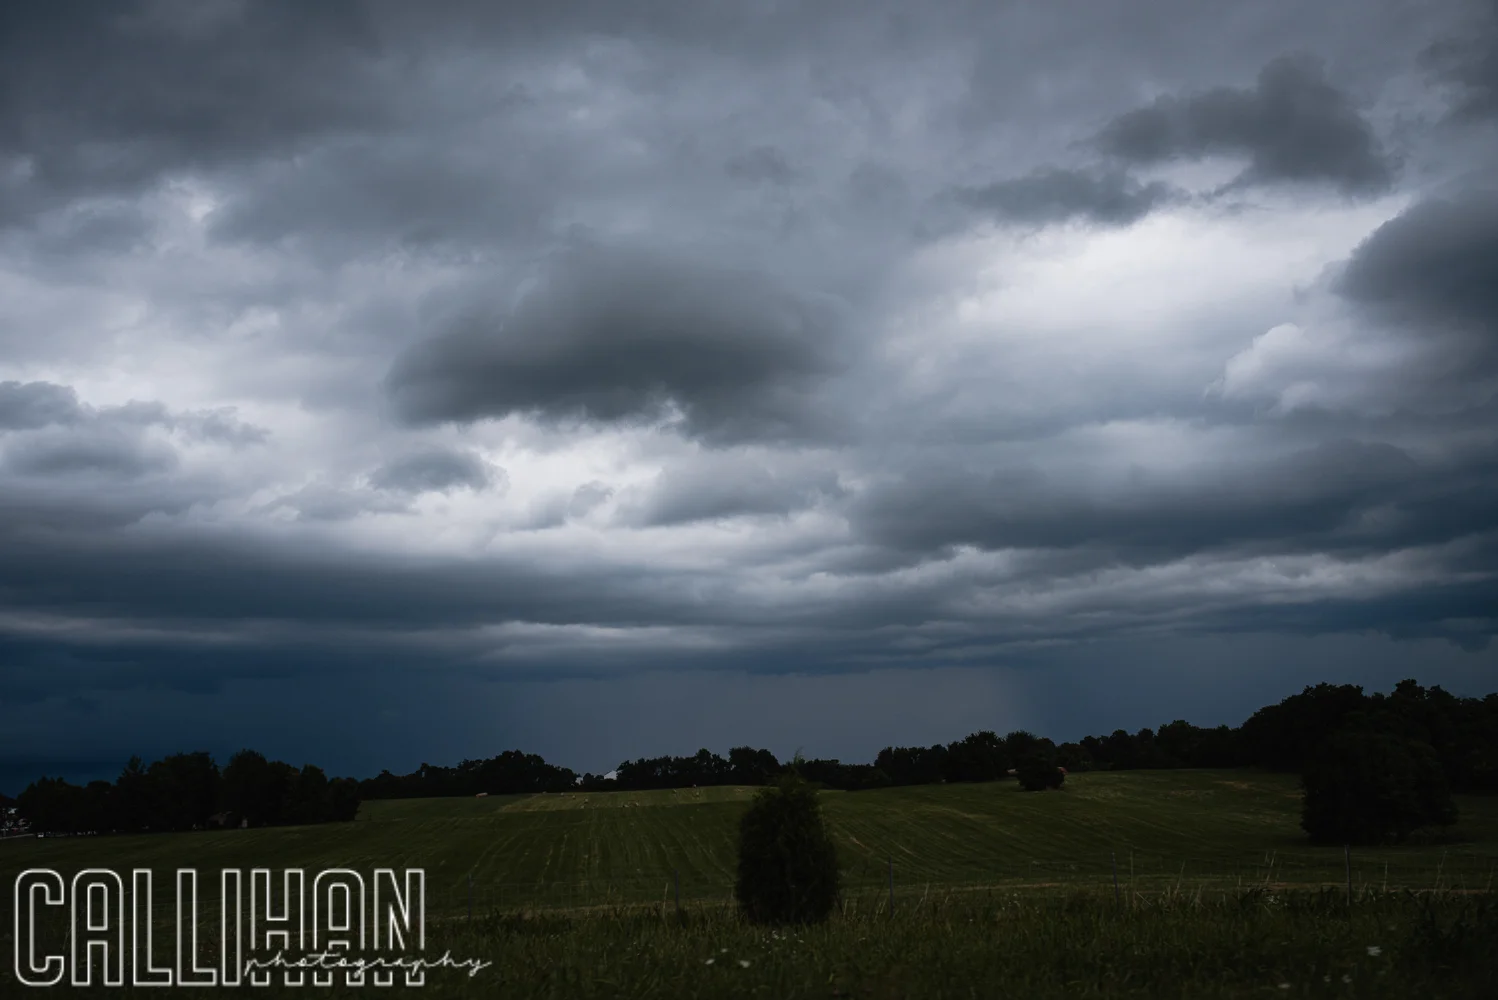
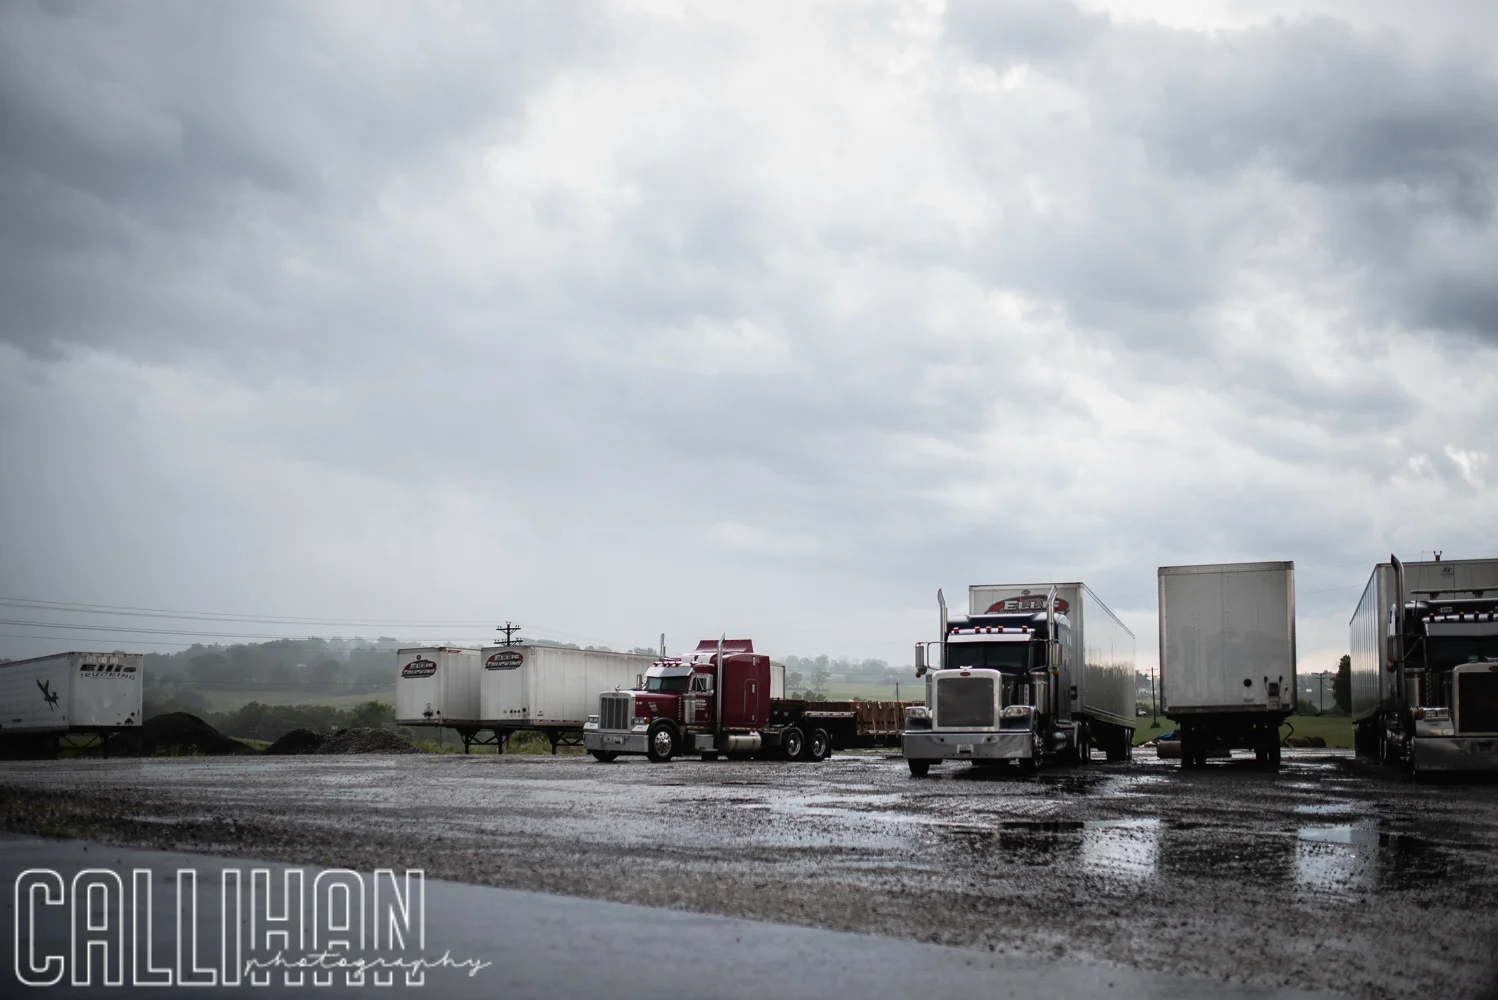
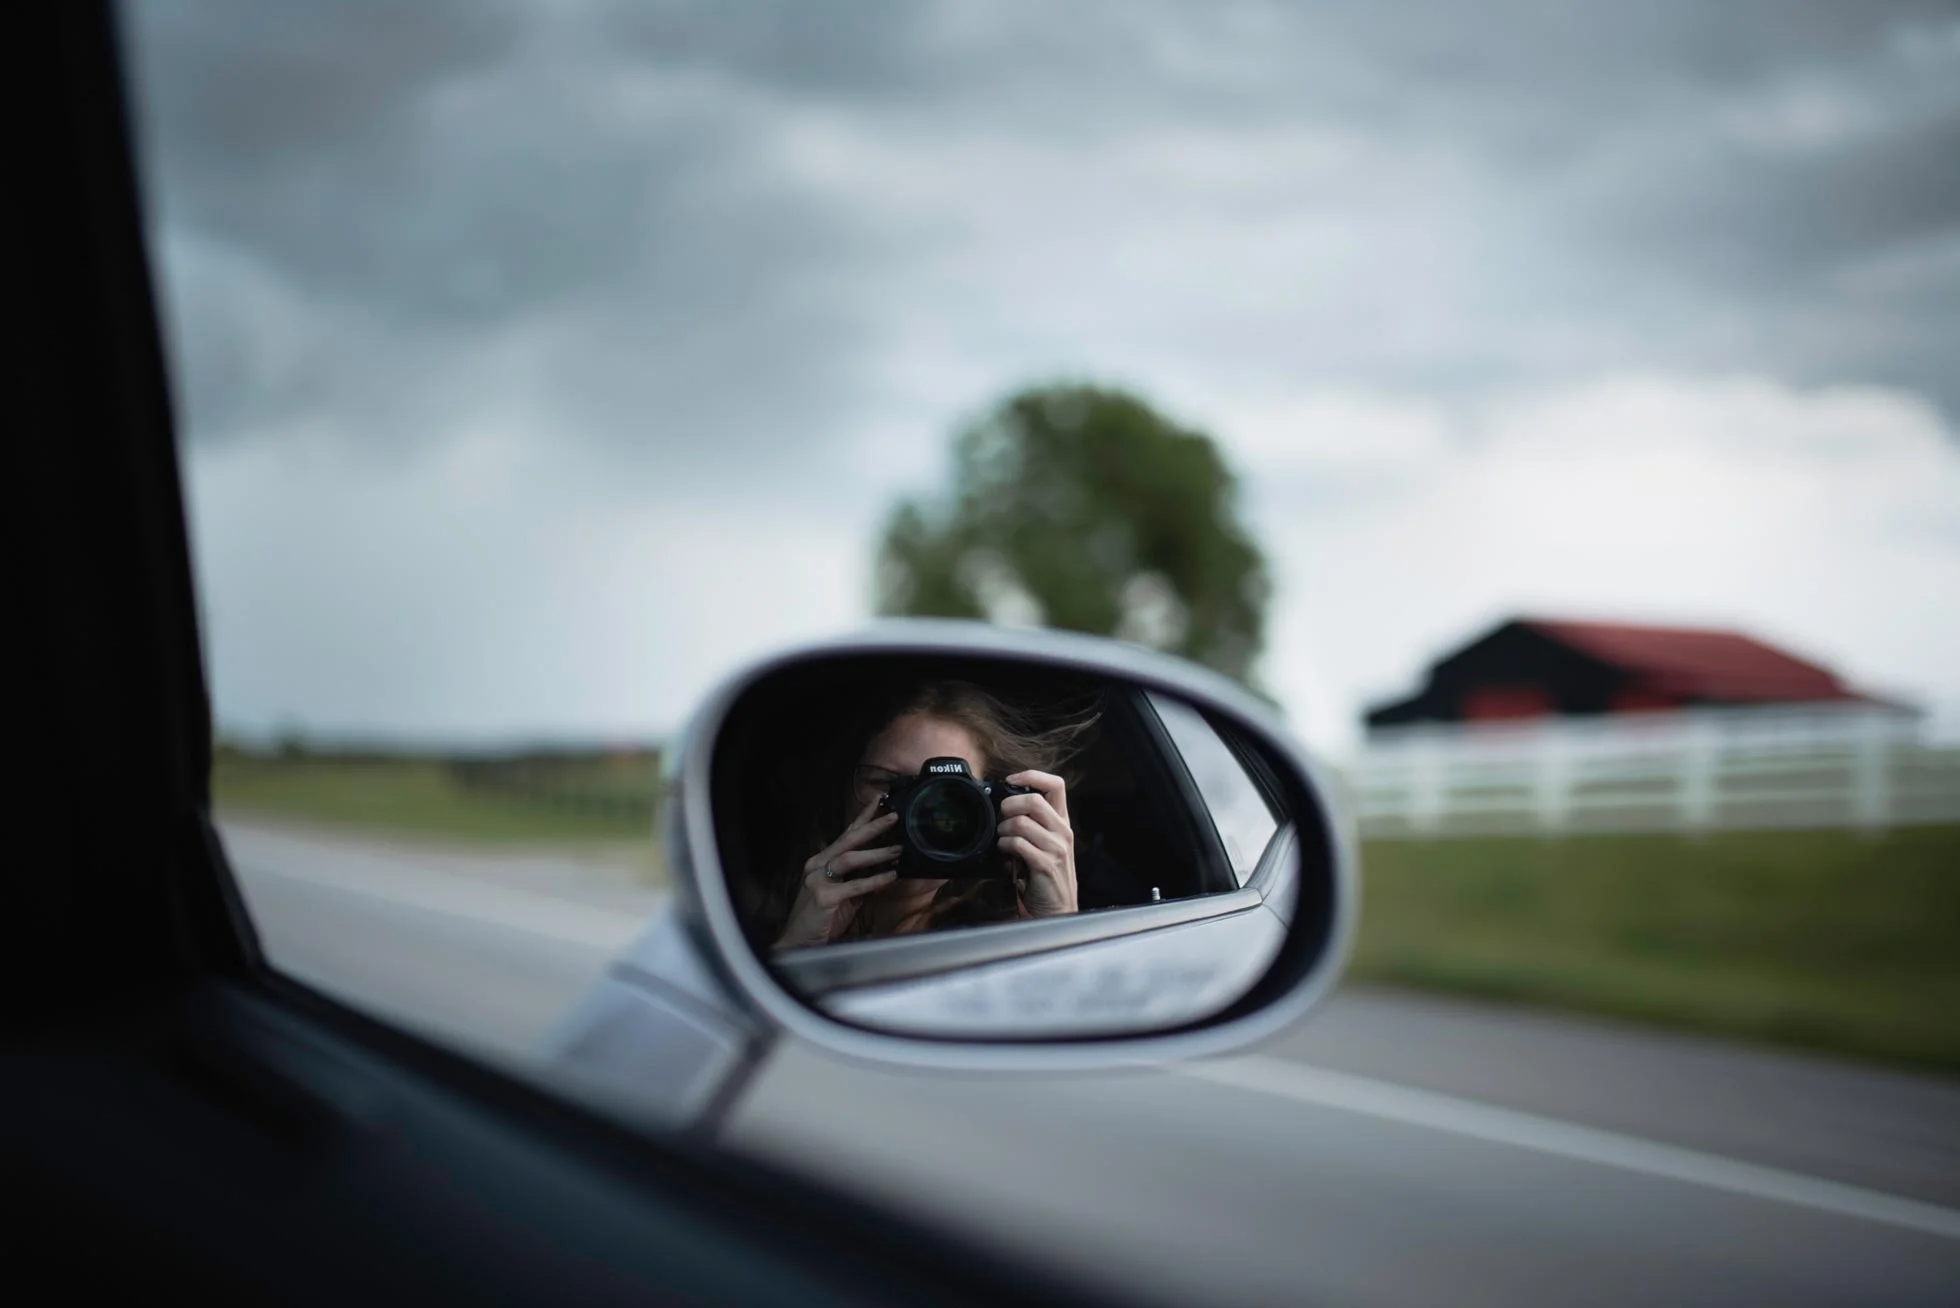
The weather was absolutely perfect the whole time we were there! However, on the way back we were hit hard with rain. I took pictures out the window the whole time. They turned out to be some of my favorite landscapes. The sky was rolling! I loved every minute.

Thanks for reading.

Self portrait, Columbus, Indiana Photographer