How to Add Fireflies to A Photo

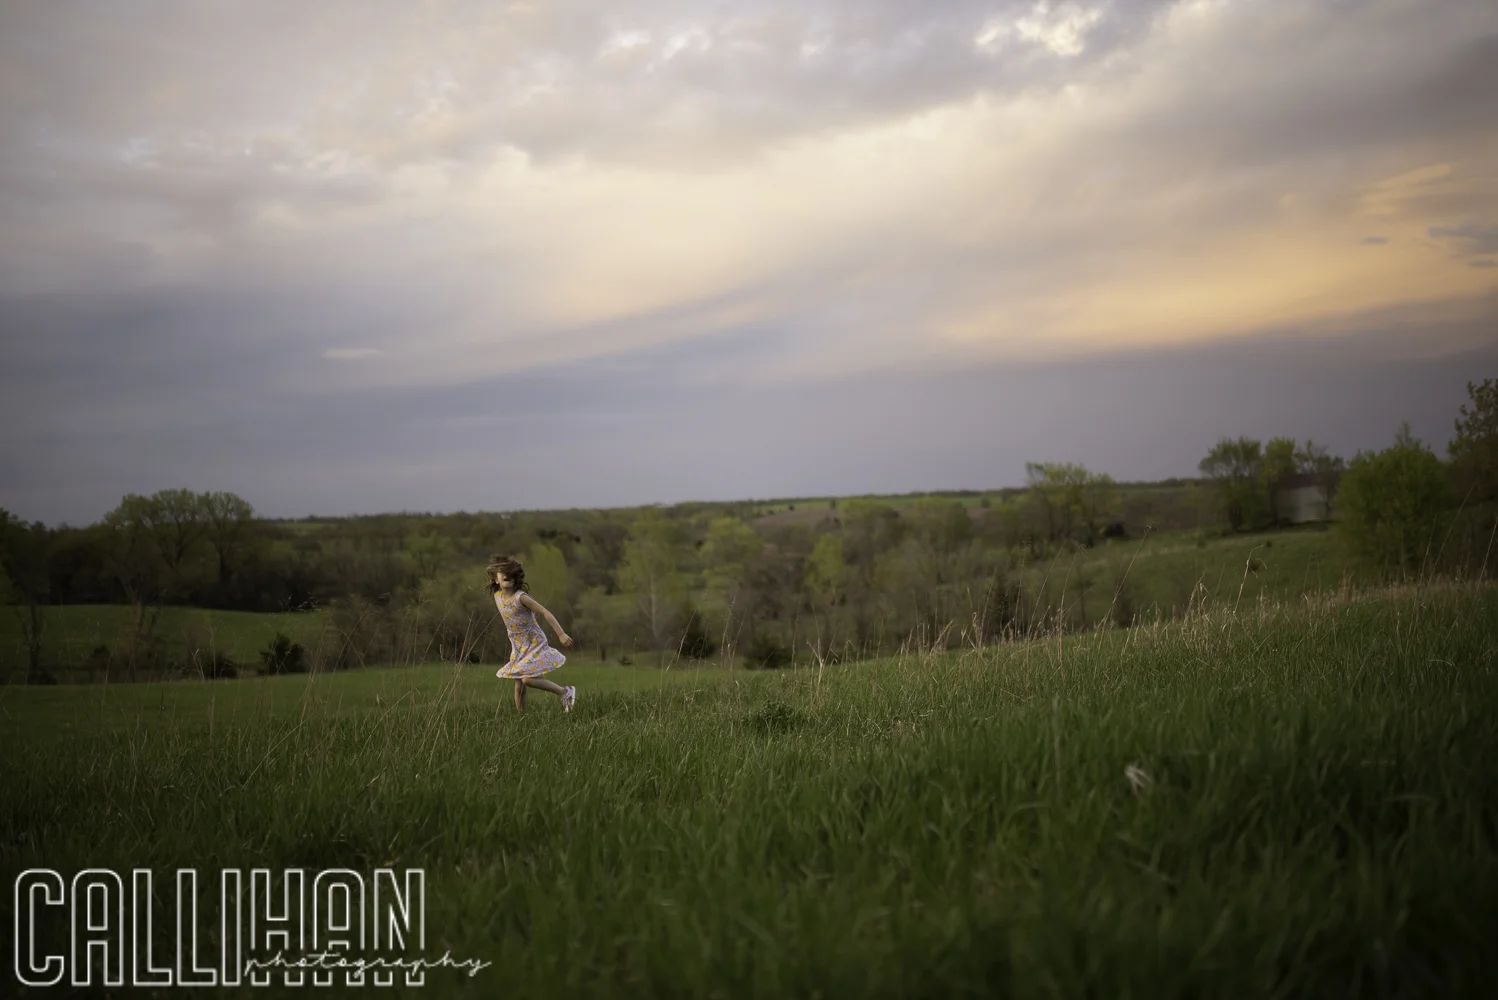
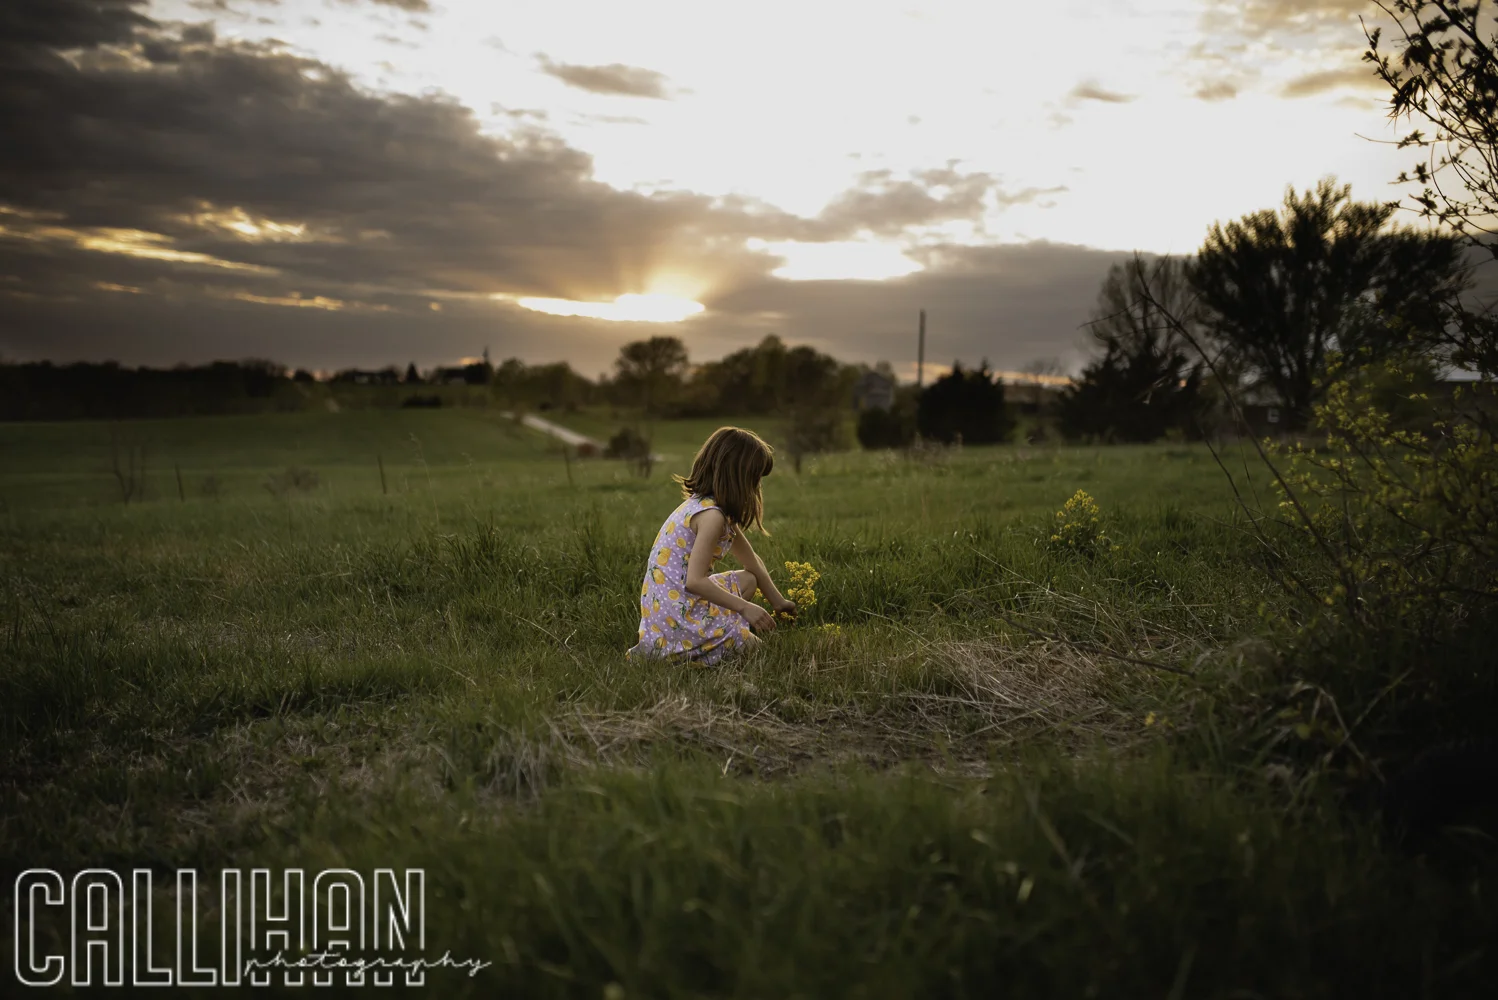
Fireflies, lightning bugs, bioluminescent creatures of the night, (whatever you call them): they are fascinating creatures to catch and watch. Not to mention it is a staple of childhood! I remember staying up late and catching them as a child, and I love to watch my kids as they chase them all over the yard.  We used a pickle jar, and punched holes in the top of the lid.  It is easiest to catch them when they land on the ground!  They are hard to see, which is also part of the fun of catching them.  If you live in the Midwest, this is a MUST!  

Firefly catching, Columbus, Indiana, child photographer

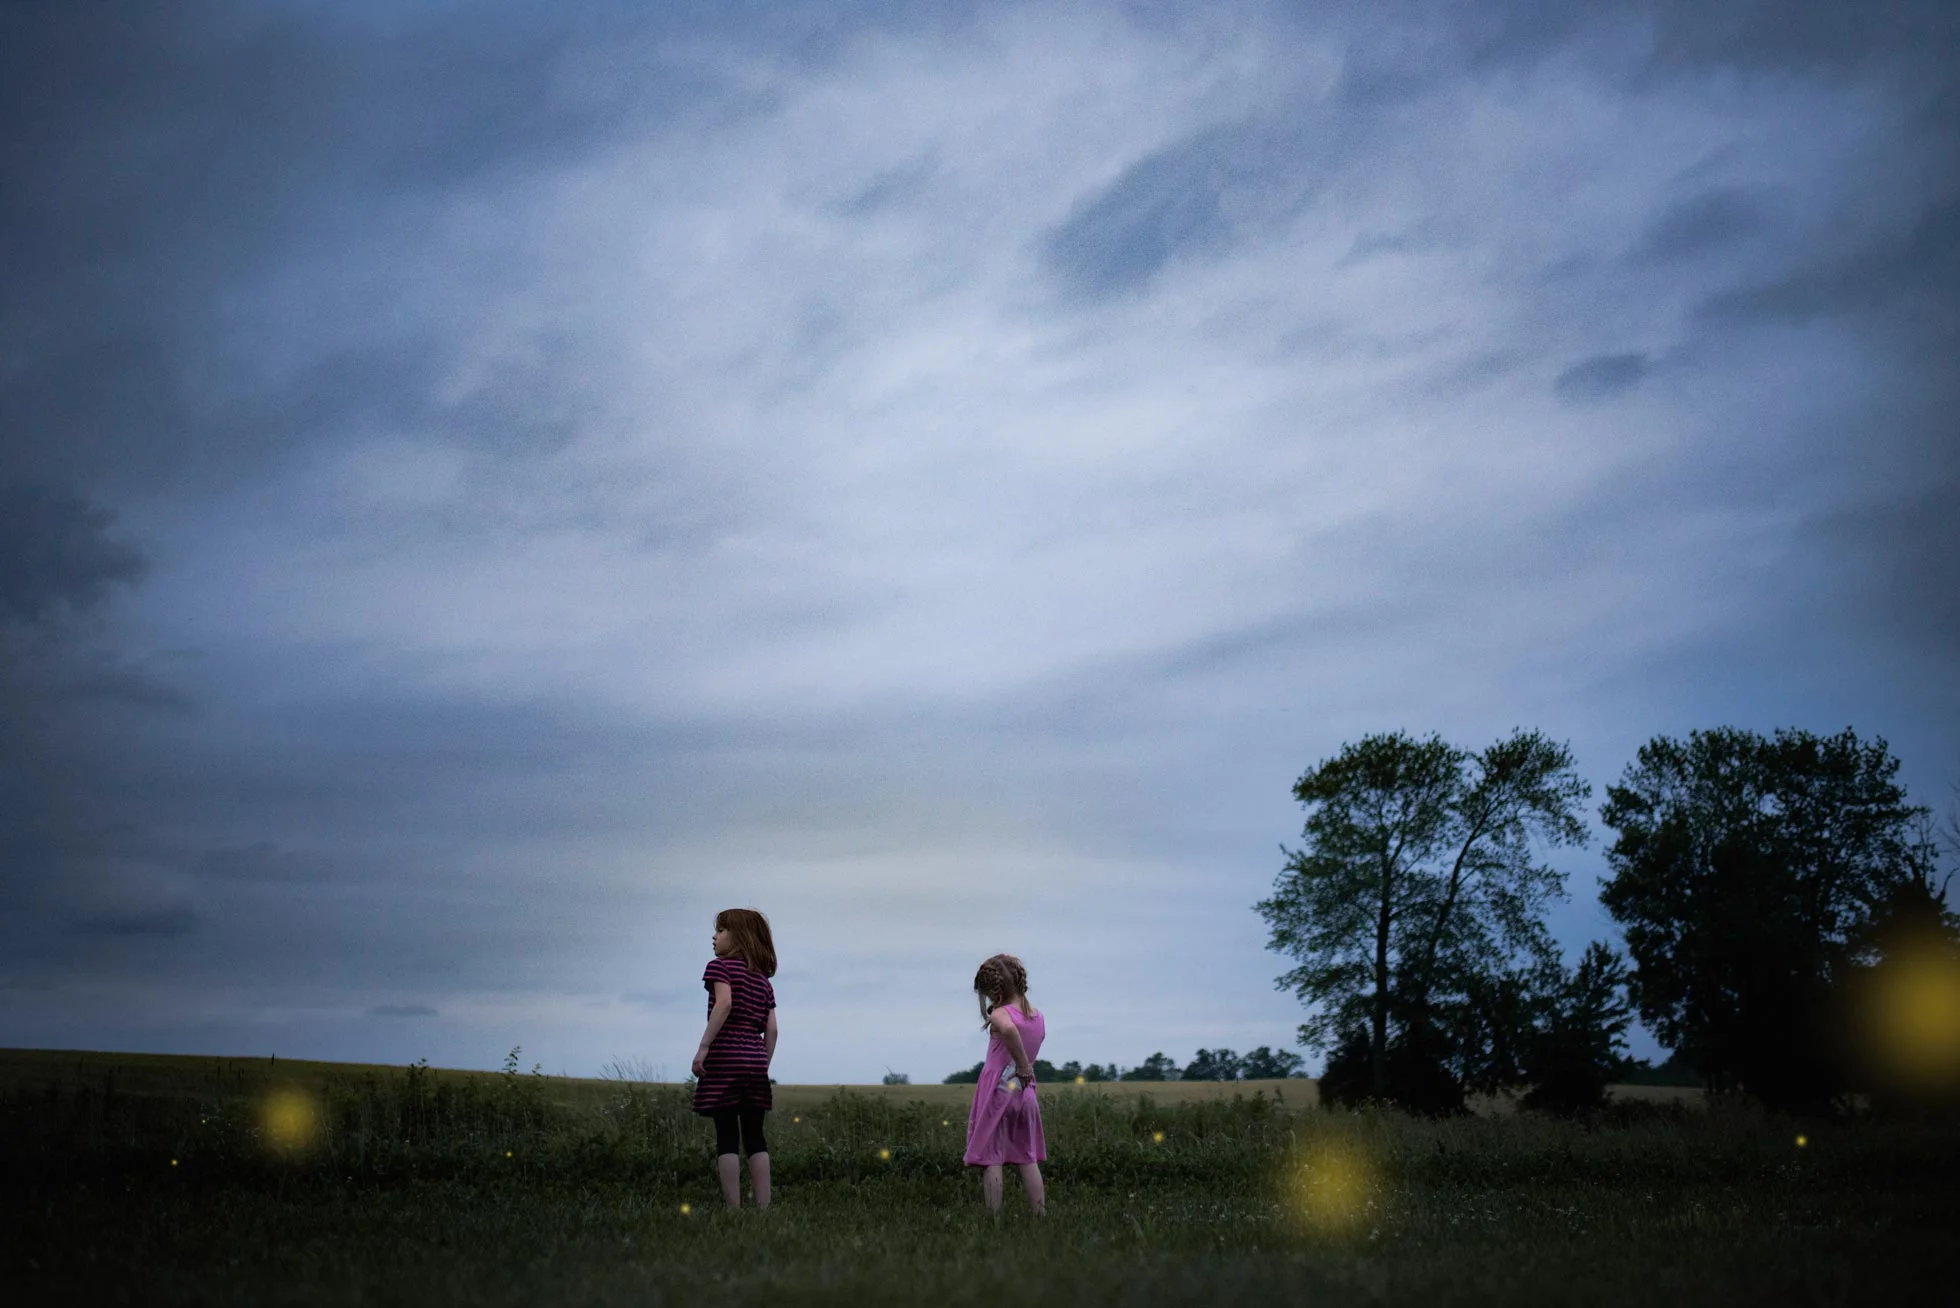
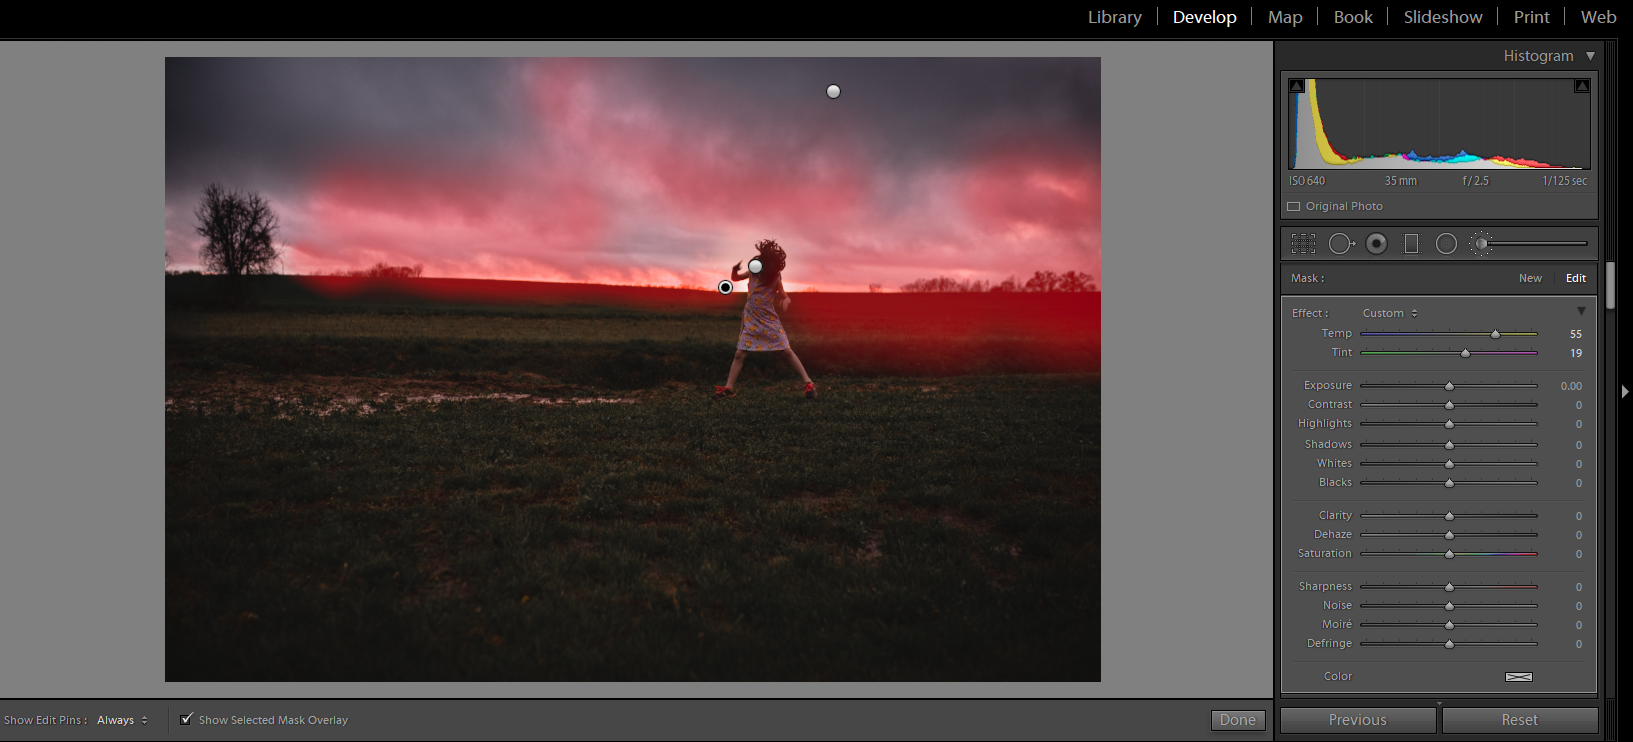
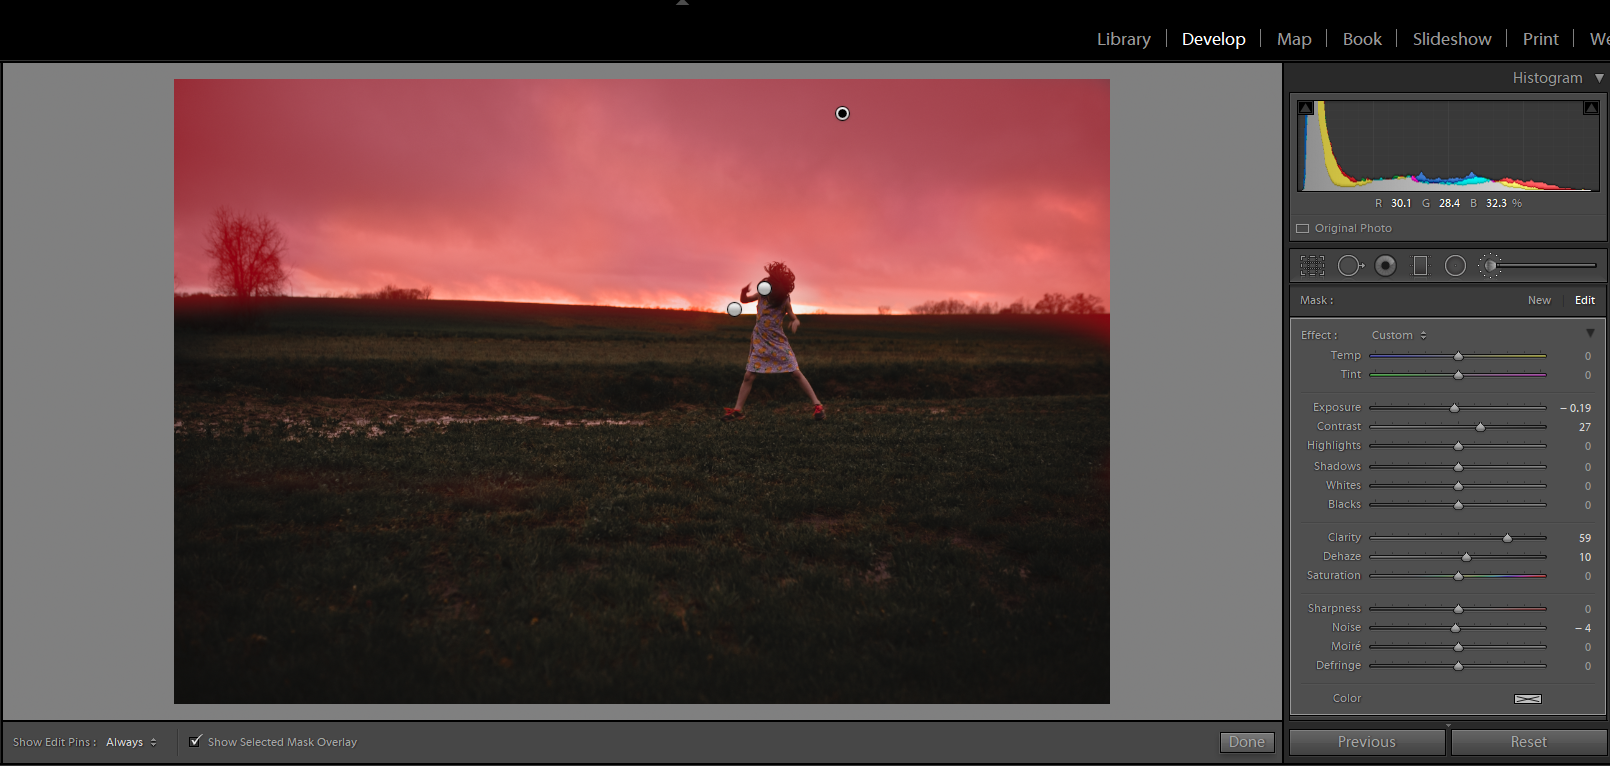
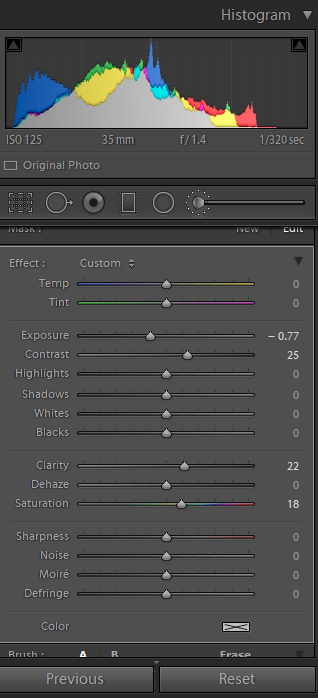
However, in pictures they just don’t show up so well.  Not to mention it is not that easy to snap a shot when they are all lighting up.  In order to make that picture as magical as it is for your child you will need an overlay! That is how I have created these pictures. I used an overlay in photoshop and set the layer to SCREEN.

Columbus, IN photographer tutorial example

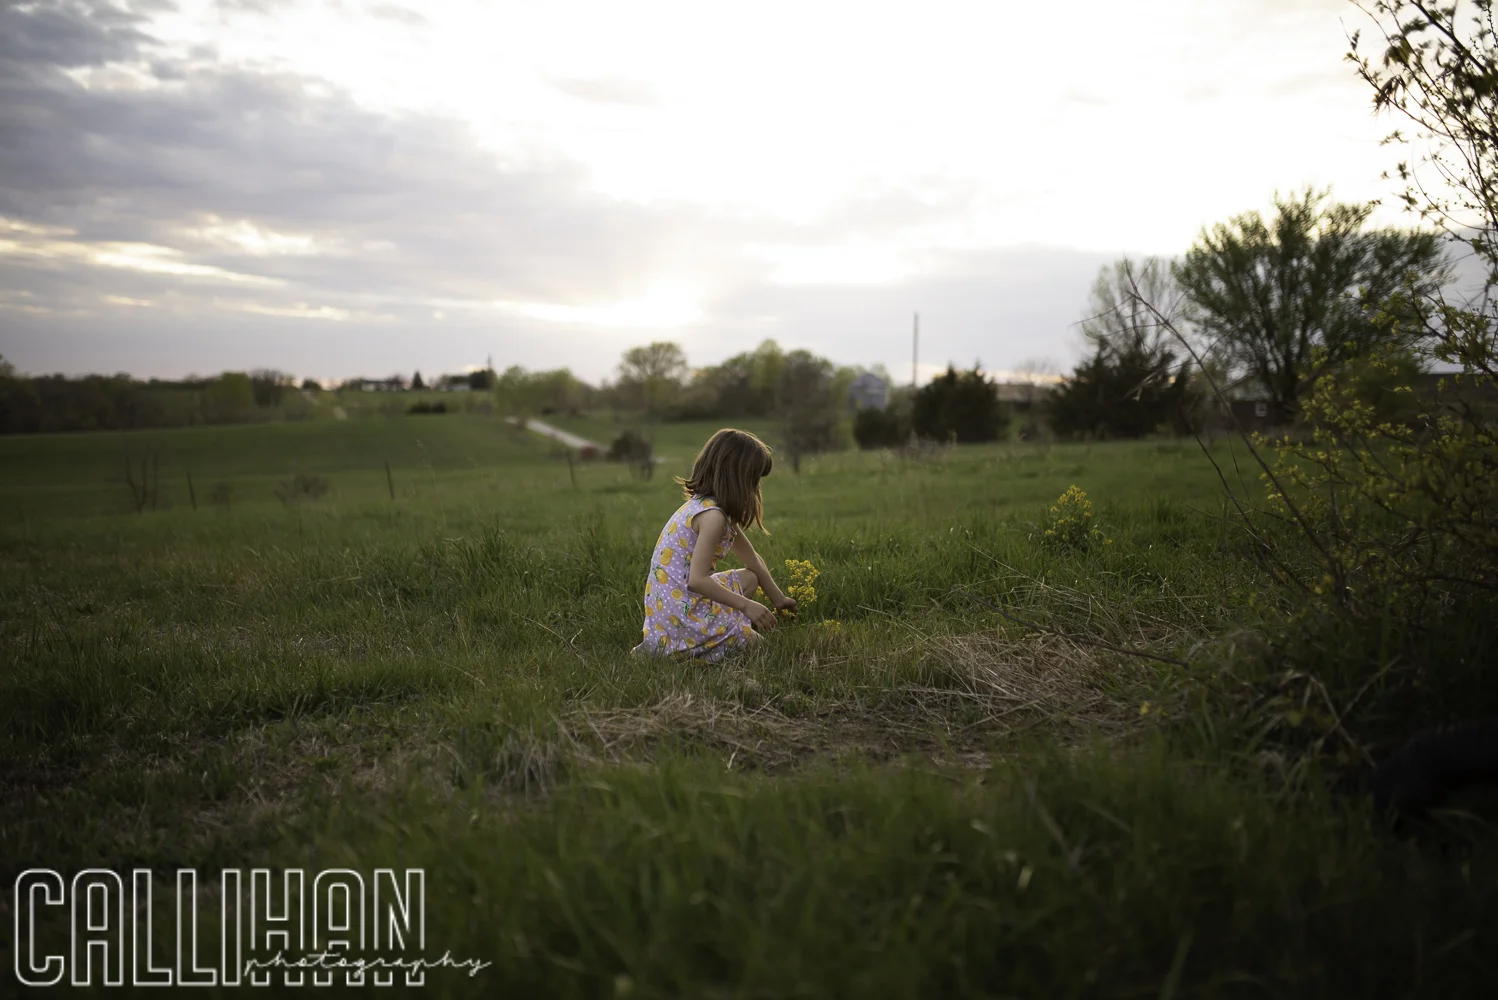
Then I hit ctrl/j to duplicate the layer as much as I want.  I use the shortcut ctrl/t to transform and adjust the size. Then I place them in varying areas and sizes to add depth and atmosphere. The closer they are to your camera the bigger and blurrier you will need to make them.  I have created my own shortcut in photoshop to add a Gaussian blur.  But you can get there by going to filter>blur> Gaussian blur, and then blur to your taste.  I also lowered the opacity on some to make them blend better.

Columbus, IN photographer, example for Gaussian Blur

Remember the rule of odds if you place them close together or in the jar. To read more about the rule of odds, go here. This adds visual interest and helps to move your eyes throughout the picture. 

Fireflies in the pickle jar, Columbus, Indiana, Midwest picture ideas

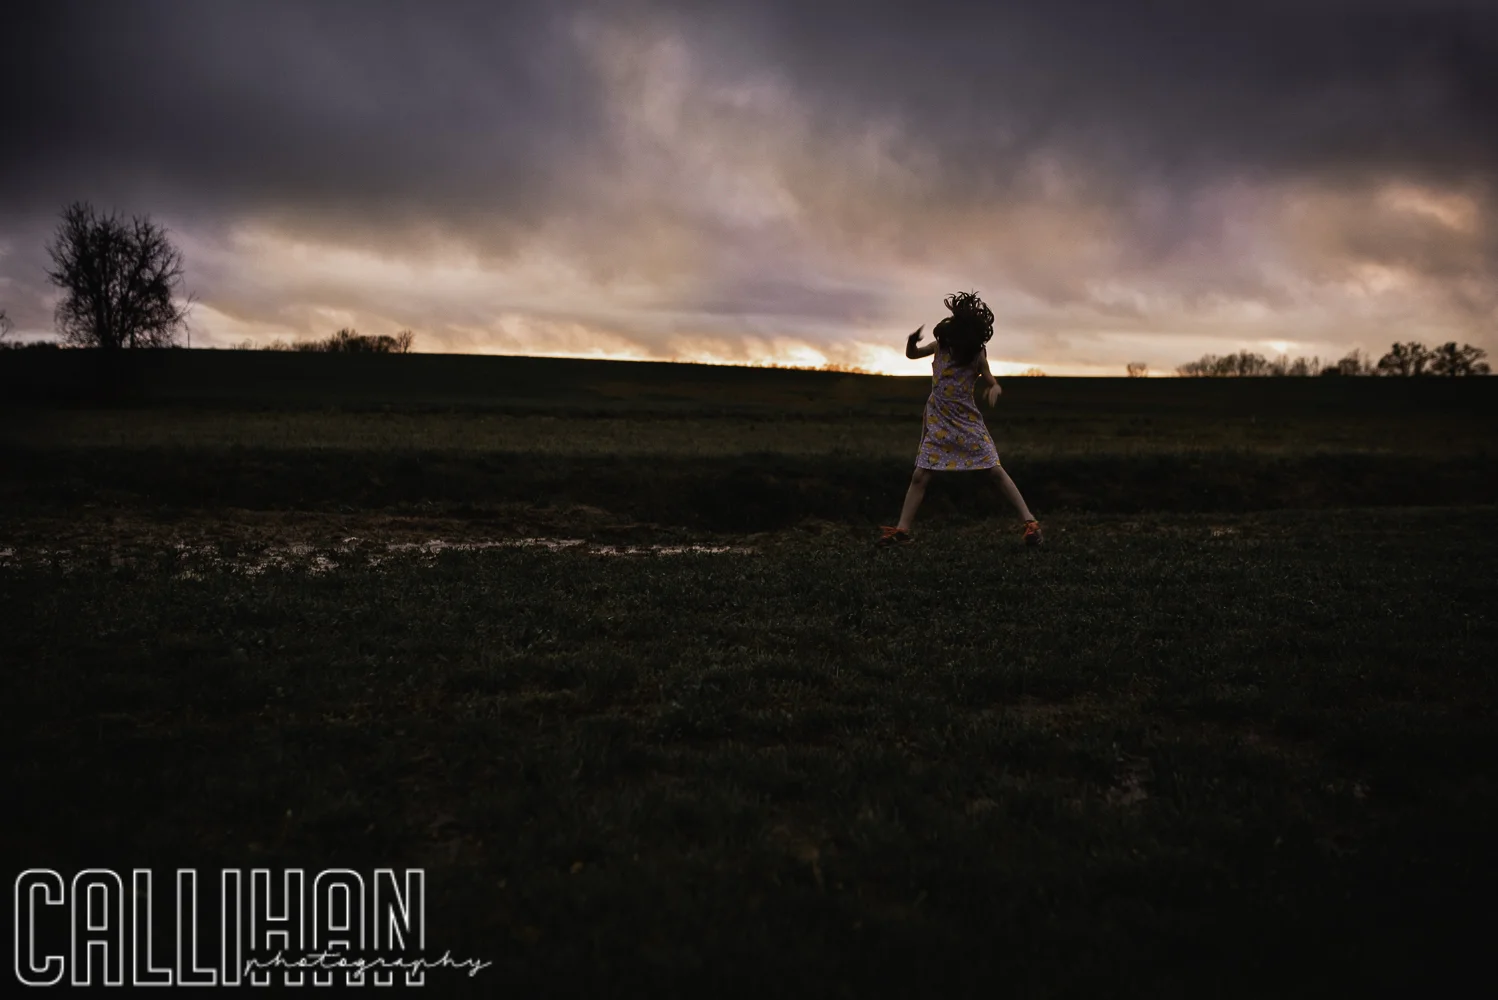
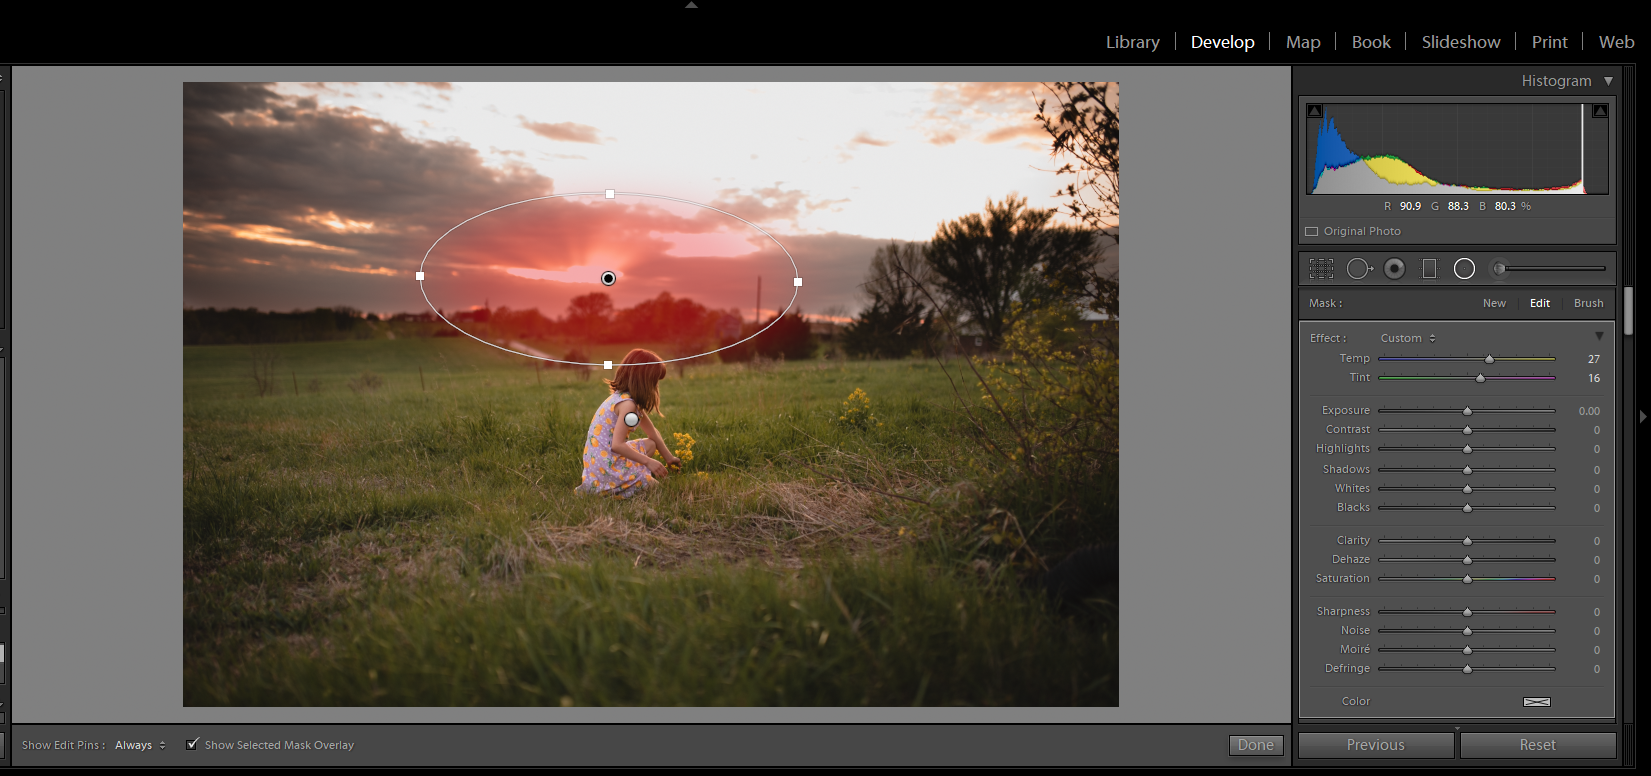
I have made this overlay available for download for free! I added some noise to the overlay, because chances are if you are out catching lightning bugs it is going to be very low light. I had to increase my ISO to a very high number in order to capture anything and keep my shutter speed reasonable. Make sure to set the overlay to SCREEN. I hope you enjoy it! Please let me know if you do! Please share your pictures with me!  I would love to see what everyone comes up with!


Download the Firefly overlay here.

Lightning bugs, Columbus, Indiana Family Photographer

Thanks for reading!


How to Enhance a Sky in Lightroom

First off, I would say you need to start with a good image right out of the camera.  This idea took my photography to the next level. I wanted to take whatever pictures I could and then go edit them in photoshop.  While this was fun and helped me to learn a ton about photoshop, it wasn’t until I took my technical skills seriously that I really saw a difference in my photography.  So, for an amazing sky you need to expose the picture properly.  I prefer shooting in raw now, but I didn’t when I was starting out.  I found that the constraint of a jpeg helped motivate me to get a better picture in camera.  Now that I think about it, that probably wasn’t the norm!

I have three examples of a sky that I enhanced in Lightroom. Here is the first one sooc (straight out of camera). 

Columbus, Indiana Family Photographer, Sunset rainy day sky, tutorial

This one is shot closer to blue hour. The sun was down, and it was already very dark.  In hind sight I should have had my shutter speed up and ISO up as well (since there is a bit of motion blur).  However, I was in a hurry because I was losing light. I still love the sky. So I do my regular adjustments first.  Then to enhance the sky I look at the colors that are already there. I use the brush tool, and I adjust the temperature and tint to give a more golden tone.  Then I use a soft brush to paint the areas where the light is coming through.

Lightroom Tutorial, Brush tool, Columbus IN Photographer

Next, I use a new brush to paint over the whole sky (carefully going around my subject).  Here, I increase the contrast, and the clarity.  I also lower the exposer and dehaze it slightly. After I have done that, I lighten the exposure of my foreground just slightly to make it look more natural.  You don’t want to go overboard with that part though.  It will not look right if you have a gorgeous sunset sky and a foreground and subject that looks like they’re lightened to be midday.  So just be careful with that part.  I try to make many small and subtle changes.  I don’t want to add what is not already there.

Brush tool screenshot tutorial, Columbus, Indiana Photographer

Here is the final image after all my adjustments.

Lightroom tutorial, Columbus Indiana Photographer

In the second picture I have exposed properly for the sky.  Here is the image sooc.

Enhancing the sky in Lightroom, Columbus, Indiana Photographer

After doing my regular adjustments I use the brush tool again and go over the whole sky.  I lower the exposure, increase the contrast, increase the clarity and increase the saturation.  I don’t often use the saturation slider as it can easily get out of control, but for this one I think it worked well.

Screen shot of adjustments for Lightroom Tutorial, how to enhance a sky, Columbus, IN photographer

Here is the final image after adjustments.

Final Image Lightroom tutorial, Columbus, IN Photographer, Midwest

For this last one, I exposed for my subject.  Even though I underexposed slightly I still blew out some of the sky.

Lightroom Tutorial, How to Enhance a Sky, Columbus, IN Photographer

So, for this one I made my usual adjustments and then I went in with the brush tool.  I painted over the whole sky and lowered the exposure significantly. I also increased the contrast and warmed up the temperature/tint.

Slider adjustments for exposure and contrast, Lightroom Tutorial, Enhancing a sky, Columbus, IN Photographer

You could then see the rays of light coming from behind the clouds.  I decided I wanted to enhance that part.  So, I used the radial filter and put one right on top of the main light source (the sun).  I increased the temperature and the tint. Make sure that when you are using a radial filter that you click the invert button, or it will affect the entire picture other than where you put the filter. I use this often when enhancing light.

Radial Filter adjustment screenshot for how to enhance a sky lighroom tutorial, Columbus, IN

Here is my final image.

Lightroom tutorial, editing a sky, how to, Columbus, Indiana photographer

I hope you have enjoyed my tutorial! Please feel free to contact me with any questions you might have!