How to Replace a Sky in Photoshop

I have often found myself thinking, “this photo is really missing something”.  I have developed my own little method of replacing skies, and you might do it this way too! Either way keep reading! You might ask, why would you bother replacing the sky? Because, there are just some pictures that look better with clouds! Some photos need a little extra punch. Whether the sky was clear that day (like in my example) or you’ve blown it out trying to expose for your subject, I will show you my own method for replacing that sky in Photoshop.  Here are some before and after pictures where I have replaced the sky:

Before

Before

After

After

Before

Before

After

After

Before

Before

After

After

Before

Before

After

After

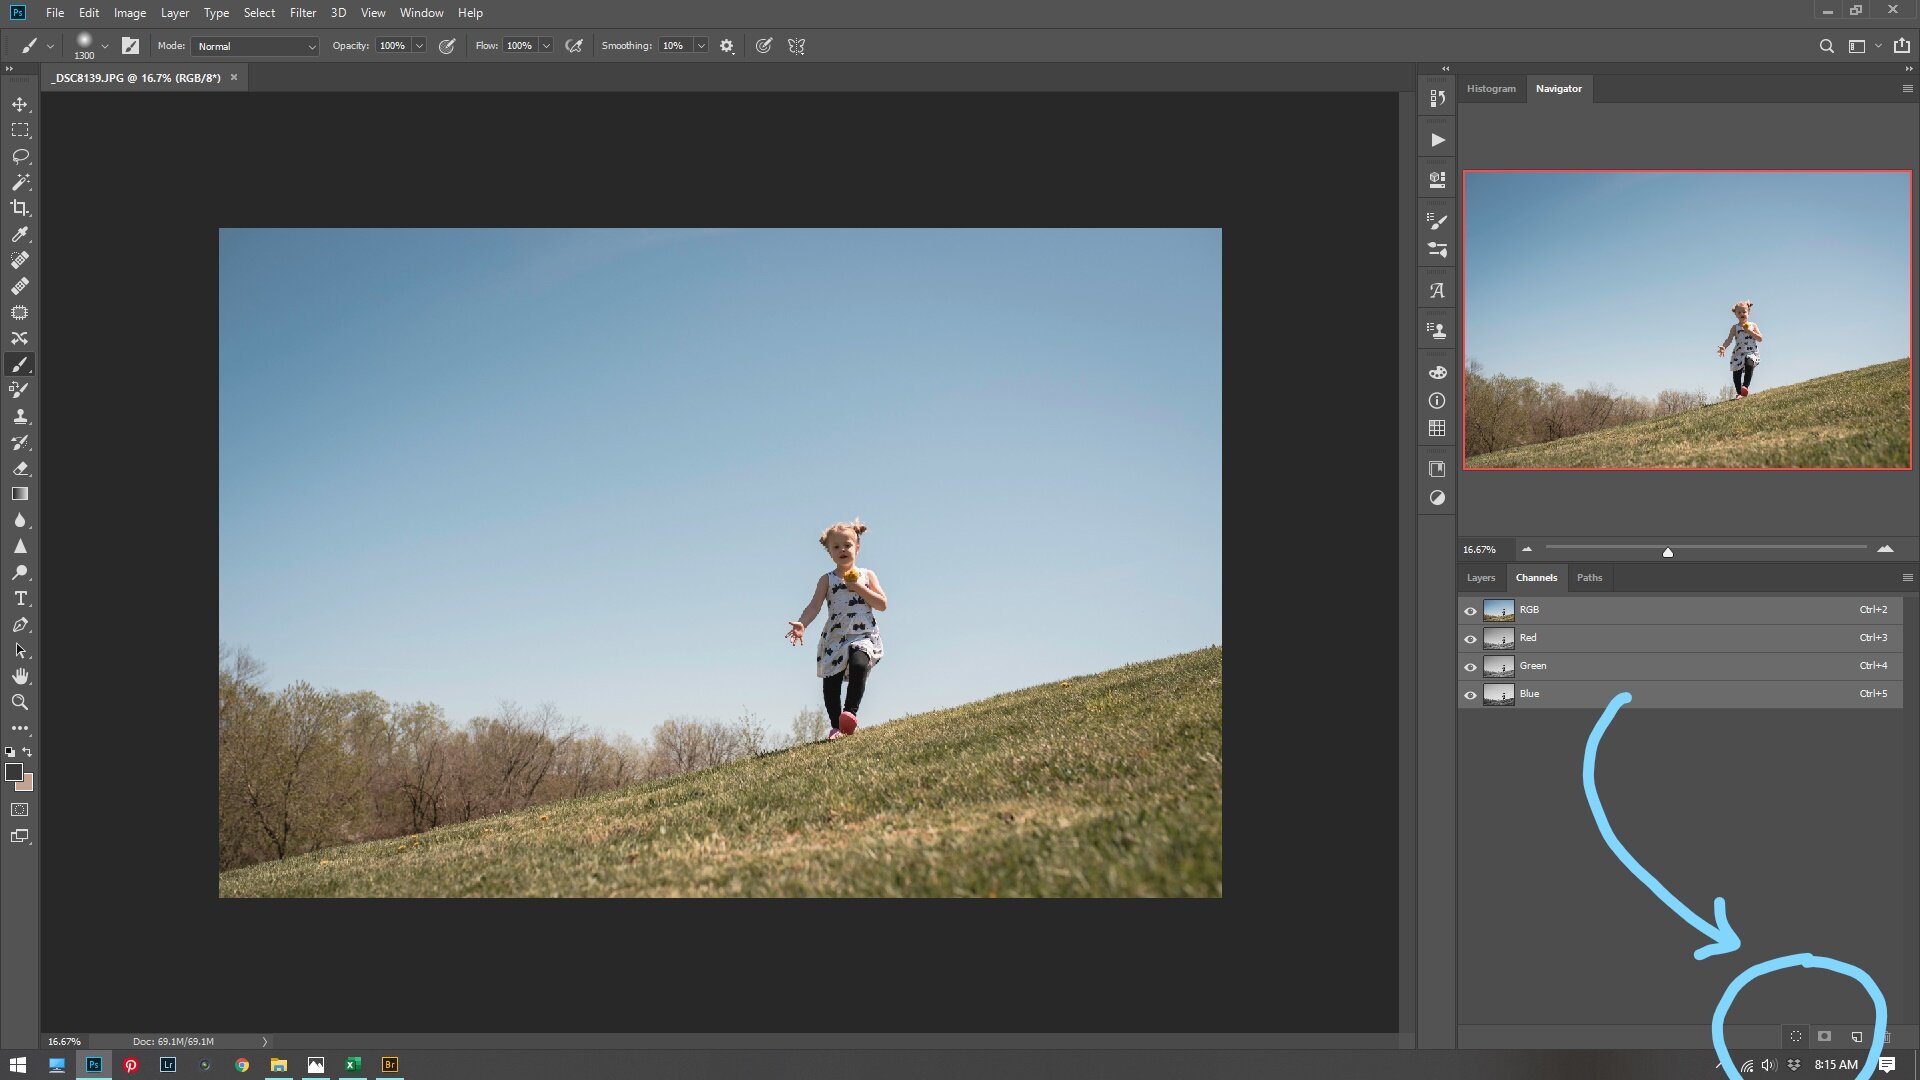
Now for my process.  First, bring your photo into Photoshop.  After making all your basic adjustments observe what kind of light is in your photo.  Is it hard light? Is it soft? Is it back light, or side light or midday light? In this photo you can see that it is midday and very hard light.  So obviously a back light sunset is not going to work for this photo.  I chose a cloud overlay from Jessica Drossin, but you can even use your own if you want!  Go ahead and bring the overlay into your work space on Photoshop. Place the clouds where you think they would look the best.  Then turn off your new cloud overlay layer by clicking the eyeball next to the layer.  Then go to channels.  Select all your channels by clicking the RGB channel.  Now drag your RGB channel to the little marching ants circle at the bottom right of your screen.  Like this:

Callihan Photography in Columbus Indiana
Columbus, Indiana

Now go back to your layers and turn back on your cloud overlay.  Then click the masking tool to add a mask, seen here:

Callihan Photography in Columbus, Indiana

After that it should look something like this:

Columbus, Indiana

Now this is the part where you panic and say, “WHAT HAVE I DONE!!!!” It’s OK.  Do not panic.  It’s going to look a little weird.  At this point, by masking the channels it has given you a good start.  The rest is going to be by hand.  Paint in your masking layer with a soft black brush at 100%.  Make sure to cover all your subject’s skin and hair and the ground.  Make sure there are no hard edges where your overlay ends. Use different opacity brushes to get around your subject if needed.  

Columbus, Indiana photographer

Next is just fine tuning.  Sometimes the sky needs lightened. So, I usually lower the opacity to make it blend better.  Sometimes, it will need more contrast.  Sometimes you will need to darken your subject to make it look right. I usually use a curves adjustment layer to do this. In this example I felt like it needed more contrast. So, I added a contrast and vibrance layer (as I felt it was getting a little desaturated).  

Columbus, Indiana local photographer

Here is the before and after of my example image:

Before

Before

After

After

This WILL NOT WORK EVERY TIME.  Sometimes you have a picture that you just can’t make this kind of selection.  Or sometimes it just looks weird.  Sometimes you need to try out a few different skies.  Whatever the case is, this is the best way I know how to select around your subject and blend the sky into all those tree branches.  Please give this a try!! And if you do, please share it with me!! I’d love to see what you’ve done! Thanks for reading!

Your Vacation Guide to the Smokey Mountains

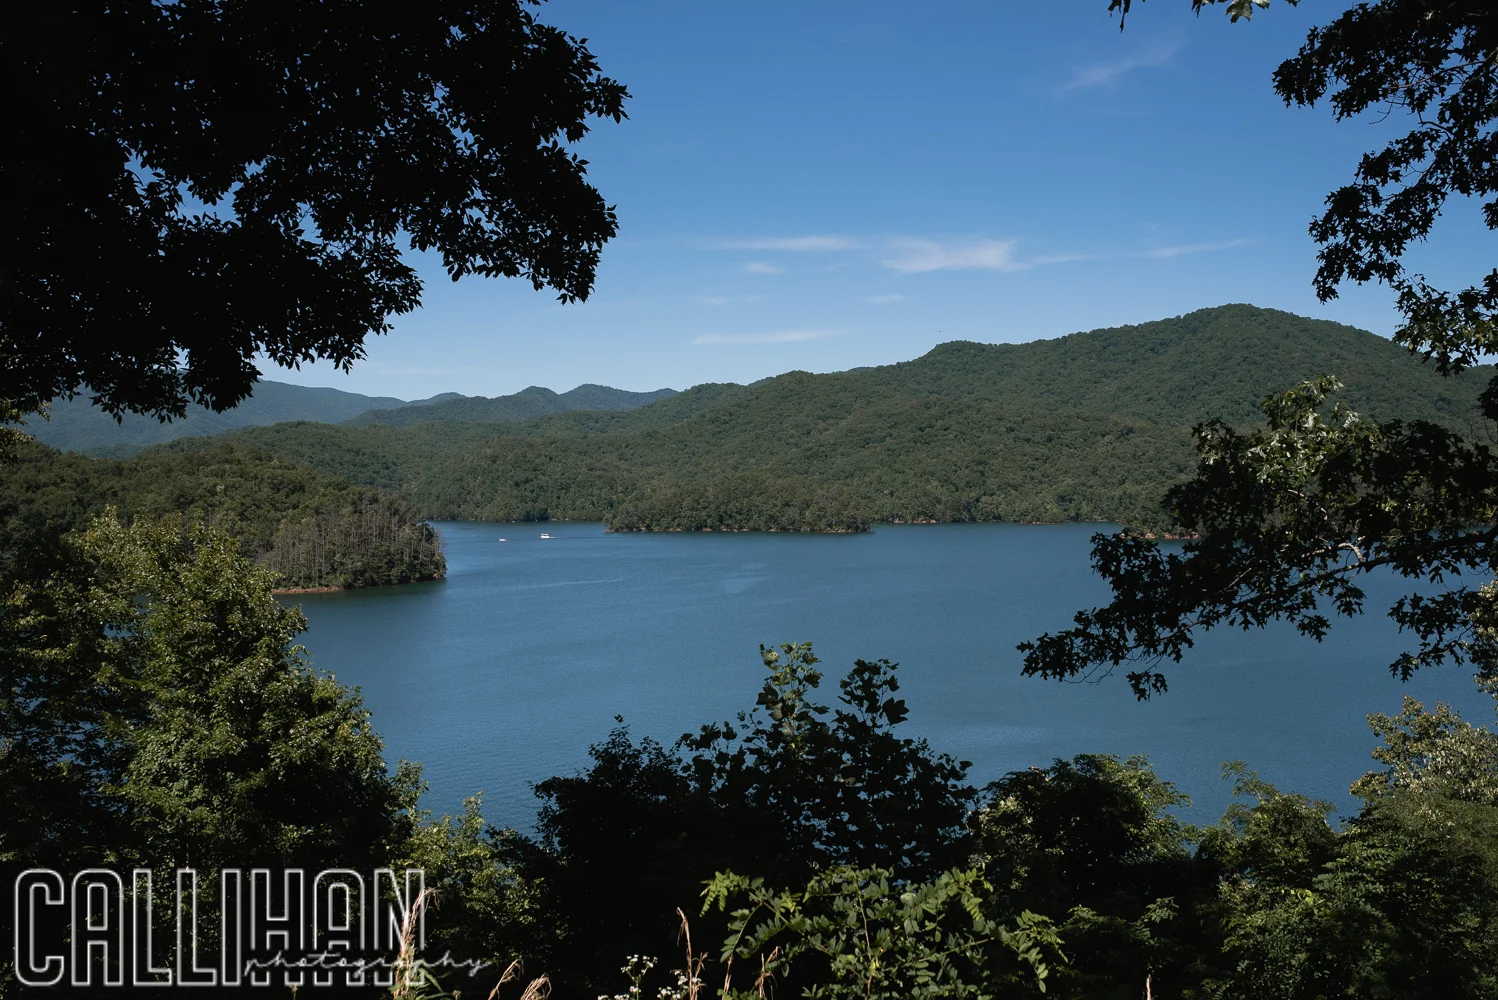
If you have not been to Gatlinburg, Tennessee you need to go!  The smokey mountains are beautiful and there is so much to do! My husband and I took a short getaway recently without the kids, but there are plenty of family friendly things to do.  The cabins are always reasonably priced, and they are located with beautiful views and minutes away from downtown things to do. The drive through the park alone is worth it! There are tons of places to pull off and admire the view.  

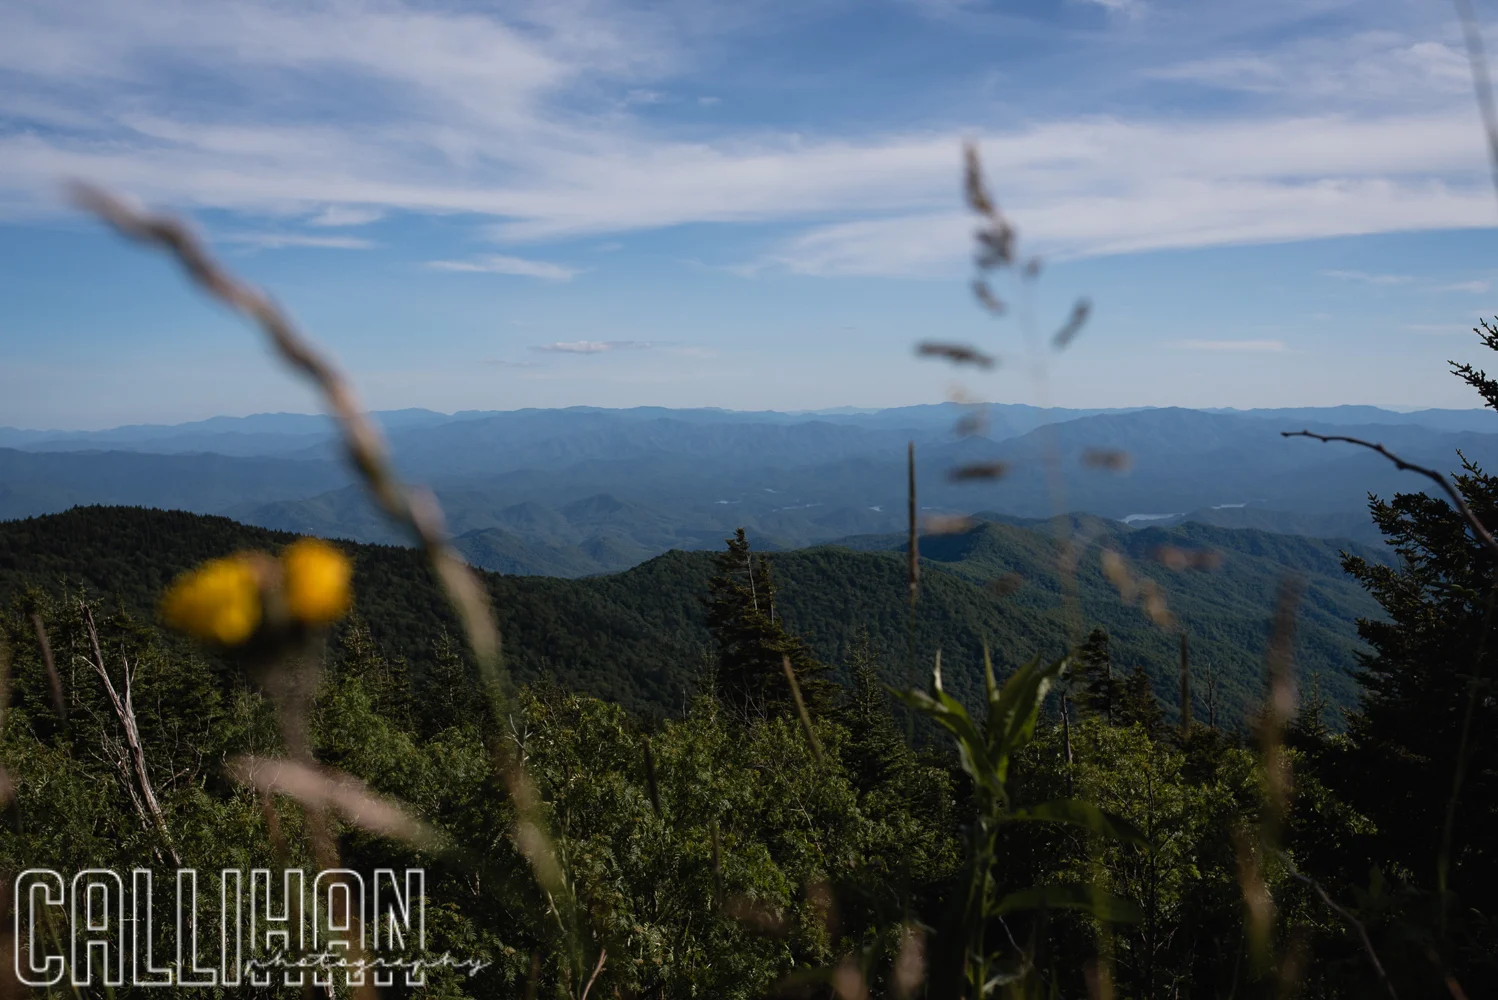
Gatlinburg, Tennessee, Travel Photography, Landscape photography,

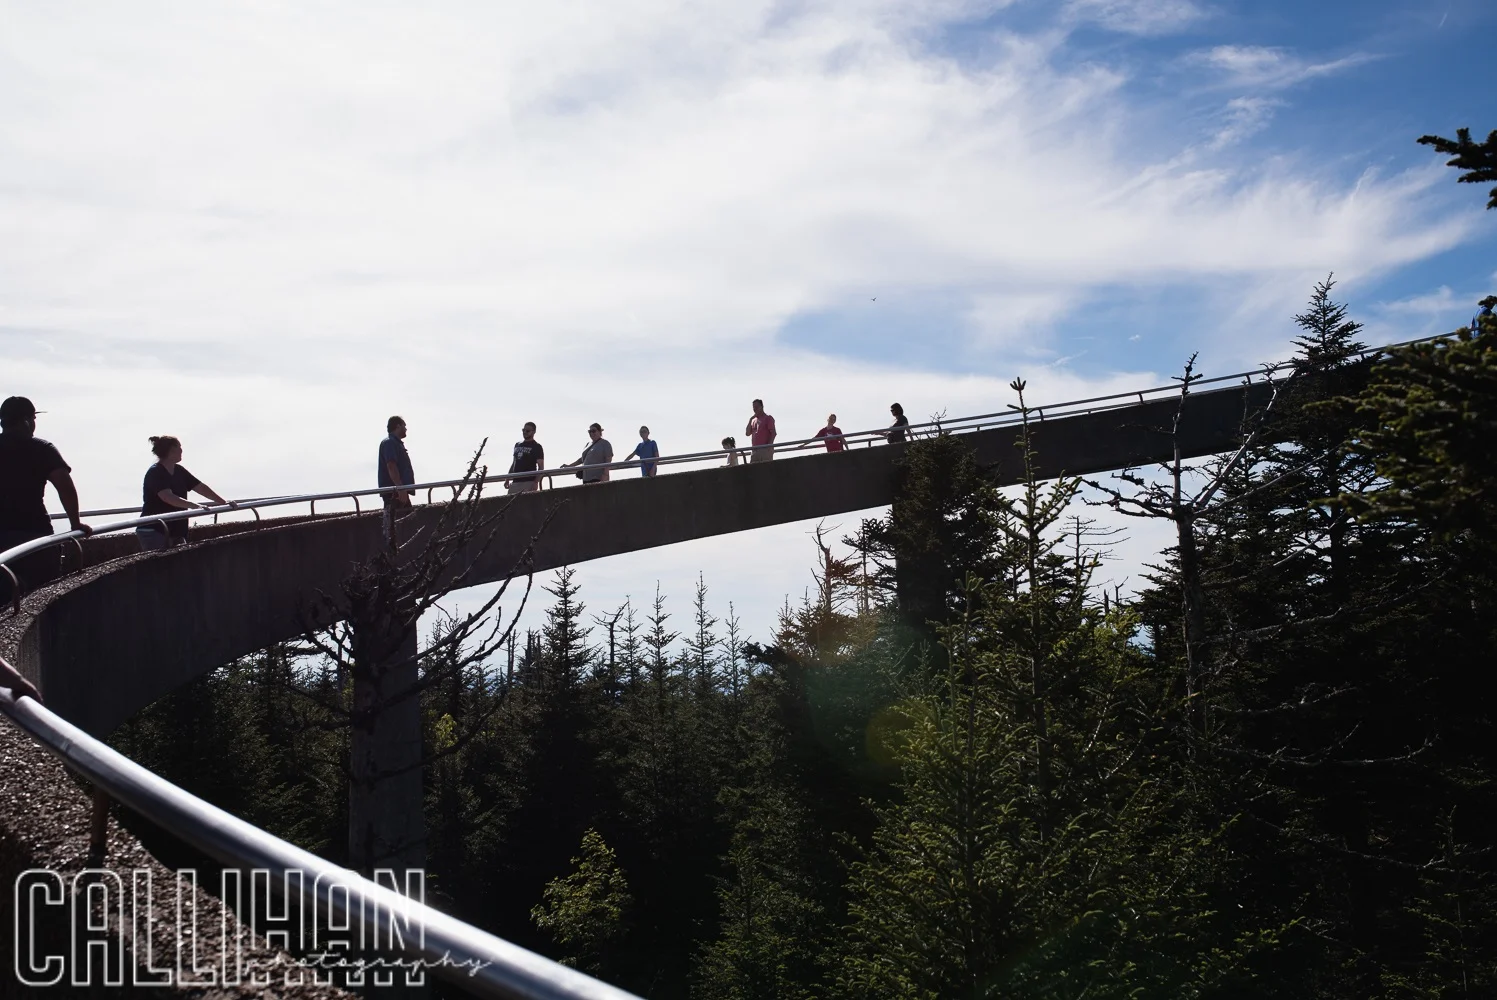
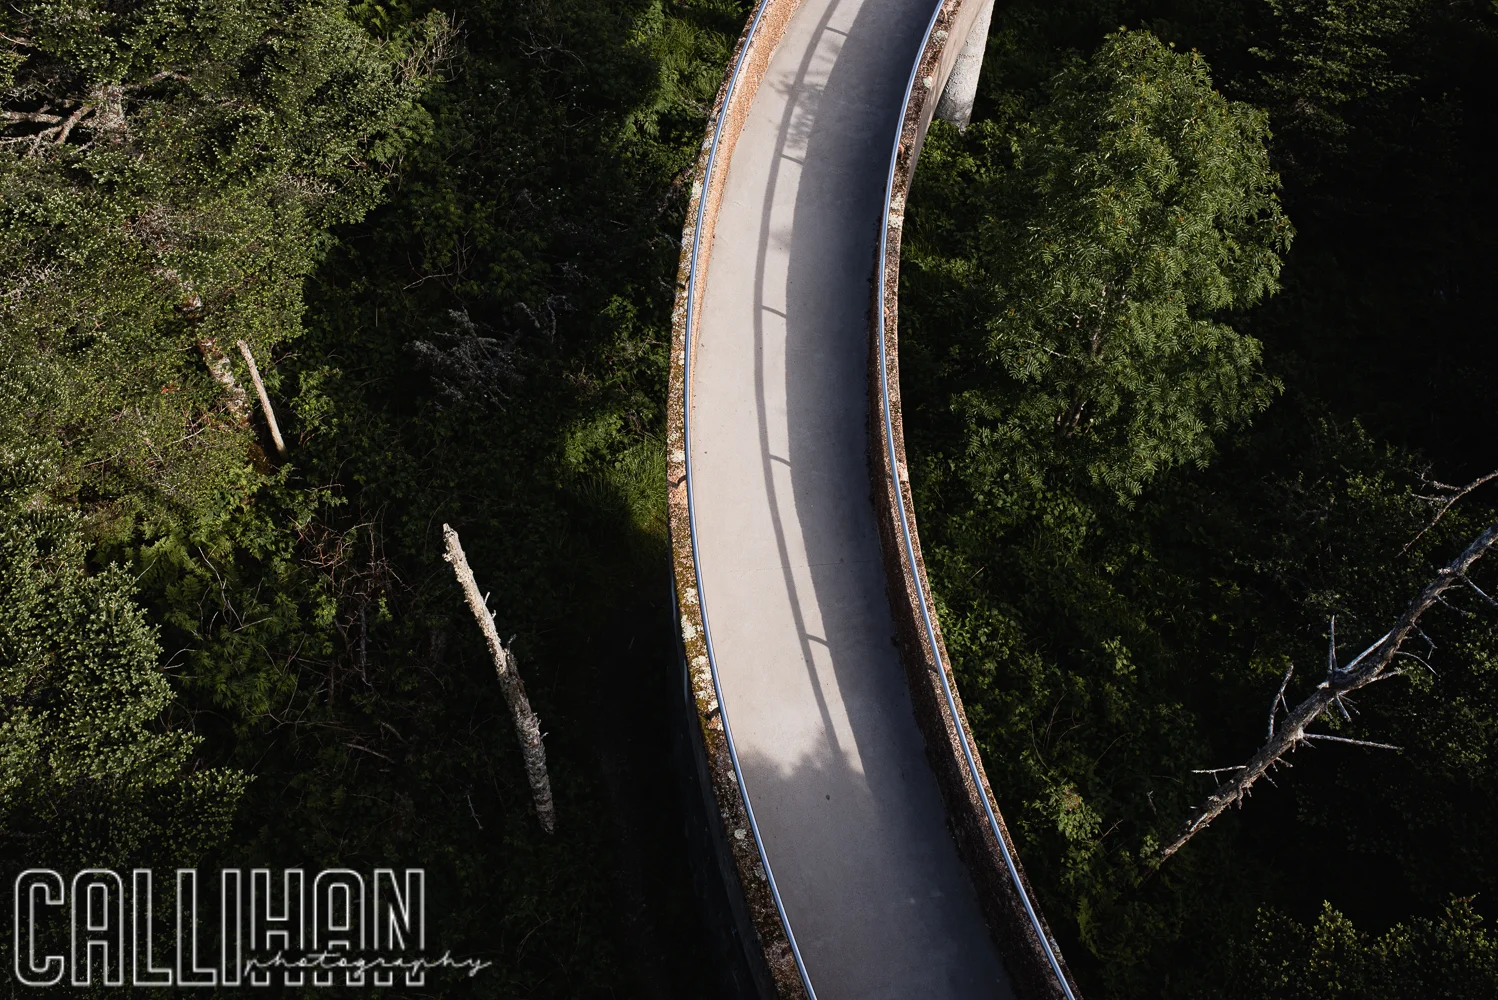
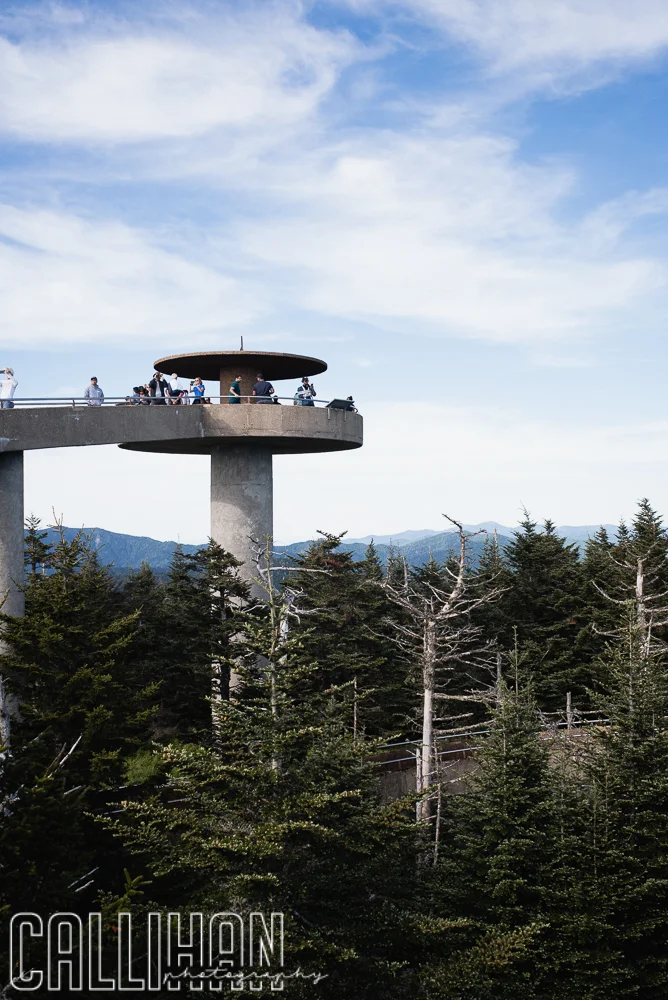
We went to Clingman’s dome.  The hike is a paved way to an amazing view! It is somewhat steep but very doable! There is a tower at the top and the view is beautiful.

Clingmans dome, travel photo, Gatlinburg, TN
Clingman’s dome, Travel Photography, landscape photography, Gatlinburg, TN

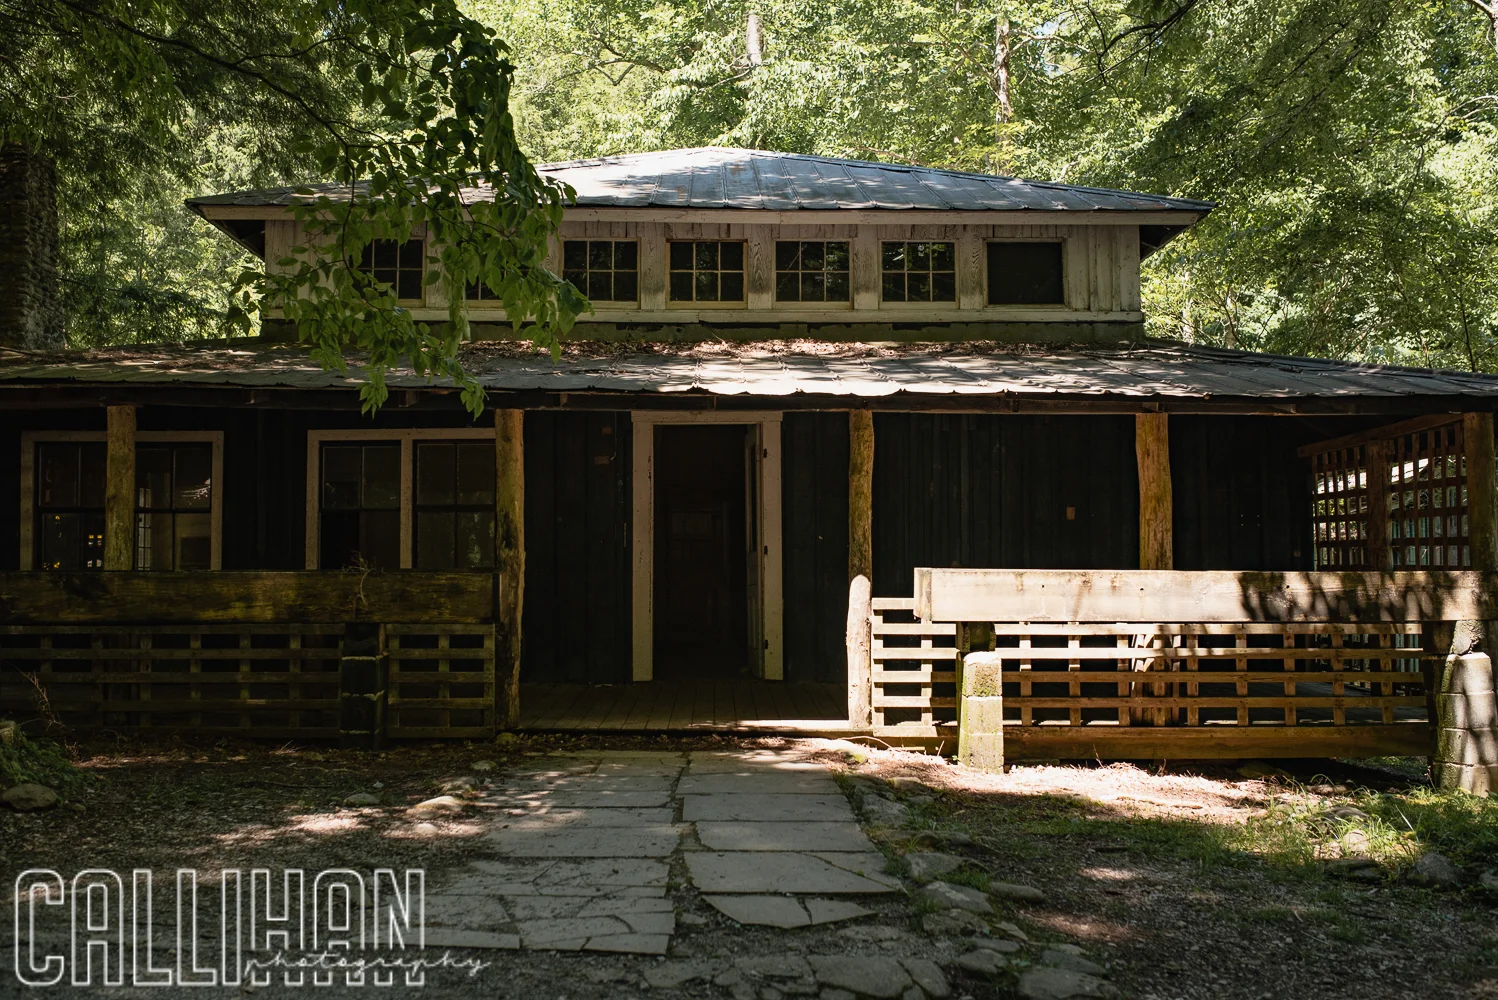
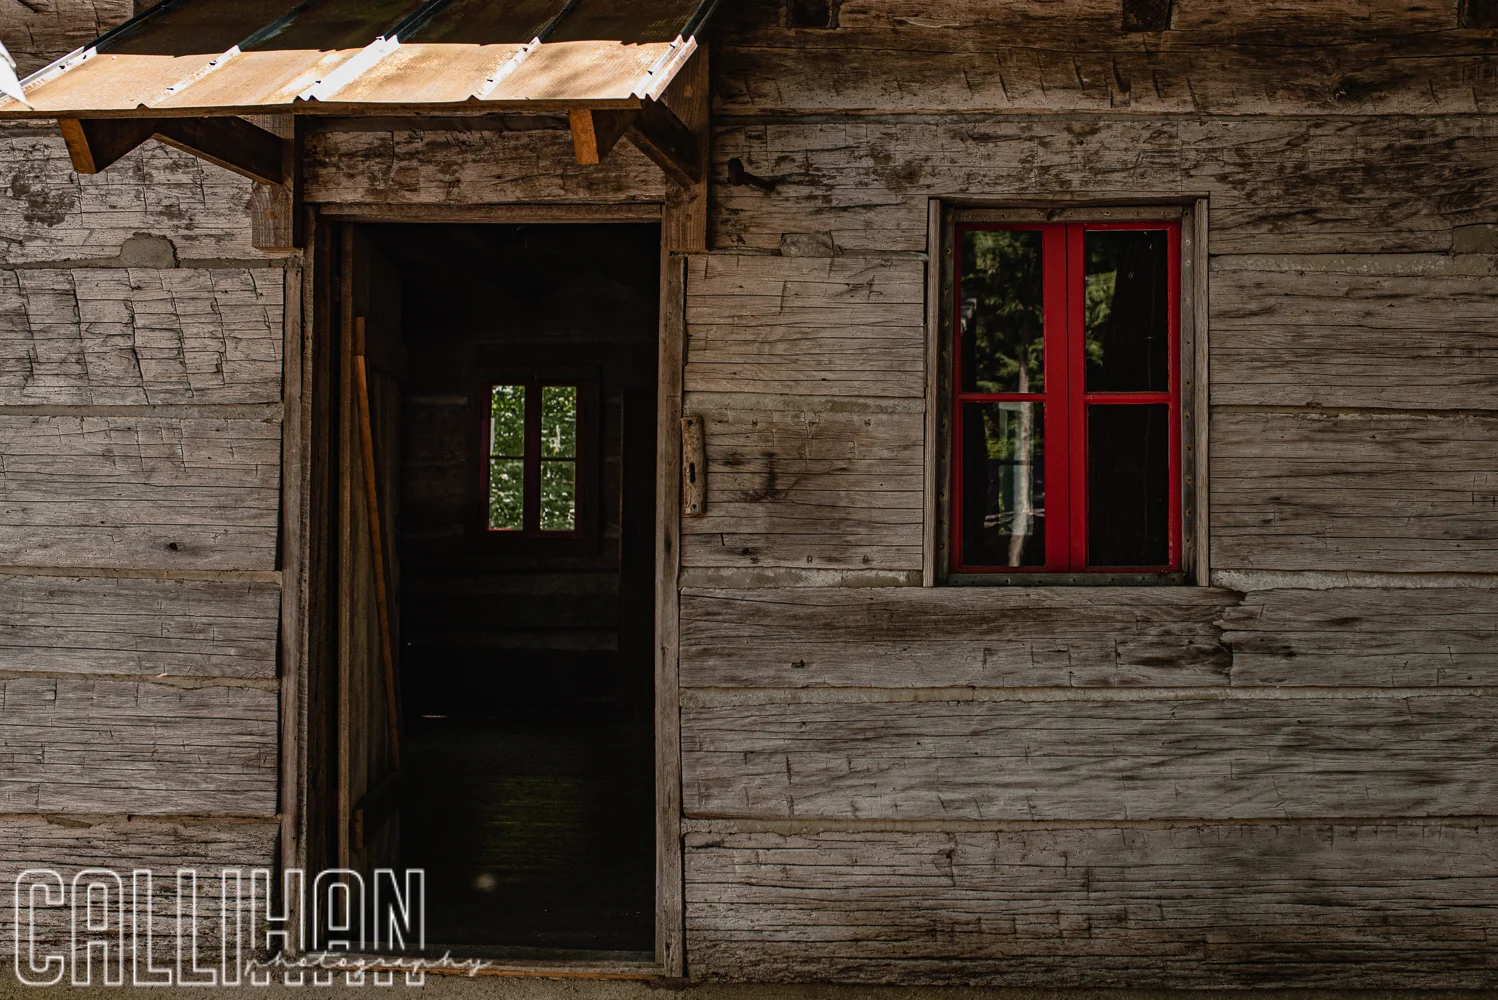
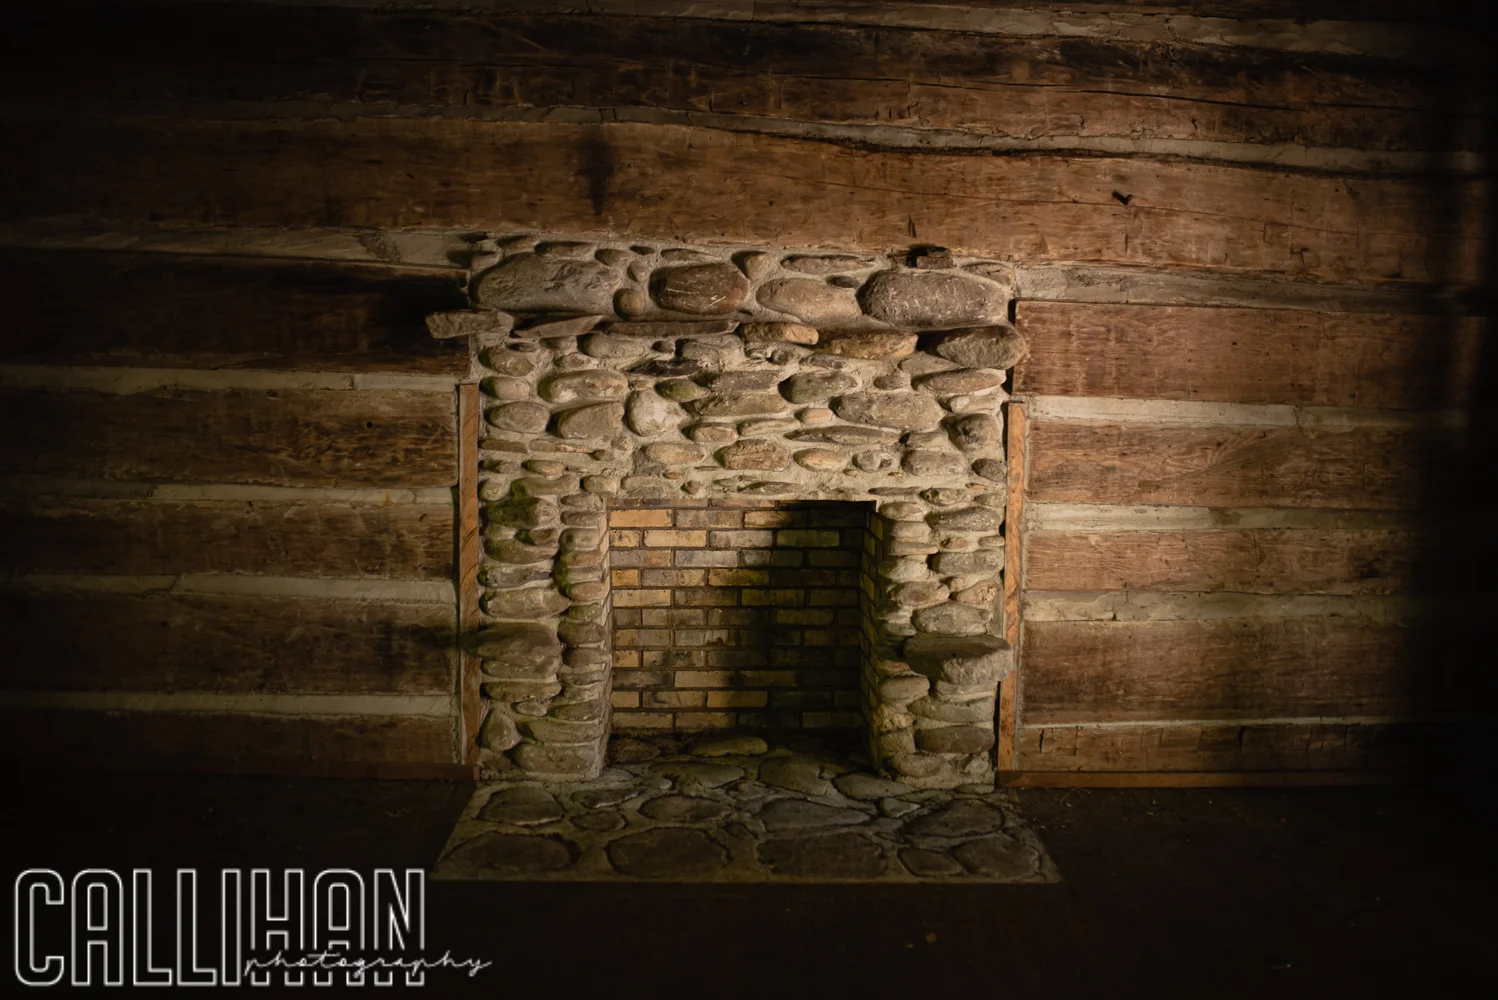
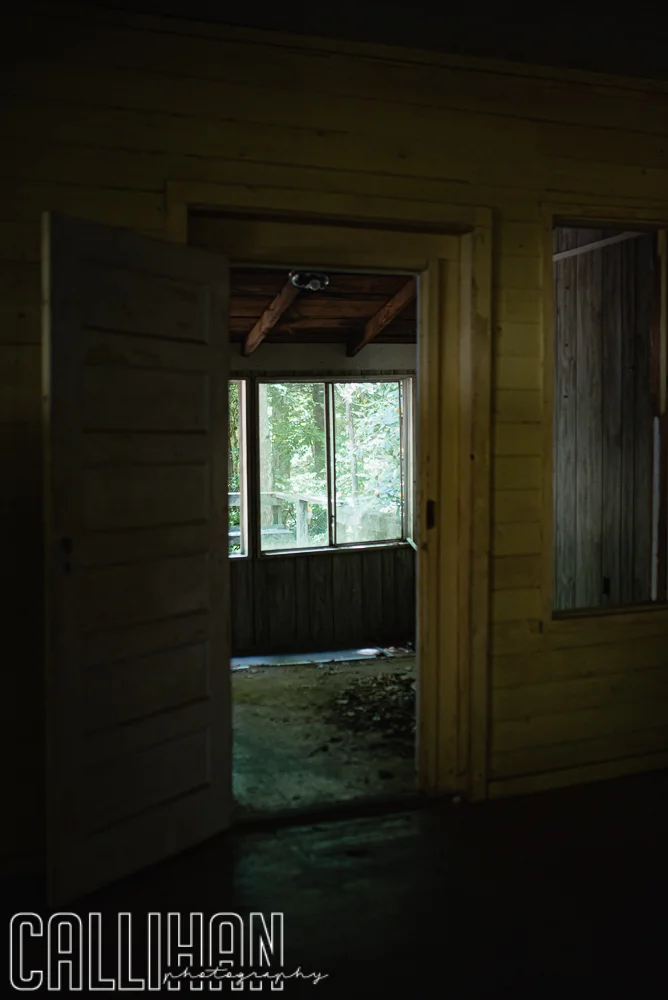
We stopped by Elkmont ghost town. I found it to be a photographer’s dream! Full of interesting angles and textures. I could’ve spent hours there exploring. We visited midday so the sun didn’t give the pictures the atmosphere it deserves.  Maybe this spot deserves a revisit sometime in our future, but maybe that’s just me.

We went up the Gatlinburg Skylift park, where you ride a ski lift up the mountain.  There is a suspension bridge at the top which has glass floor panels in the middle.  It is not for the faint of heart if you are afraid of heights.  I didn’t have my big camera up there, which was unfortunate.  I was terrified of dropping it!

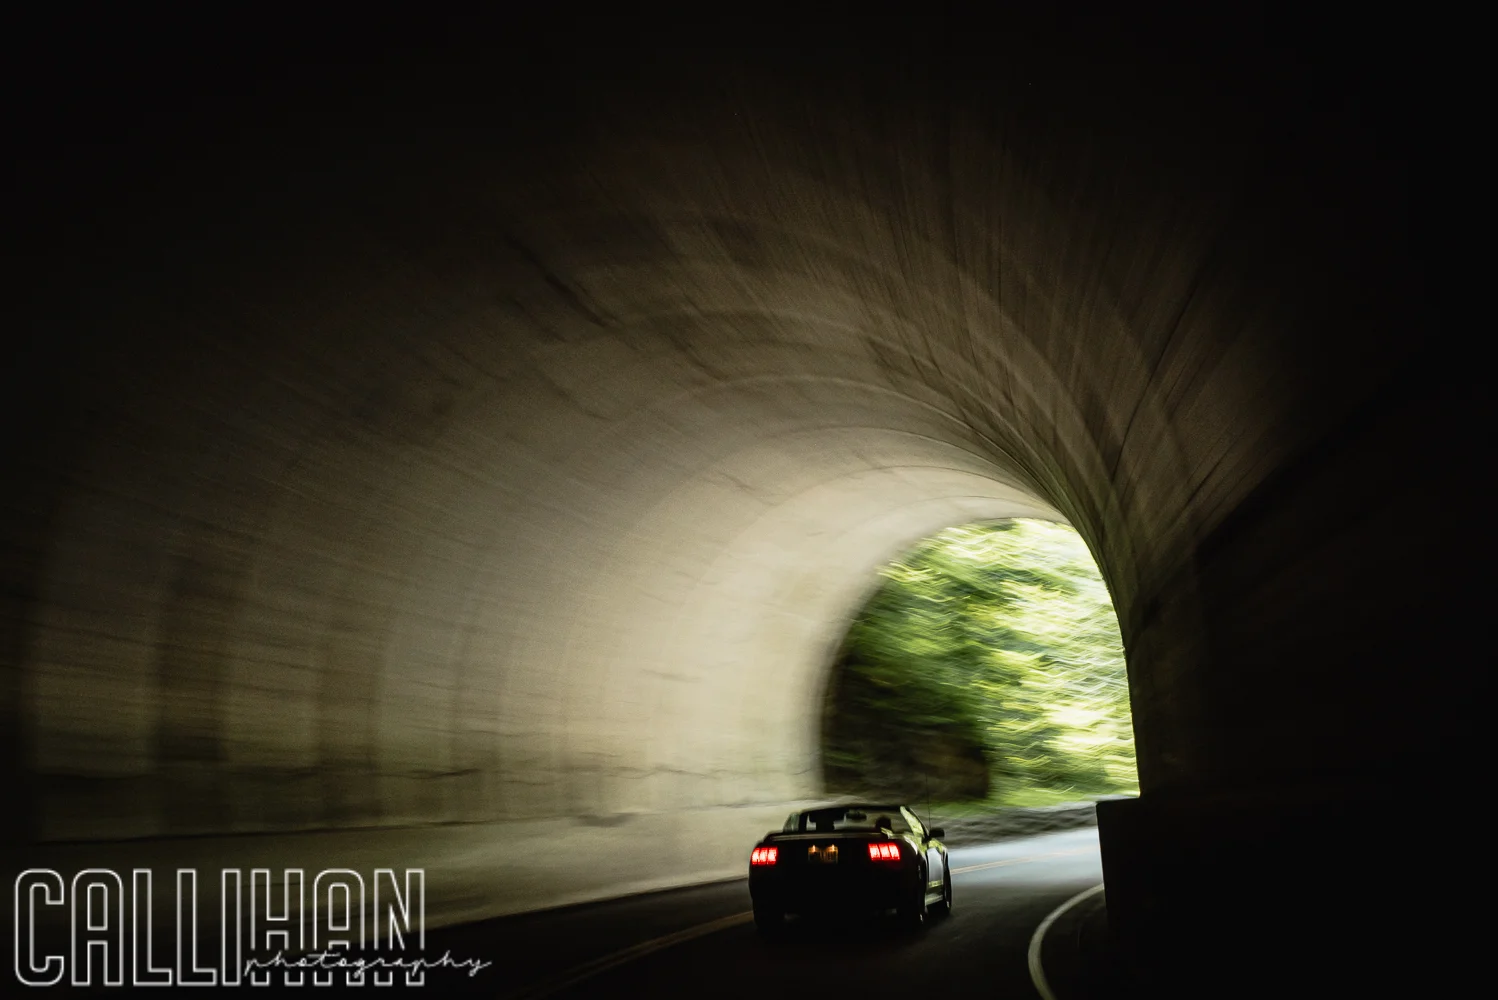
We drove on the Tail of the Dragon! Which is 318 curves in 11 miles.  Let me tell you, I never want to do that again! I was so carsick afterwards! If you get motion sick this one is not for you. But it was a once in a lifetime experience that was worth it.  However, NEVER AGAIN!!!

Panning Car, Gatlinburg, TN Travel Photography,

On the way home we went by Cumberland falls.  This was a worthwhile stop! The falls are beautiful, and it was a good break from driving.

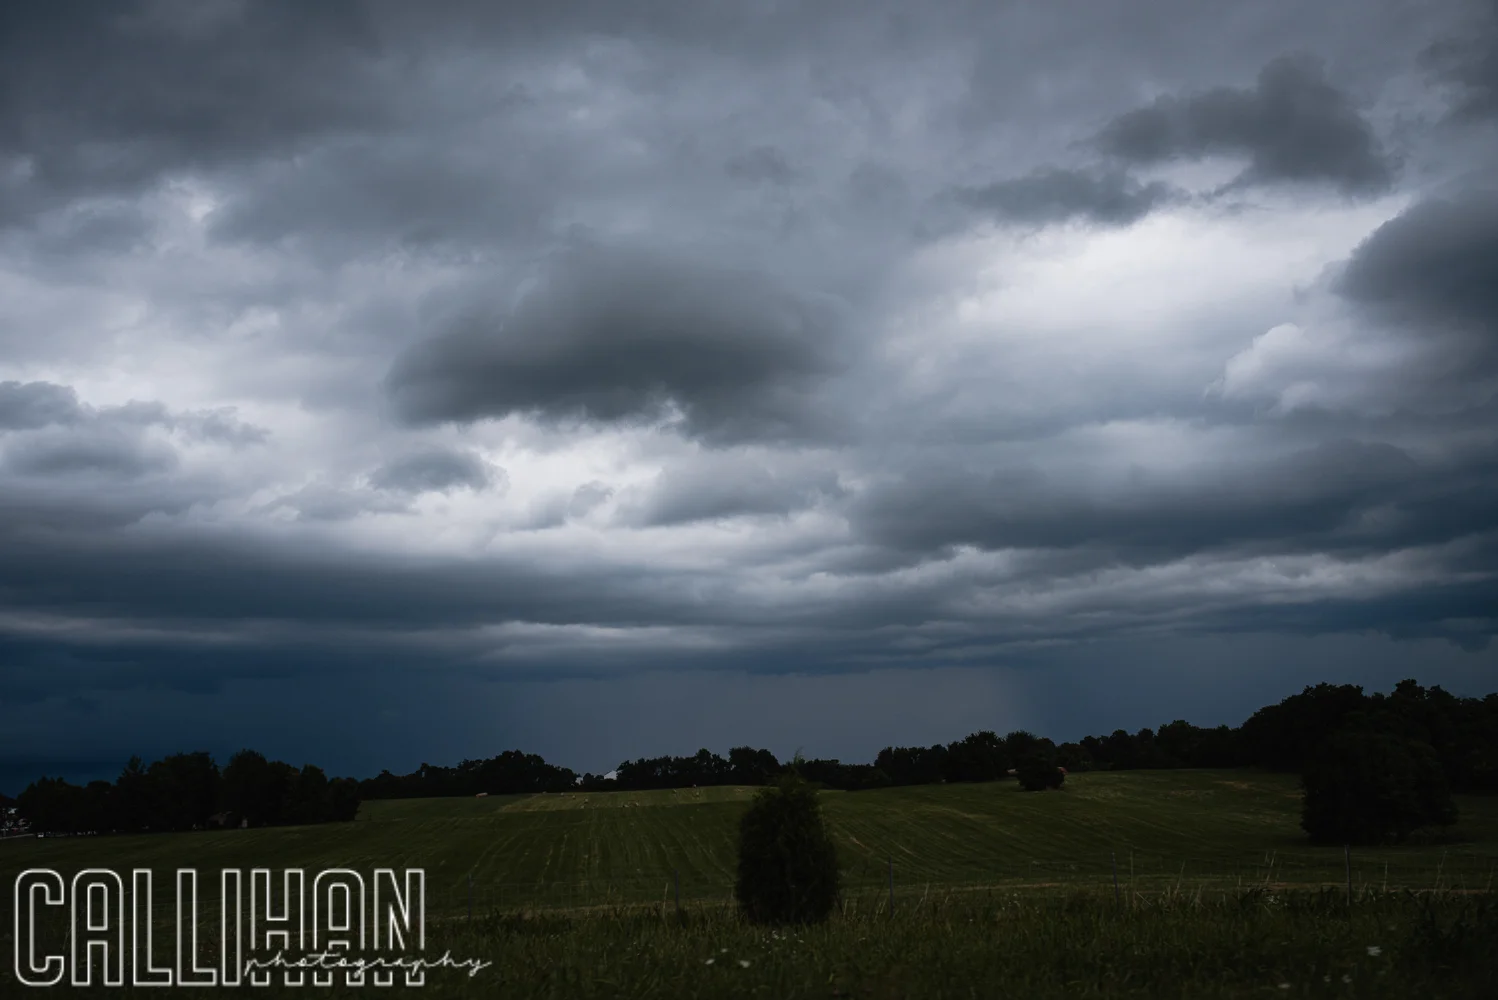
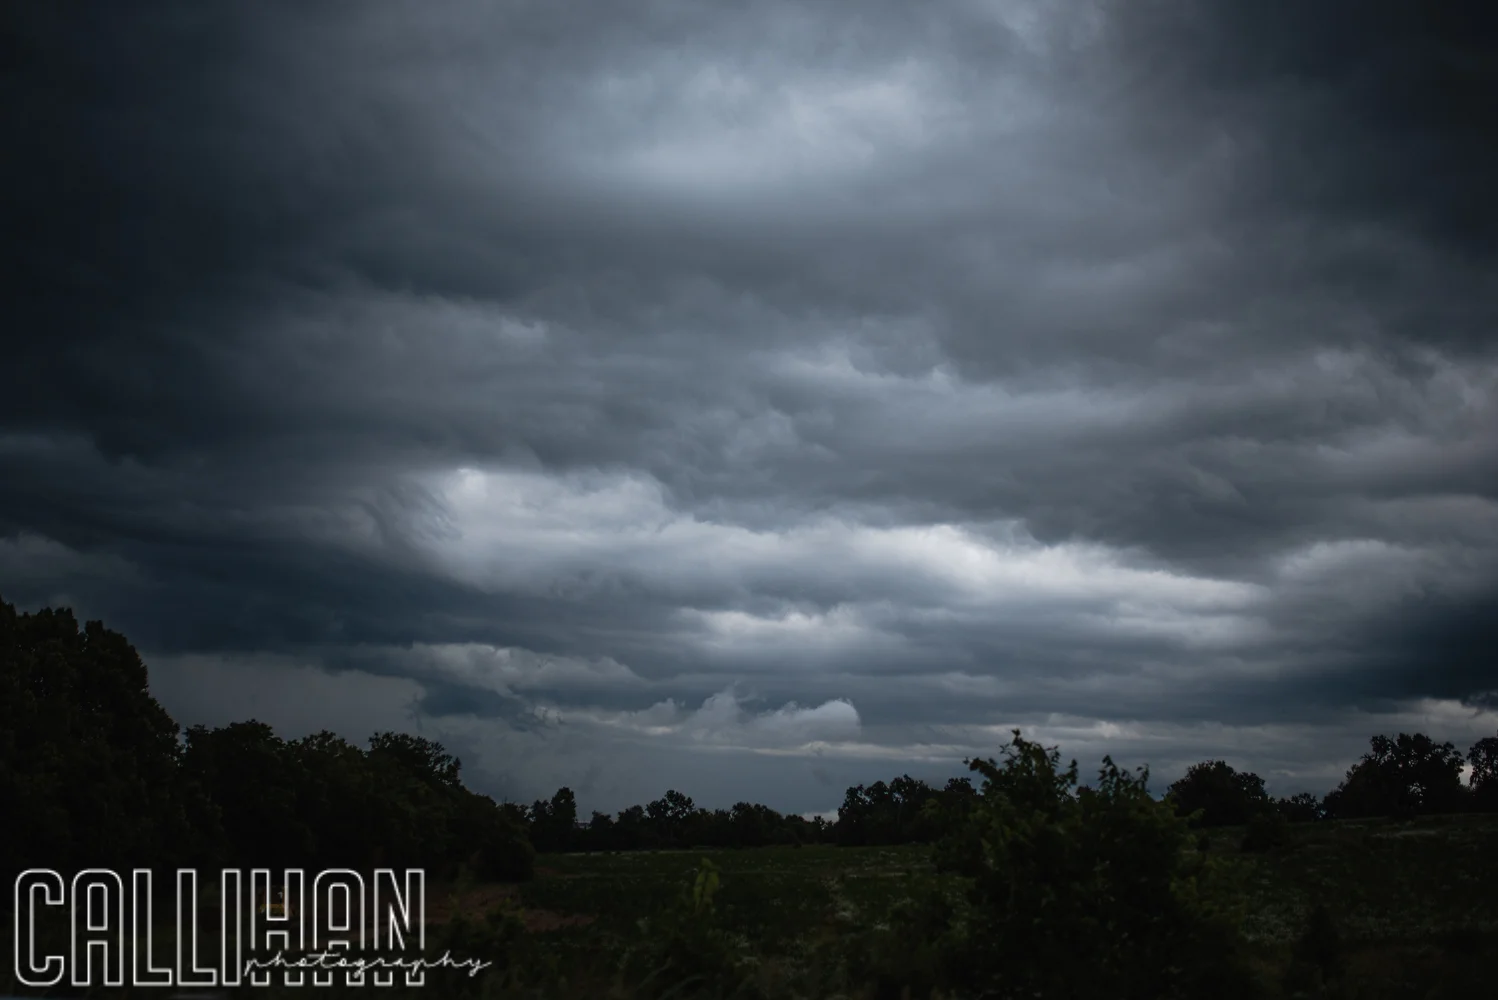
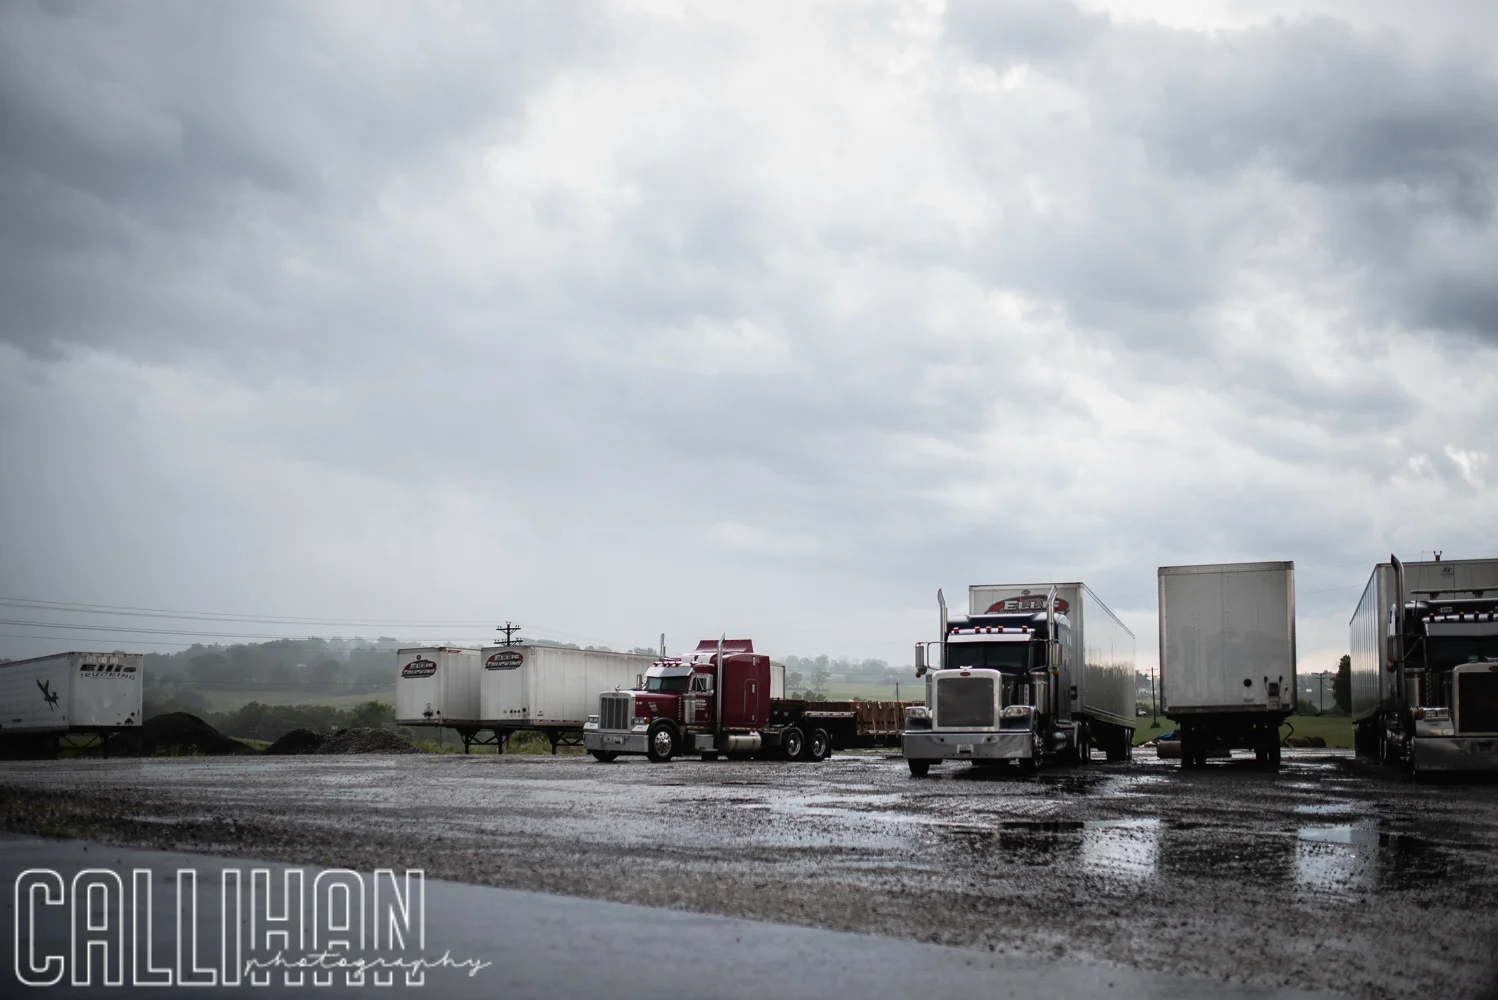
The weather was absolutely perfect the whole time we were there! However, on the way back we were hit hard with rain. I took pictures out the window the whole time. They turned out to be some of my favorite landscapes. The sky was rolling! I loved every minute.

Thanks for reading.

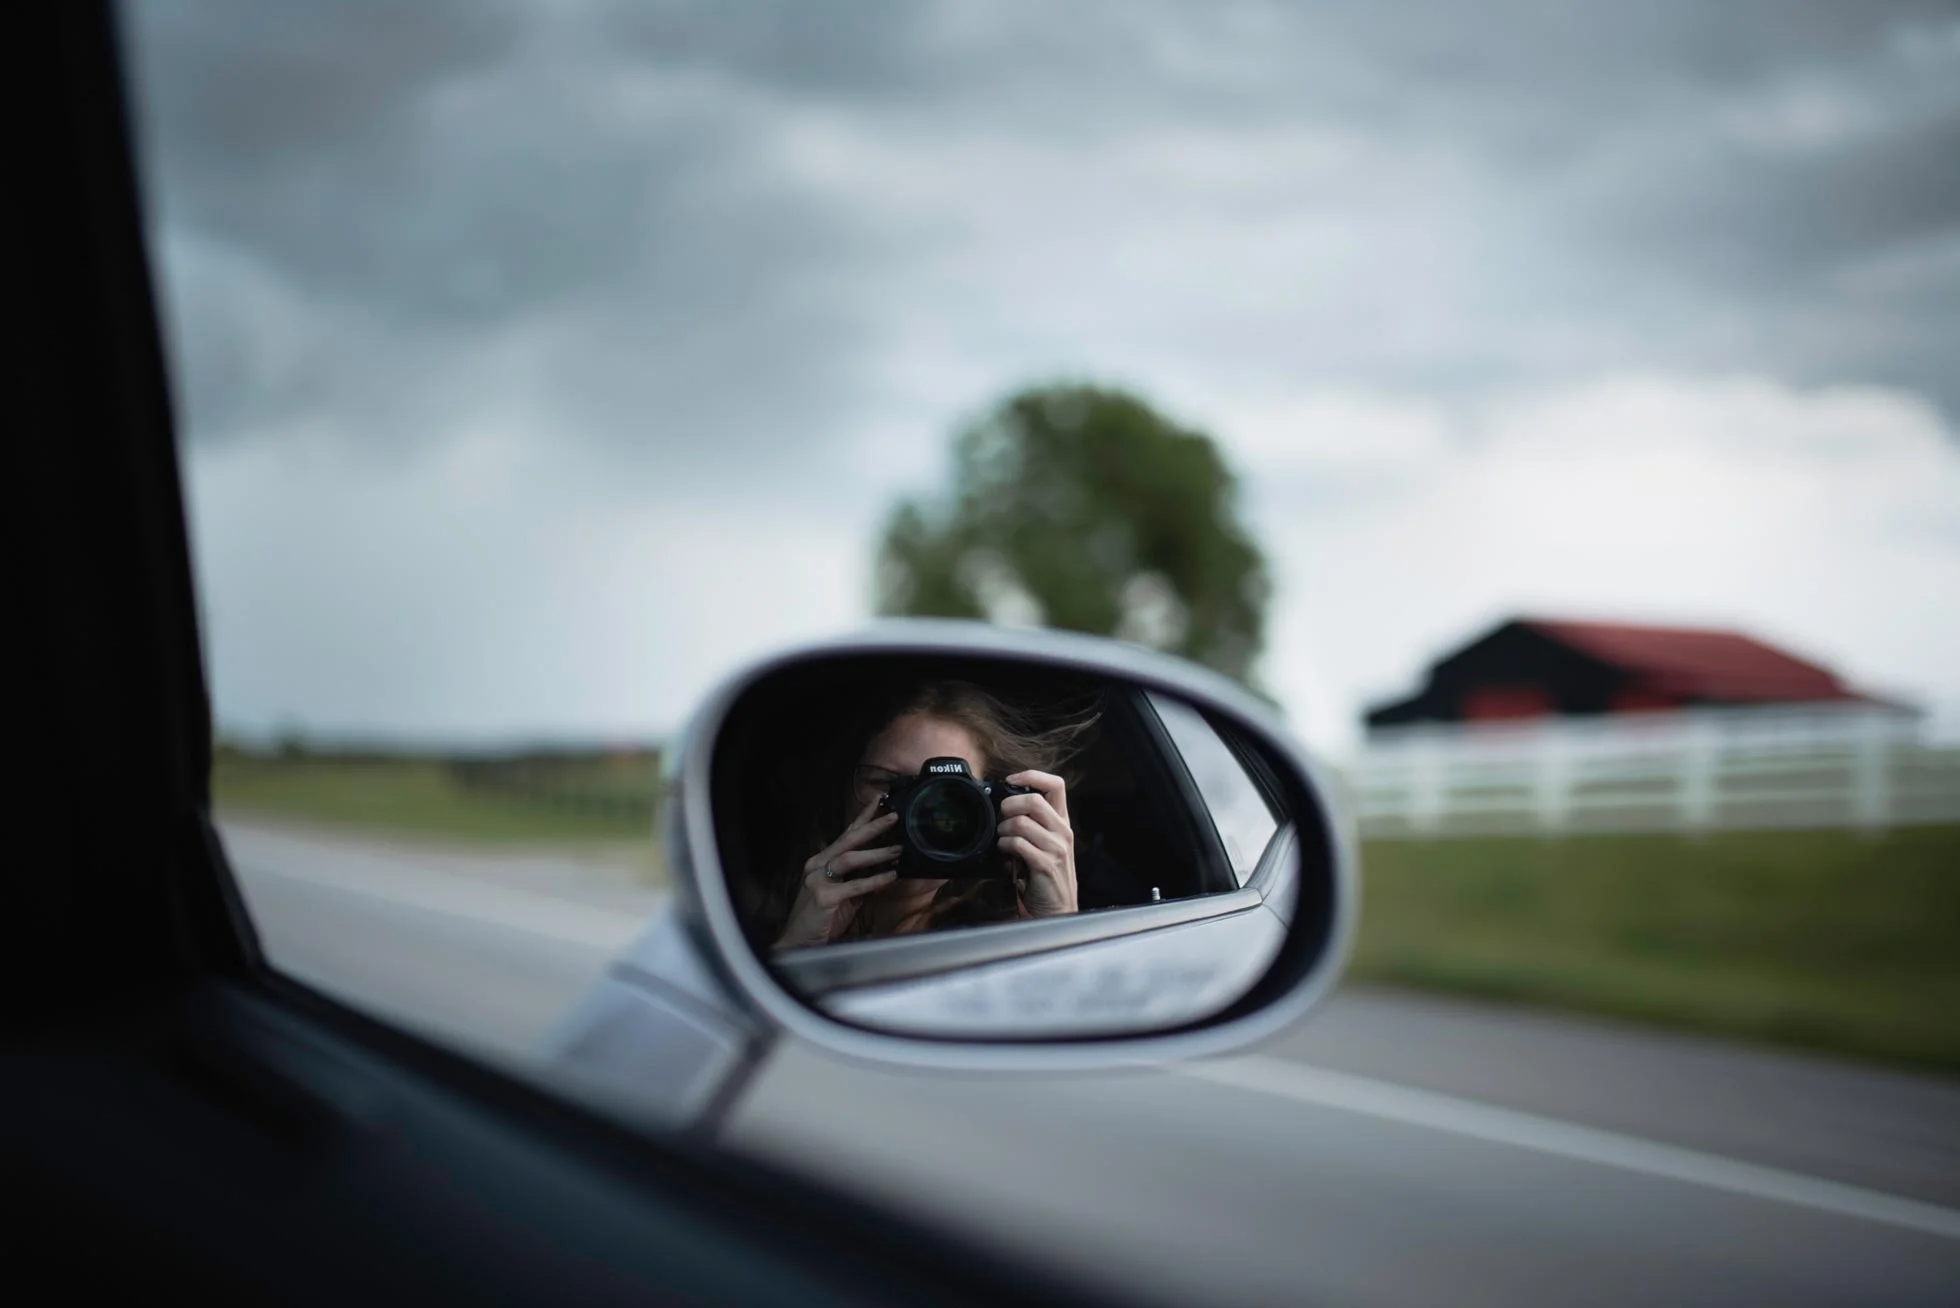
Self portrait, Columbus, Indiana Photographer

How To Do a Simple Composite

Here is my photograph that I am going to use to be the center of my composition.

Cabin, black and white picture for Photoshop Composite, Columbus, Indiana

I start out by using the quick selection tool to select the cabin and some of the ground. I then copy and paste it to a new document in Photoshop. (I just use a generic size and then extend my canvas with the crop tool).  Next step it is cleaning up the image.  You can use the erase tool, or you use a layer mask to tidy up those edges and get rid of anything extra the quick selection tool may have selected.

Photoshop edit, How to do a Composite, Columbus, IN

I then add more ground by selecting some from other pictures I took from the same shoot. Keep the edges of everything soft by using the blur tool or use a soft brush on a layer mask. Next, I add the sky and use a black and white layer to make everything black and white.  In this picture I used a cloud layer from Jessica Drossin’s Macabre skies and overlays.   However, you can use one of your own if you have one! To make sure the light is coming from the same direction in my clouds as it is in my cabin picture I flip the sky horizontally (which may not be necessary in your image) and then add a gradient fill layer (white to black) to change the light. I changed this to layer to soft light and adjusted the opacity to my liking (28%).

How to do a composite photoshop tutorial, Columbus, Indiana

Next, I added a smoke layer for the chimney mostly to add more drama! The smoke layers also come in Jessica Drossin’s Macabre Skies and overlays package. Then I add some more smoke/fog to the bottom using another overlay.  You can also create a fog brush. Phlearn has a very handy tutorial here.

Screen shot for tutorial example, smoke overlays, Photoshop tutorial, Columbus In

Then I notice the ground in front of the cabin is a little too bright.  So, I simply paint over it with a soft black brush (on a new layer).  I then set it to soft light and adjust the capacity to my liking (54%). Then I add a stamp visible layer (which is all the layers put into one new layer) by using the short cut Ctrl+Alt+shift+E (on a PC).  I then went to Filter + noise + add noise.  I selected Uniform at 1.05% - Then I set that layer to soft light and adjusted the opacity down to 38%. This just brings everything together in a more cohesive way.  

Photoshop Tutorial, how to do a composite, Callihan Photography, Blog, Columbus, Indiana

I then darkened part of the entire image and added contrast using dim the lights action (which comes with Jessica Drossin’s Macabre Skies Package).  This is a Gradient Map layer, but you could just add a brightness and contrast layer to do roughly the same thing. After this I just cleaned some of it up using the clone tool, and blurring parts of the image.  (Blurring can trick your eyes into thinking something belongs in the image when it doesn’t.) And then you have my final image here:  

Final Image, Callihan Photography, Columbus, Indiana