Treasure Hunting

So, I went to a garage sale at a used photography store in Indianapolis.  It was pretty fun! They had lots of things that I am not well educated on, and lots of things I did not recognize.  Lots of old film cameras. I regret not picking one of those up just to try out.  But at least if I have the need to use film, I have my Diana F Lomography camera.  Ooo, maybe I will use that soon and blog about it! Anyhow, I did pick up a couple of old lenses.  The first one is a Hanimex 28mm f2.8 lens.  It is not a fancy lens.  In fact, it is credited with being the worst lens ever! Hanimex was an Australian distributor that produced several lens mounts to many different camera systems around the 60’s or 70’s.  (The time was a tough one to find so take that with a grain of salt.) But I wanted something that I could freelens with that would be super cheap. I have found that when you close down the aperture you get a really fun hexagonal lens flare! It’s a manual lens which is good, so that I don’t have to tape open the shutter when freelensing.  (Which you have to with Nikon lenses as the shutter is usually automatically closed on an automatic lens.)  So worst lens ever? Meh! I like it to get me out of a creative slump.  Sometimes just trying something new can help me get into a more creative mind set. 

HANIMEX+lens.jpg
Hanimex-28mm-lens-example.jpg
hanimex-28mm-lens-flare.jpg
callihan-photography-columbus-indiana.jpg

I also got a Vivitar Series 1 28-90mm Macro lens. It is also known as the “stovepipe” due to its long profile with a wide front end.  Makes perfect sense.  It really does look like a stovepipe, and it is heavy!
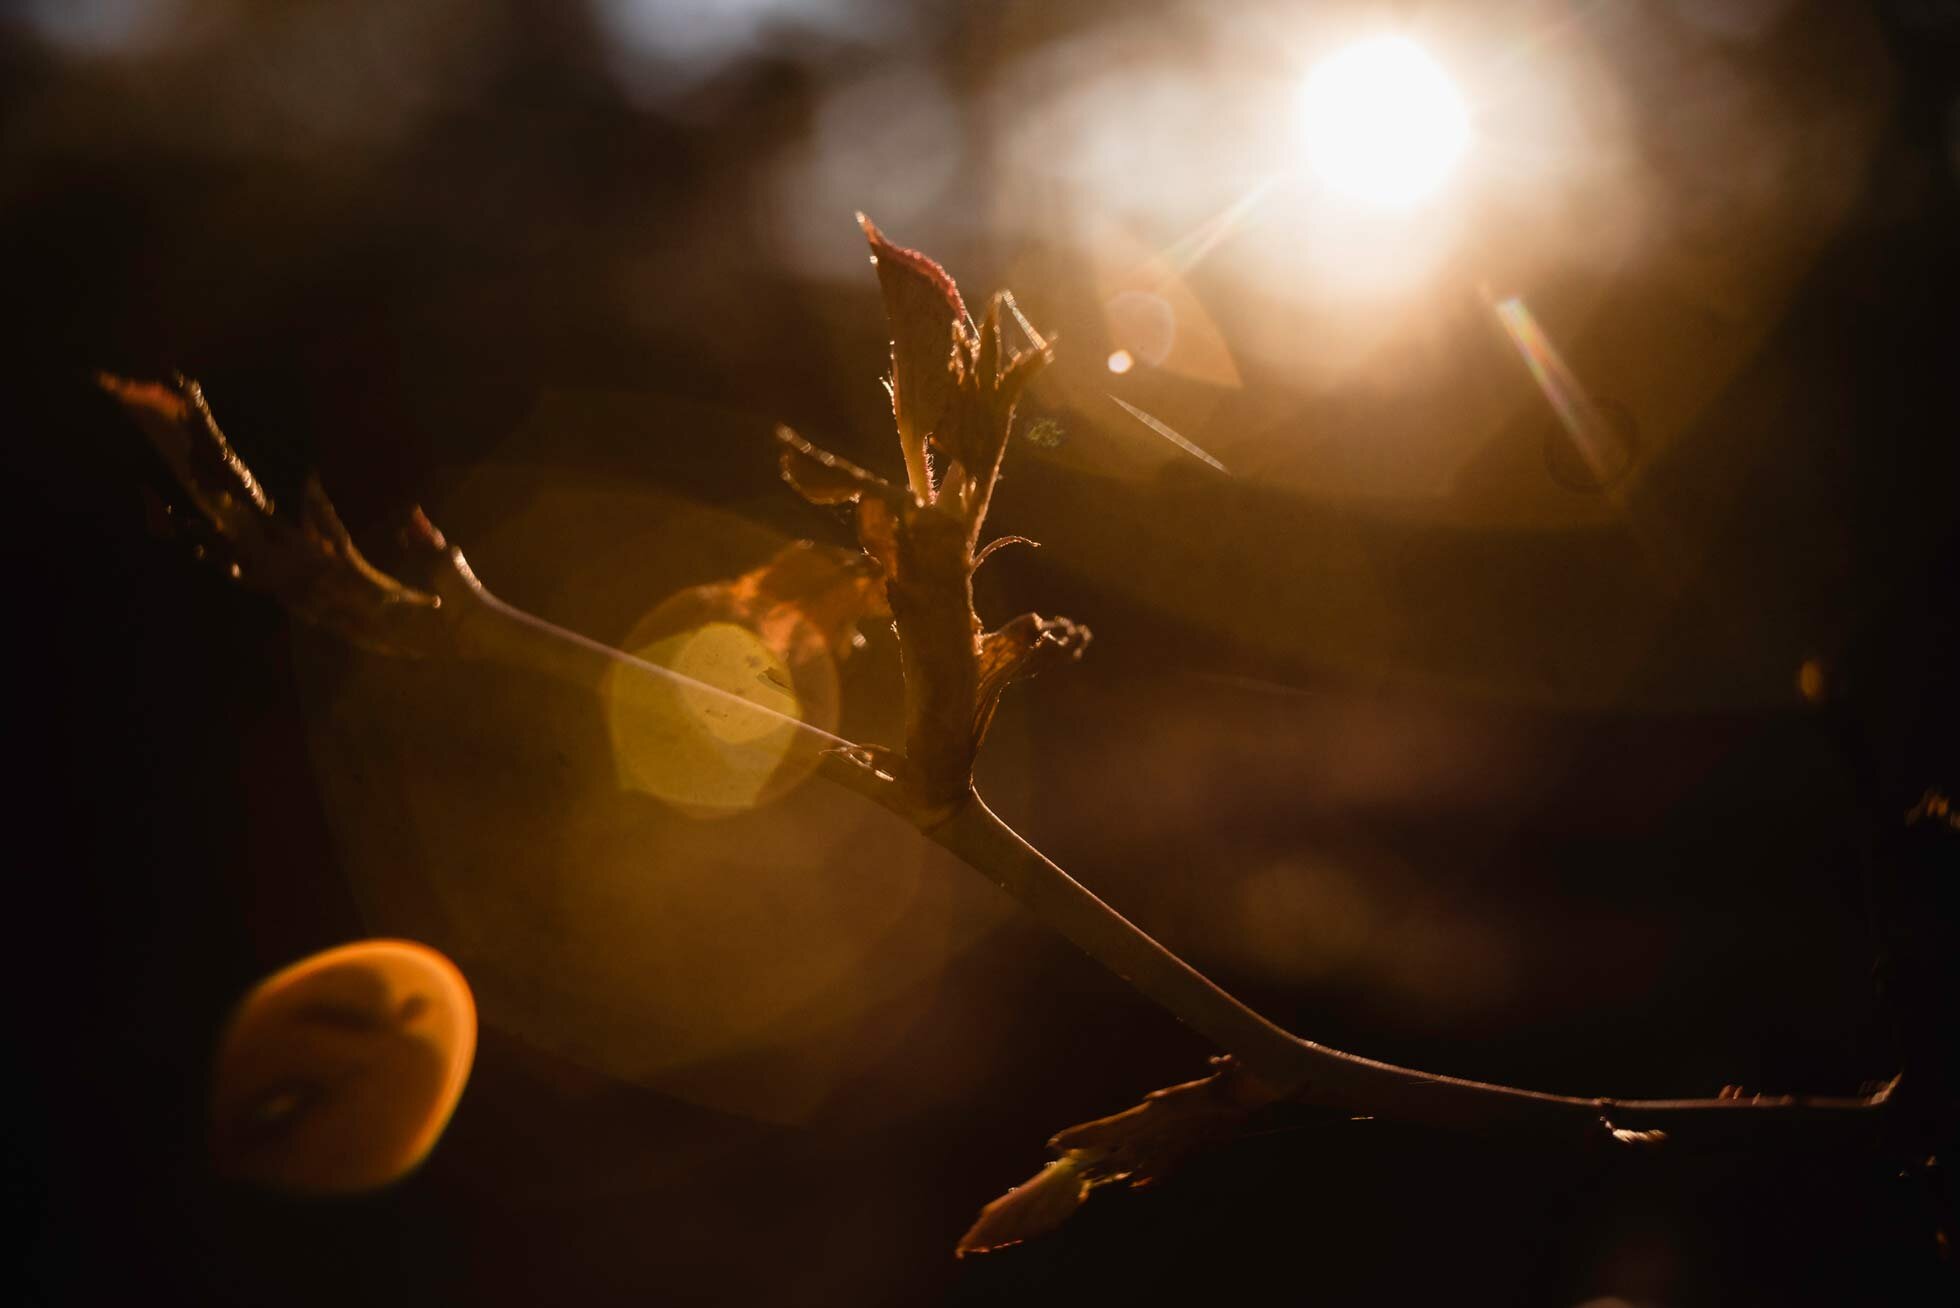
This one is kind of in rough shape.  The aperture gets stuck, and I end up having to completely guess on my exposure.  I might have to take it apart and see if I can repair it.  It was not costly, so it is very low risk working on it. It also has a fun lens flare.  You can see in my photos that there are several little orbs.  So, this was a fun experiment as well!   

IMG_0053[2923].jpg
vivitar-series-1-lens-example.jpg
Vivitar-series-1-macro-lens.jpg
lens-flare-by-callihan-photography-columbus-indiana.jpg

These two lenses are very different from what I have! I just thought I would share some of my fun experimentation’s with them.  Do you have any vintage lenses? Feel free to share some photos with me if you do!  

Thanks for reading.  
Top 5 Things to Photograph for Spring

Spring time is a perfect time for photography! The weather is cool and not too hot yet, the flowers are starting to bloom, the sun is starting to shine more. Here are some ideas of things to photograph in the spring time.

Flowering trees

This time of year, the trees start to bud and turn green.  Forsythia bushes start blooming in yellow bursts. Magnolia trees are one of the first things to blossom around this time of year.  It only lasts a short period of time, so be sure to get out there and get your pictures done!

callihan-photography-flowering-tree.jpg
callihan-photography-spring-photos.jpg
What-to-photograph-for-spring.jpg

Weeds

Farmers hate them, photographers love them! Weeds start springing up everywhere! Dandelions, and henbit are some of the first things to start sprouting.  There is nothing better than that classic kid photo of them making a wish on a dandelion.  As days get longer you will have more and more light to work with.  Make the best of it!  

callihan-photography-in-columbus-indiana.jpg
callihan-photography-spring-examples.jpg
callihan-photography-spring.jpg
flowers-by-callihan-photography.jpg

Outside Time

Finally!! After months of being stuck indoors, the kids can run wild and free! Be sure to capture those happy kid faces.

callihan-photography-spring-photograph.jpg
columbus-indiana-photographer-callihan-photography.jpg

Baby animals

I think this is just a springtime standard.  Baby animals just signify spring.  Maybe it has to do with Easter- new life and such.  Anyhow, we usually start with new chickens in the spring. It is always a must to capture new chickens.     

callihan-photography-spring-chickens.jpg
callihan-photography-baby-chicken.jpg

Stormy Skies

The weather gets a little crazy in the springtime.  Warm fronts move in, there is always a lot of wind and rain.  Wind in the hair always adds movement and interest to an image. Sometimes you can catch an interesting and stormy sky!  Especially just after a good rain.  Just make sure to protect your camera from getting wet! I have a rain cover that I use sometimes, but a Walmart sack will work too in a pinch!

callihan-photography-stormy-clouds.jpg
wind-in-your-hair-photography.jpg
callihan-photography-stormy-sky.jpg

These are just some of my ideas for spring. Spring is a perfect time for a photo shoot, so contact me if you’d like to set one up!

Thanks for reading!

How to Light Paint in Photography

Light painting is something I have begun to experiment with lately! I just think it is so fun and unique. Light painting is fairly simple, and just requires some trial and error.

light painting by callihan photography

What you will need:

In addition to your camera you will need a tripod.  A tripod is absolutely necessary if you want crisp clear images.  Another thing you might want to try is using an off-camera flash.  You will also need a completely dark setting. No ambient light in the room at all, or it will show up in your picture. (which is another option-see below).   

Settings:

Start with a low ISO around 100-500. Then adjust your aperture.  If this is a self portrait it is best to close down and have a higher f-stop.  This will give you a wider range of focus. Next step is to pick your shutter speed.  Depending on what kind of light painting you are doing you can go anywhere from 1 second to about 30 or 60 seconds.  If you want a lot of light painting and you have a separate subject, I have found the best setting is bulb, and then you can hold open your shutter as long as you’d like.  Try out your settings and adjust accordingly. 

light-painting-and-dancing

Experiments:

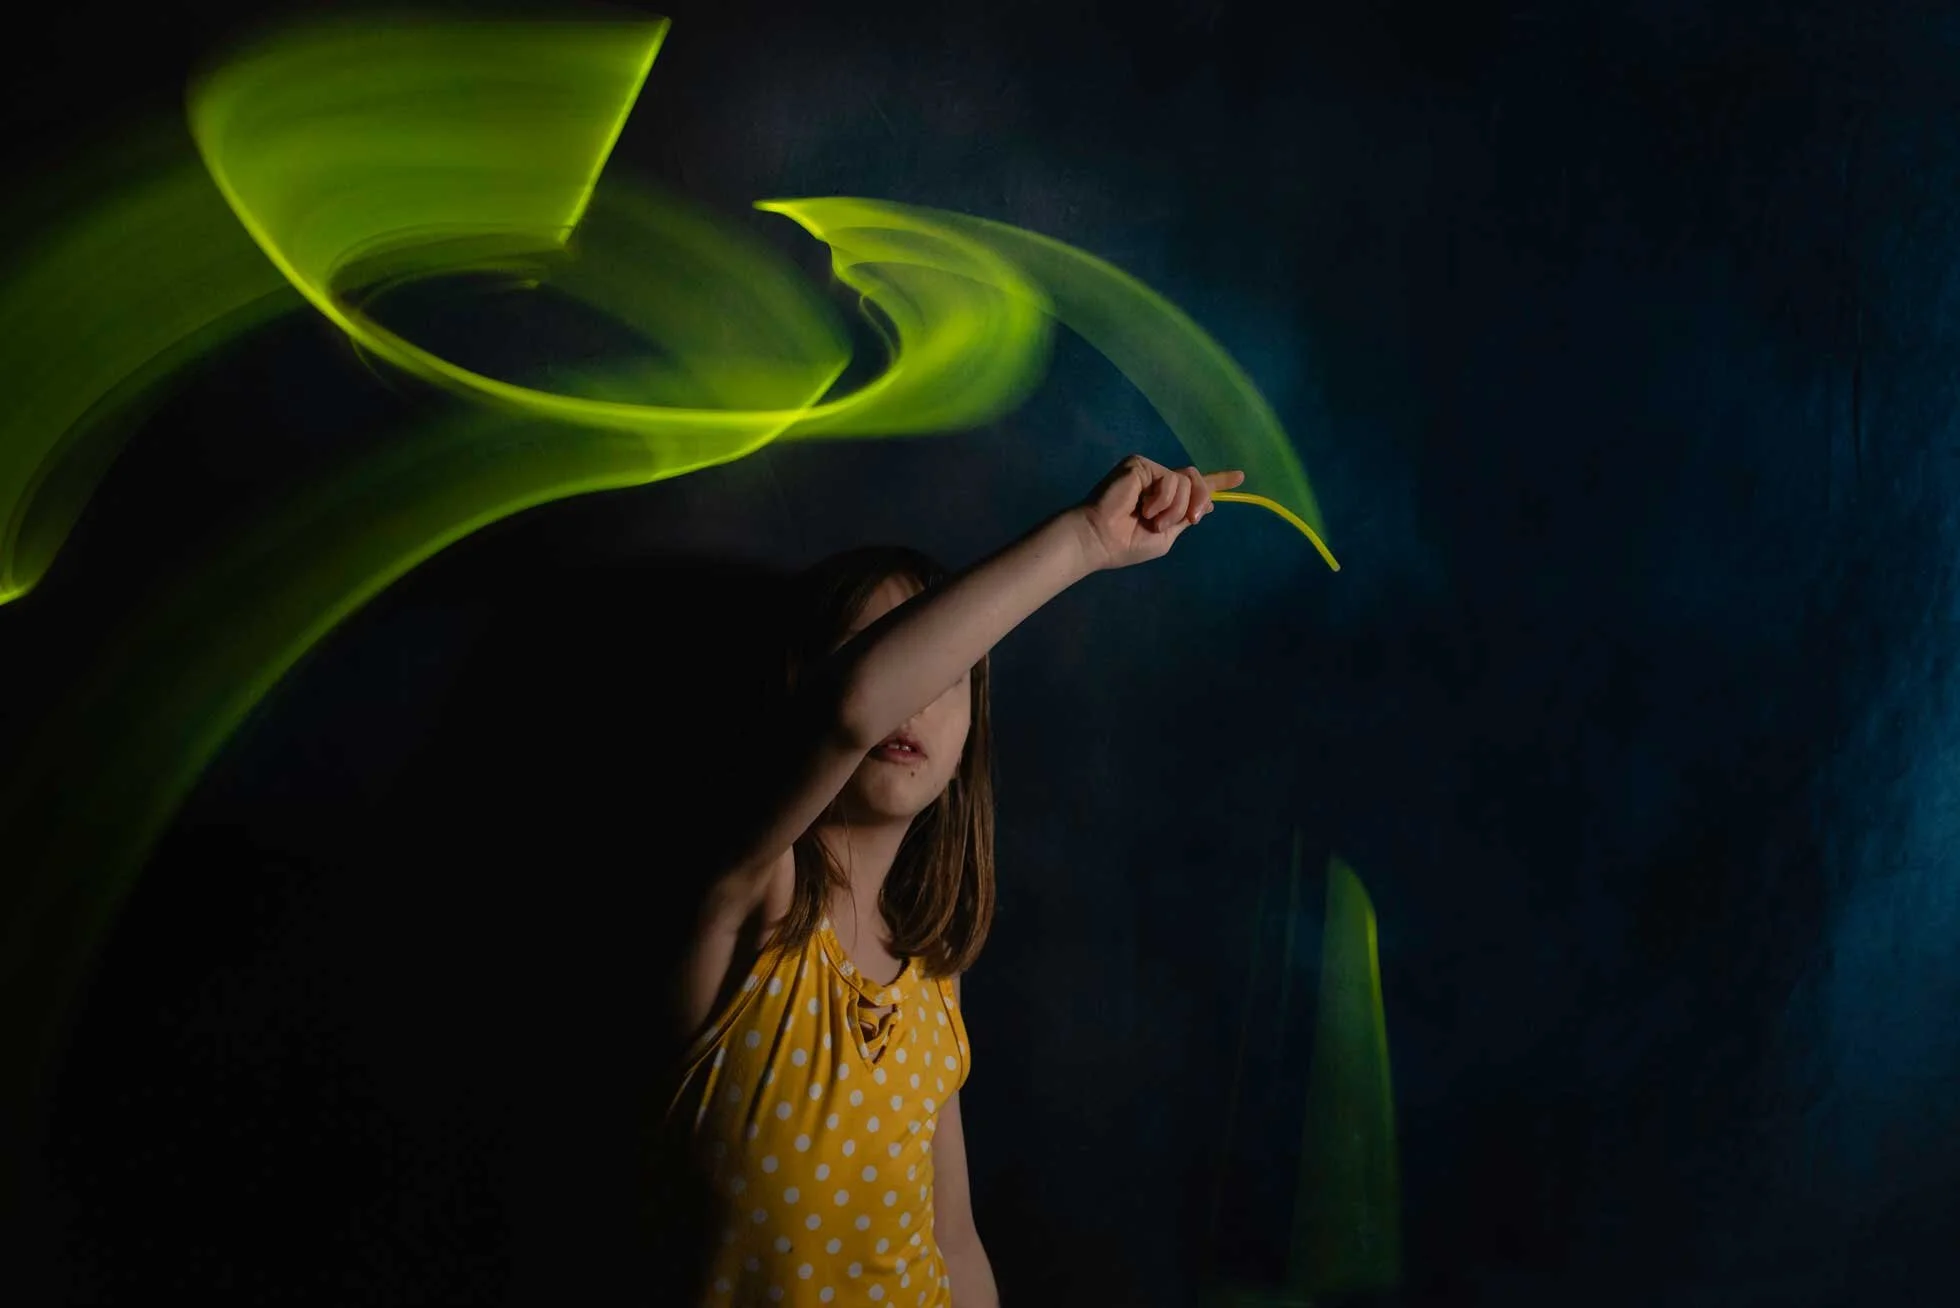
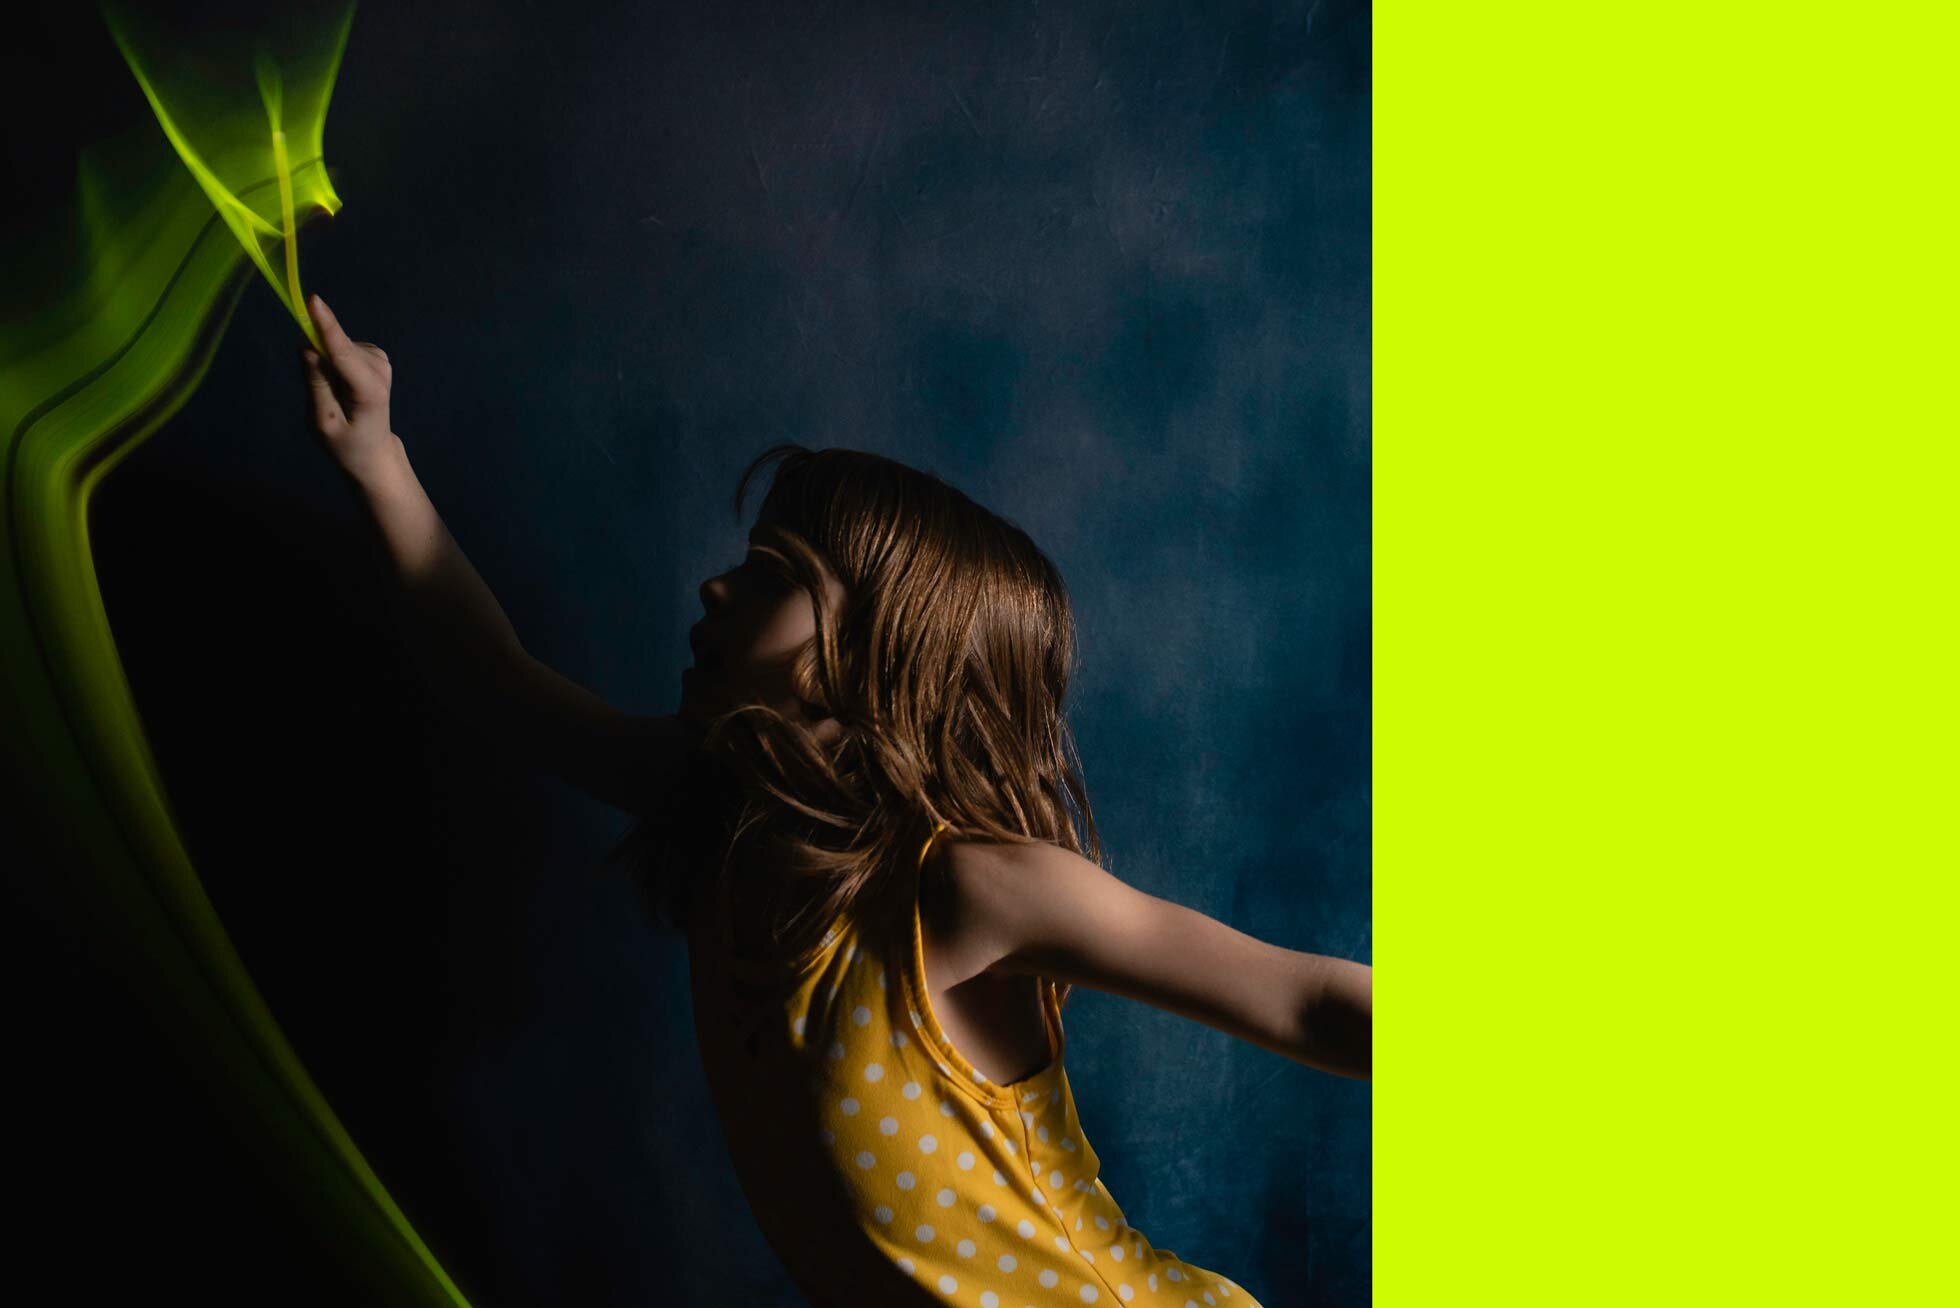
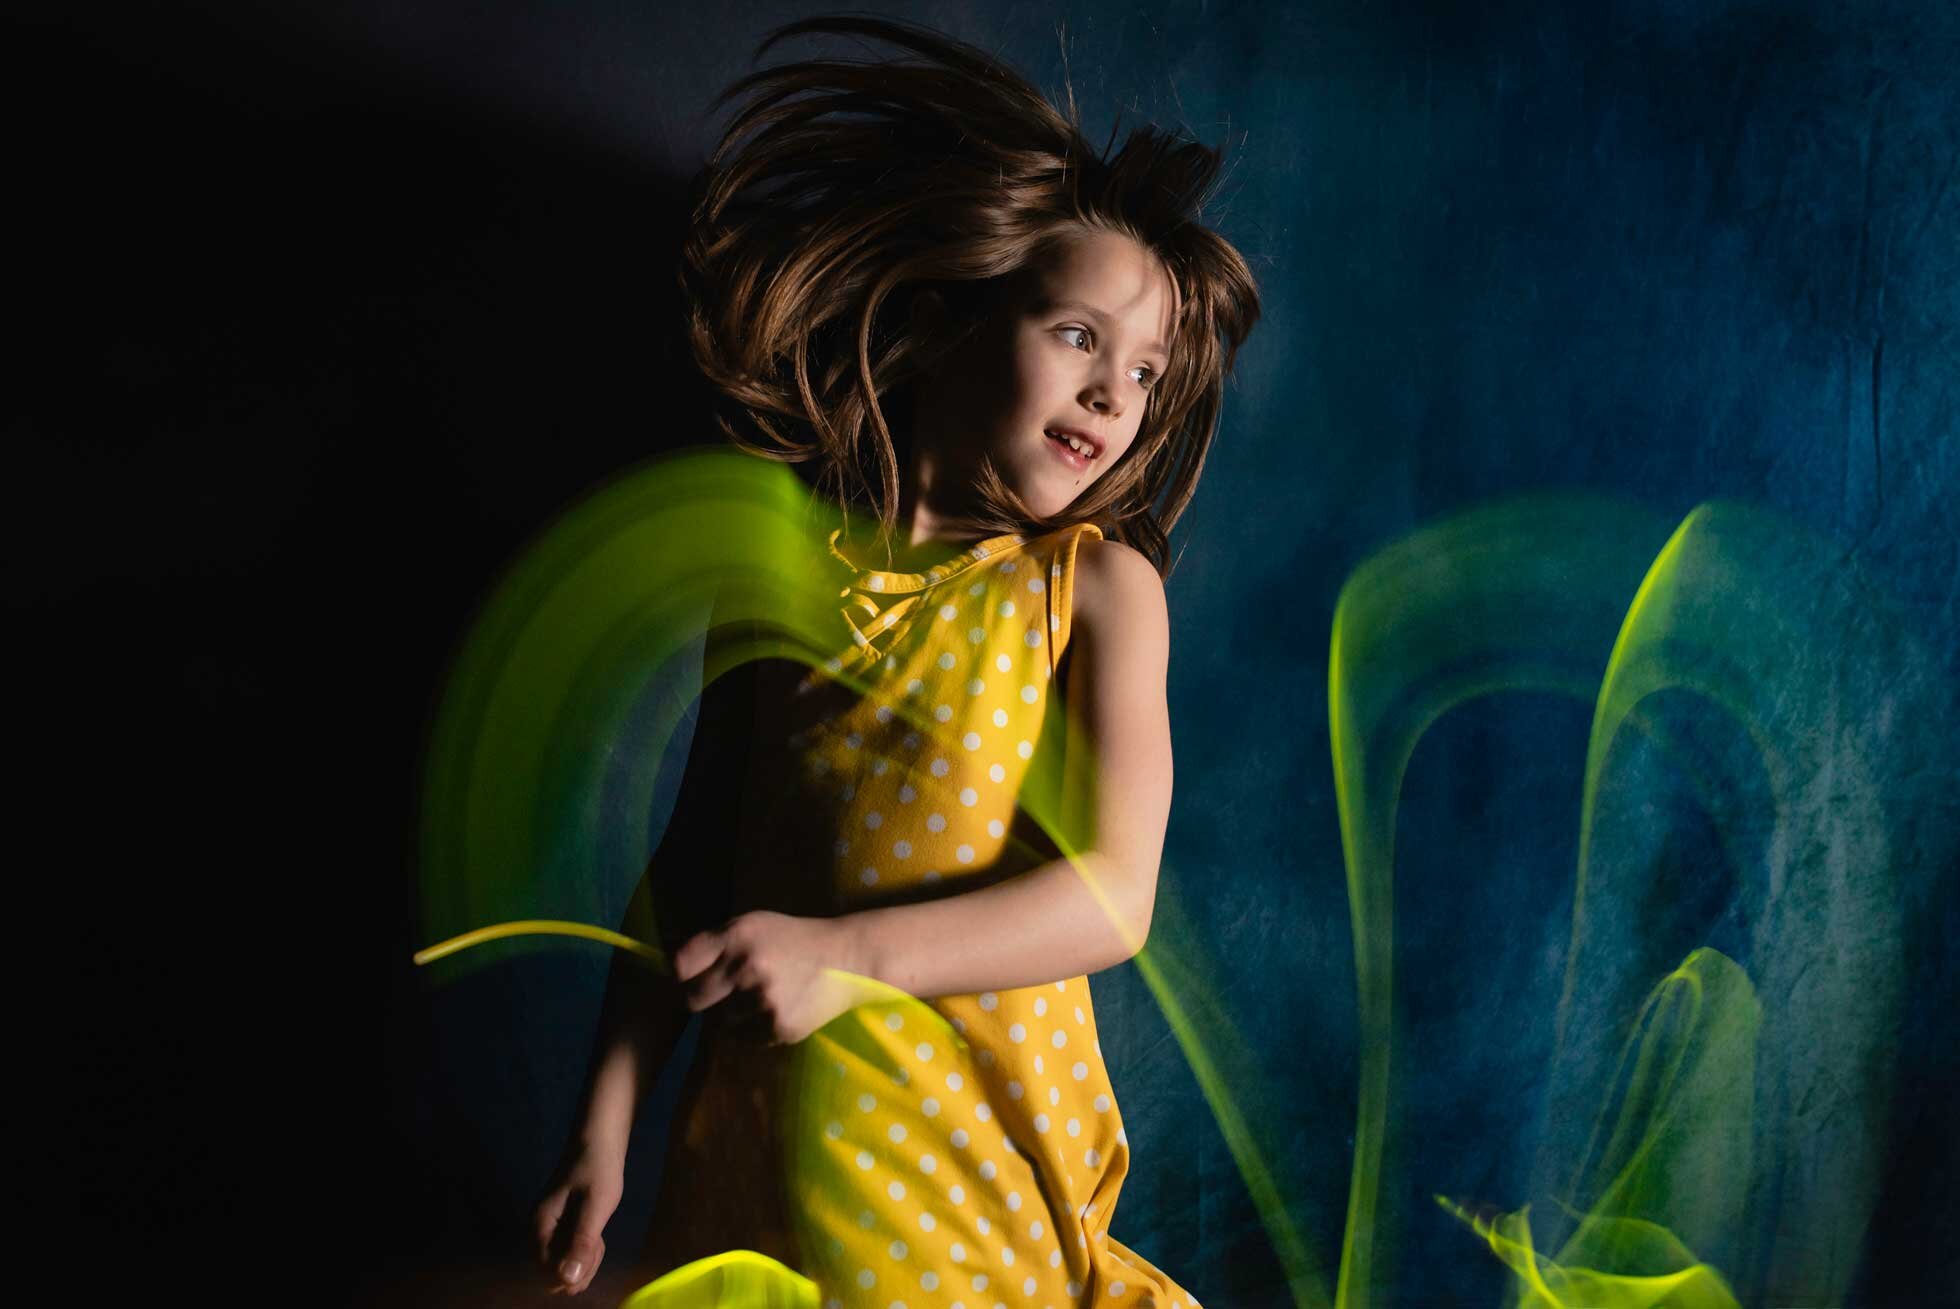
To freeze motion, you can use flash.  For the following pictures I used an off-camera flash and set it to go off once.  (If you have a fancy camera and flash you can set it to go off multiple times which will freeze your subject many times in one frame.)  I then had my subject walk around with glow sticks, or wave them around.  Consider where you are painting.  Make sure you are not putting the light right where your face would show up in the picture. (Unless you want that.)  For me, I wanted the face to be the focus.  Depending on how long you keep your shutter open for will affect how much light you will be taking in. I have found moving the light slowly also makes the light trail much brighter than if you move around quickly.

Slower Light Painting Image:

Jumping-and-light-painting

Faster Light Painting Image:

light-painting

I had to hold the shutter speed open longer for the bottom one, and it is a much more blurry light trail than the previous image.

For this next two pictures I set my camera up for 1- 2 second shutter speed.  This is a self-portrait, so I used the self-timer on my camera.  I also left a lamp on a few feet away from me so that my camera would pick up the ambient light. This effect is much blurrier.  The light was pretty orange because my lamp gave off that color. I love it against the blue background.  

motion blur
Being-pulled-in-a-different-direction-motion-blur

Types of light you can use:

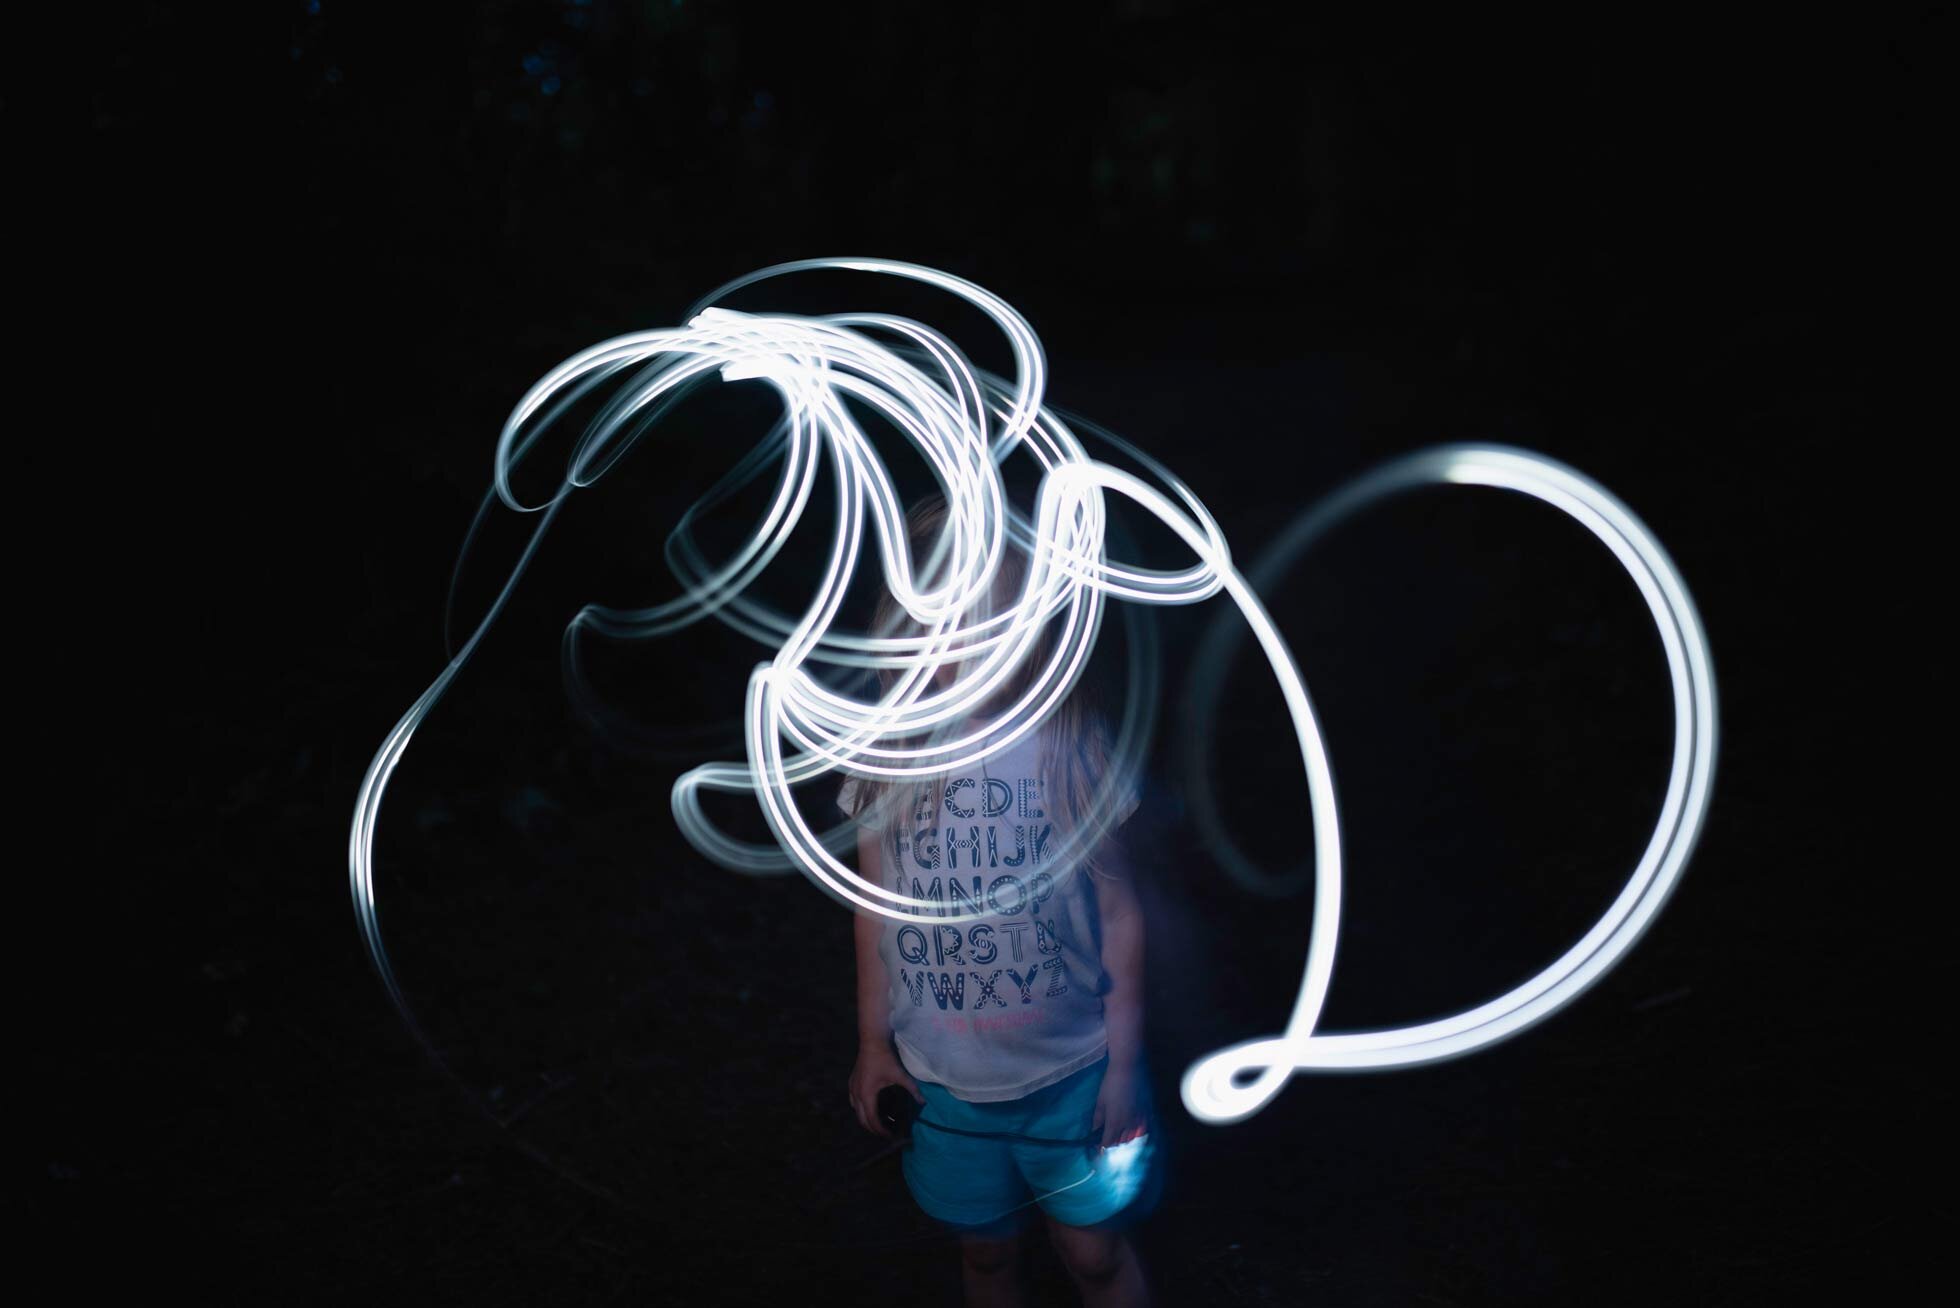
You can use any type you want! For this image below I used my book light.  I have also used glow sticks, and sparklers.  You can use a flashlight, or phone light. Try out lots of things! Please feel free to share your light painting images with me! I’d love to see them! Light painting is such a fun experiment.  Here are a few other sources to reference for more information about light painting:  

https://petapixel.com/2016/07/25/basic-guide-light-painting-photography/

https://ericpare.com/light-painting-tutorials

https://digital-photography-school.com/light-painting-part-one-the-photography/

how-to-light-paint

Thanks for reading!