When to Turn an Image to Black and White

Black and white images are classic! I always include black and white versions in my packages. Sometimes changing an image is a gut feeling for me, and at other times I visualize it first in black and white.  There are good reasons to try it out, and here are some of the things I consider when converting an image to black and white. 

Contrast

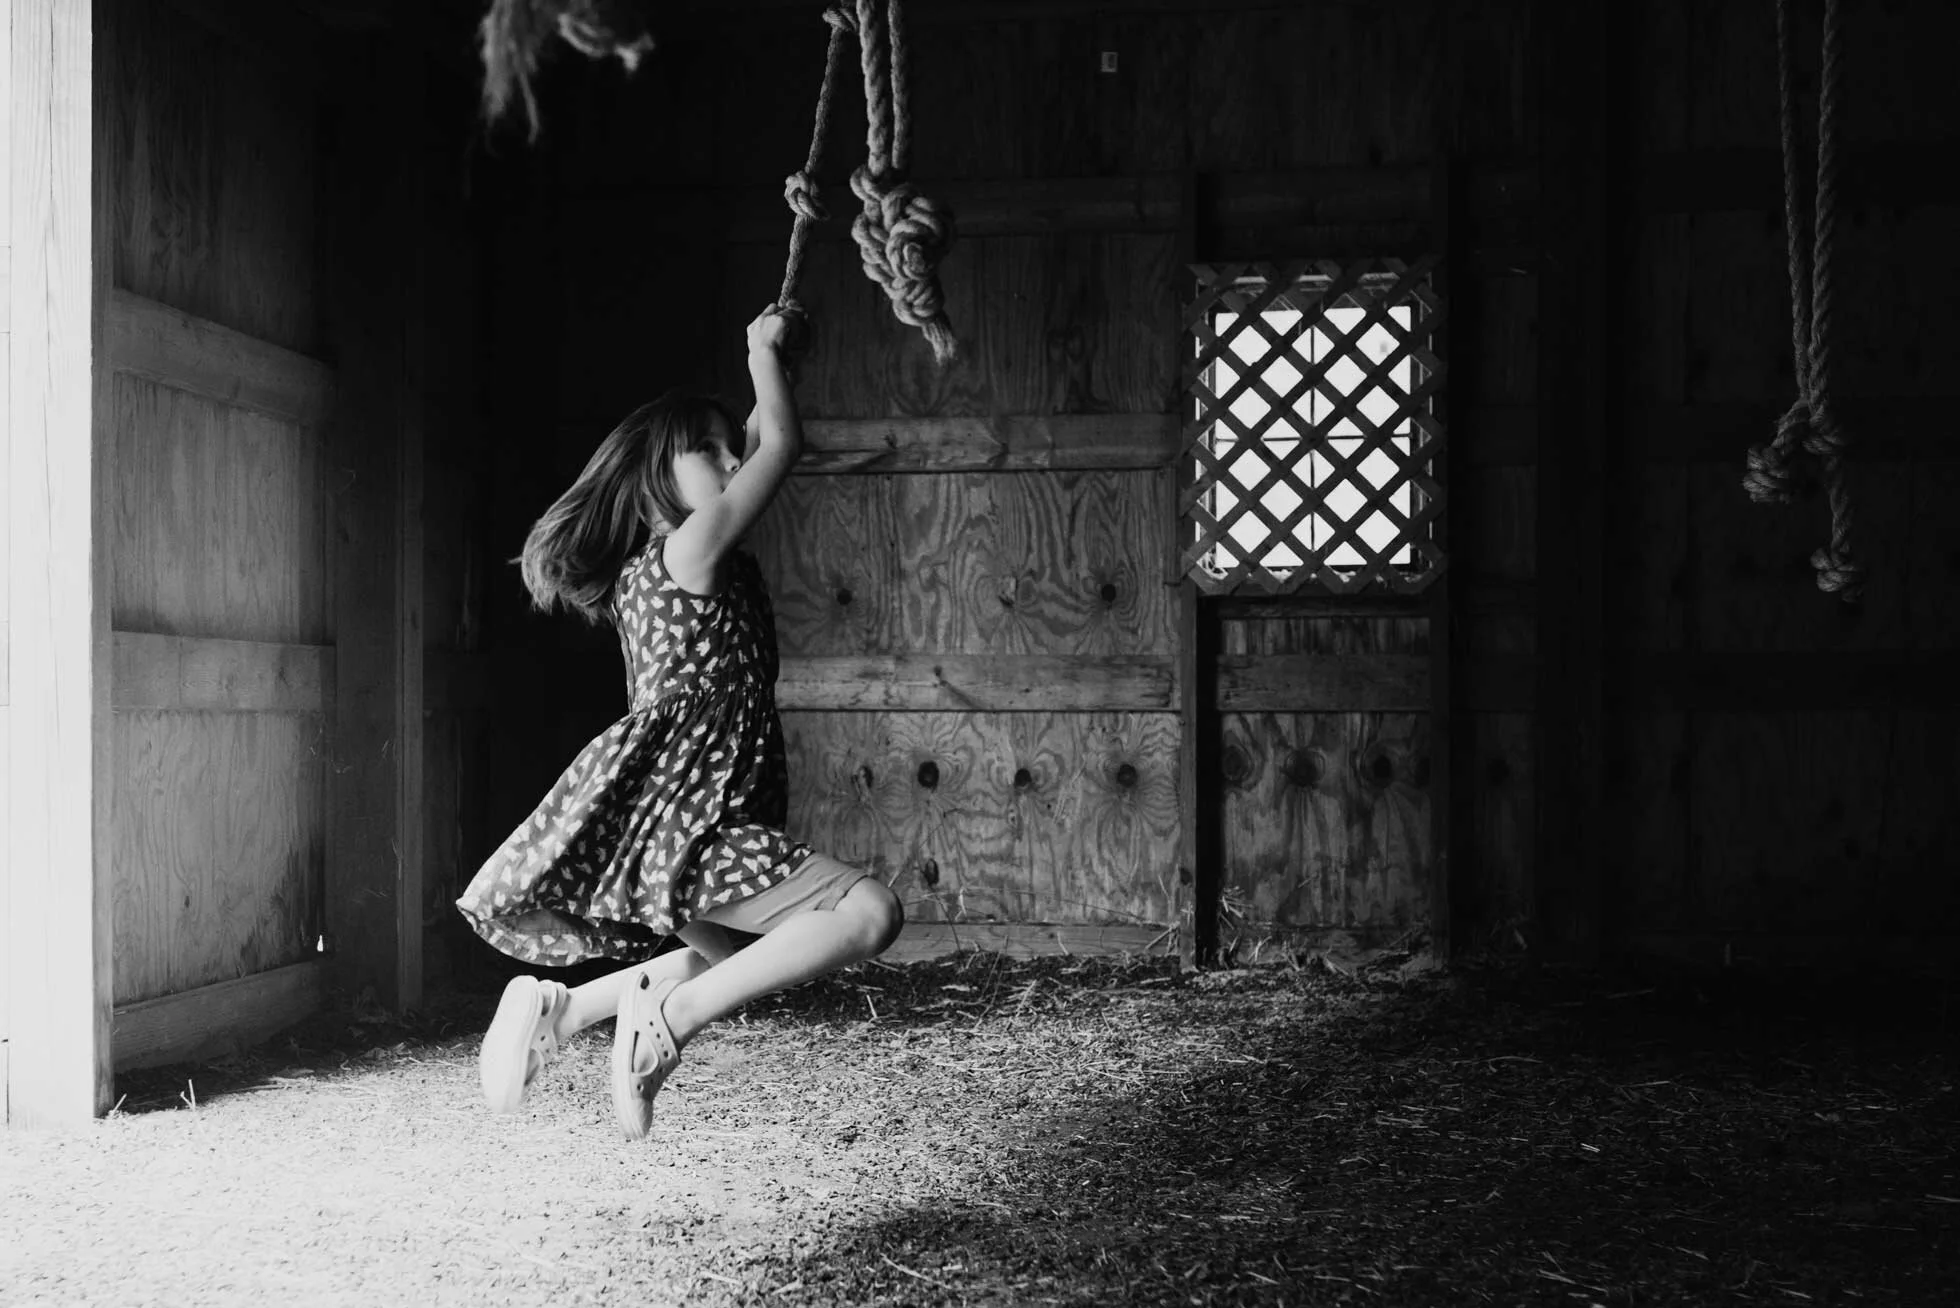
Light plays a huge part in creating depth to your black and white photo.  Having a strong contrast can help your image come to life rather than staying flat. I always increase my contrast when working in black and white.  If you are shooting in hard light, or very high or low-key light, black and white might be a good option.

kid swinging, columbus indiana photographer

Simplify

Sometimes you want your focus to be on your subject, but you’ve had a hard time separating them from your background.  In this case it may be a good option to convert to a black and white image.  Changing to black and white can simplify your image and make your point of view easier to understand.  Sometimes the color is just not that interesting, especially if your children are wearing neon! A conversion can really help that situation.

kid in park exploring, columbus indiana photographer, callihan photography

Mood

You can help make an image feel more dramatic and moodier by converting it to black and white. Someone who I think does this really well is Helen Whittle.  She takes images of children and emphasizes their mood and feelings in a way that is just so phenomenal. Lee Jeffries takes photos of homeless people and his black and white images have a very powerful and dramatic feel.  Black and white images are also very timeless.    

black and white noir photo, Columbus Indiana photographer, Callihan photography

Light

A way to really showcase light and texture is by converting it to black and white. Clipping your blacks intentionally will also help add depth.  With hard light color casts can be difficult to deal with. Sometimes it is too hard to get rid of color casts, but you can save a photo by converting it to black and white.  You should try your best to take care of those things first in Photoshop. Correct your white balance and then convert it to see if perhaps it looks better in black and white. This might save you some time.  

child with sparkler, Columbus, Indiana photographers, Callihan photography

Thanks so much for reading!


How To Do a Simple Composite

Here is my photograph that I am going to use to be the center of my composition.

Cabin, black and white picture for Photoshop Composite, Columbus, Indiana

I start out by using the quick selection tool to select the cabin and some of the ground. I then copy and paste it to a new document in Photoshop. (I just use a generic size and then extend my canvas with the crop tool).  Next step it is cleaning up the image.  You can use the erase tool, or you use a layer mask to tidy up those edges and get rid of anything extra the quick selection tool may have selected.

Photoshop edit, How to do a Composite, Columbus, IN

I then add more ground by selecting some from other pictures I took from the same shoot. Keep the edges of everything soft by using the blur tool or use a soft brush on a layer mask. Next, I add the sky and use a black and white layer to make everything black and white.  In this picture I used a cloud layer from Jessica Drossin’s Macabre skies and overlays.   However, you can use one of your own if you have one! To make sure the light is coming from the same direction in my clouds as it is in my cabin picture I flip the sky horizontally (which may not be necessary in your image) and then add a gradient fill layer (white to black) to change the light. I changed this to layer to soft light and adjusted the opacity to my liking (28%).

How to do a composite photoshop tutorial, Columbus, Indiana

Next, I added a smoke layer for the chimney mostly to add more drama! The smoke layers also come in Jessica Drossin’s Macabre Skies and overlays package. Then I add some more smoke/fog to the bottom using another overlay.  You can also create a fog brush. Phlearn has a very handy tutorial here.

Screen shot for tutorial example, smoke overlays, Photoshop tutorial, Columbus In

Then I notice the ground in front of the cabin is a little too bright.  So, I simply paint over it with a soft black brush (on a new layer).  I then set it to soft light and adjust the capacity to my liking (54%). Then I add a stamp visible layer (which is all the layers put into one new layer) by using the short cut Ctrl+Alt+shift+E (on a PC).  I then went to Filter + noise + add noise.  I selected Uniform at 1.05% - Then I set that layer to soft light and adjusted the opacity down to 38%. This just brings everything together in a more cohesive way.  

Photoshop Tutorial, how to do a composite, Callihan Photography, Blog, Columbus, Indiana

I then darkened part of the entire image and added contrast using dim the lights action (which comes with Jessica Drossin’s Macabre Skies Package).  This is a Gradient Map layer, but you could just add a brightness and contrast layer to do roughly the same thing. After this I just cleaned some of it up using the clone tool, and blurring parts of the image.  (Blurring can trick your eyes into thinking something belongs in the image when it doesn’t.) And then you have my final image here:  

Final Image, Callihan Photography, Columbus, Indiana