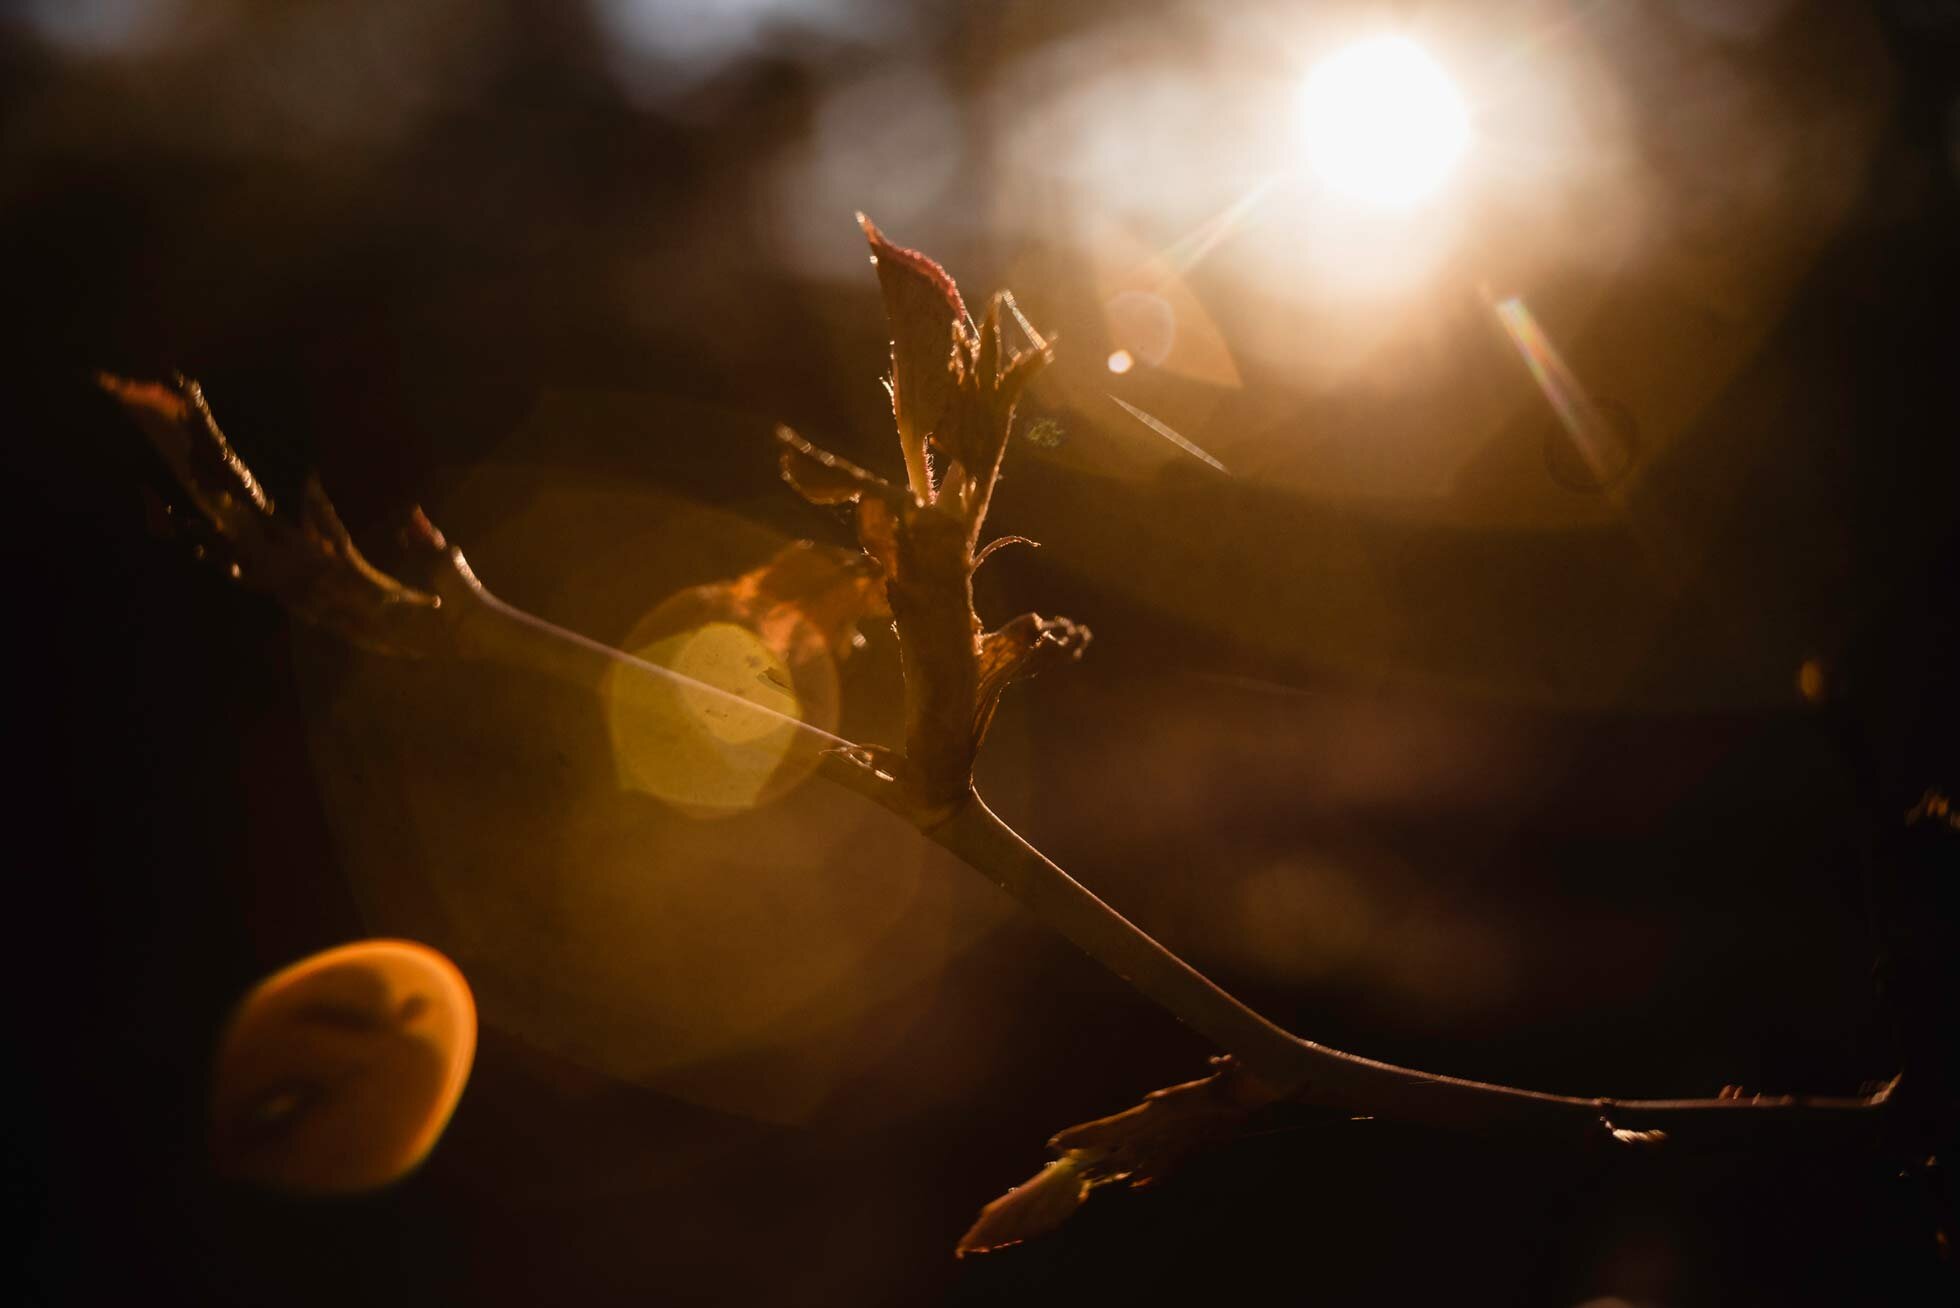
Many of you know that I am in the middle of my 365 project. That is where you create a photo every day for a full year. Welp, I am halfway done, and I have had to use some artistic experiments to keep myself creating every day. One of the things I have been experimenting with is freelensing.
Freelensing is when you remove the lens from the camera body and select focus by holding the lens close to the sensor and gently tilting it to obtain a very small slice of focus. I have been doing it for about a full month now. I am sure I will move on to something else soon, but I really wanted to master it. I have seen it done by others such as Lucy Ketchum, Holly Awwad, and Erica Williams, and I am so intrigued by it! Now this technique is not for the perfectionist. Sometimes you won’t catch focus at all, but it will result in a dreamy blur. Embrace it!
See this on the Daily Project.
You may be thinking, “can I actually take a photo with the lens removed from the body!!?” The answer is yes. Just be careful not to do it on a windy or rainy day to ensure you do not get dirt or dust on your camera sensor. I like to make sure my exposure settings are right before I remove my lens. I know many people like to use the live view to help you see where you are capturing focus. However, I personally like to use my viewfinder. I find the little focus confirmation dot in the corner of my viewfinder really helps me to capture focus. Especially since it is lost so easily. To obtain focus it helps to move closer and farther away from your subject. Also twisting the focus ring in and out on your lens will help. For this reason, I really like to use my 50mm lens. I have tried just about all my other lenses and this one is my favorite. It just seems to be the right focal length and the focus ring is much easier to adjust one handed than all my other lenses. Tilting the lens side to side or up and down will also affect where your focus lands. It will also affect how much light comes into your camera, so play around with light leaks and hazy light. For Nikon users like me you will need to prop open the aperture ring. On some Nikon lenses the default position of the aperture is closed, and you will need it to be wide open for this experiment. If you have a manual lens (like the Lensbaby twist 60) you can open your aperture up and not have to worry about it. For Canon users, I believe you don’t have to worry about this either as the default position is wide open. To prop the aperture open on my 50mm lens I use a small piece of Bristol board. Card stock would work too, or you can use tape. I have found the Bristol board to be the best method for me.
I love using this technique for backlight. I think it makes everything extra dreamy. I also like to use it for summery scenes like the sprinkler. (Just make sure you stand at a distance to keep your camera dry.) I also like to use this to emphasize that feeling of nostalgia. It is also great for those tiny details you want to draw attention to. It is a great technique to experiment with, so I hope you all try it out! Please tag me so I can see your freelensing creations!! And don’t be surprised if I try it at your next session with me.
Thanks for reading!


![IMG_0053[2923].jpg](https://images.squarespace-cdn.com/content/v1/5c81d361ab1a6260d3230723/1584489222300-B6GITLNKAGUX6LE7XZDB/IMG_0053%5B2923%5D.jpg)


