How to take Back to School Photos

It’s that time of year! All the kids are going back to school. How are you going to document it this year?! Well, I have some tips and ideas for you here:

1.       Tradition

Do you have a first day of school tradition? If not, create one! Our tradition is taking a portrait in front of our driveway every year.  Some people hold a sign or chalk board, others do a front door picture.  Some make sure to get the photo outside of the school. Whatever your tradition is, make sure to stick to it! It is so good to see how your child grows over the years.  Tip: sometimes in that early morning it is pretty dark.  This would be a good time to use your off-camera flash set up!

first-day-of-school-portraits.jpg

2.       The Bus

This is a classic photo for going back to school! If your child rides the bus that moment that they get on is so important.  You will wish you had that documented if you miss it. Perhaps you drive your kids to school.  Then make sure you capture them piling into the car and waiting in the car drop off/pick up line.  Tip: this is the perfect time to use those primary colors that scream school!  Those are yellow (like the bus), red and blue. Or you can be super creative like Meg Bethard was: here.    

waiting-for-the-bus.jpg

3.       Details

You cannot tell a story without details! Show the nervous hands waiting for the bus.  Show the backpacks and new pencils they so carefully picked out.  What was their favorite school supply to pick out?  This year be sure to capture those masks; it really documents the weird time we are in.  Maybe you’re homeschooling, or E-learning this year.  Make sure to photograph their learning environment, and many of these tips can still be used!  

back-pack-detail-for-first-day-of-school-pictures.jpg
nervous-feelings-the-first-day-of-school.jpg

4.       The Interview

This is a yearly tradition for us!  We do a quick interview the day or two before school starts and then I put their answers on the portrait I took of them that first school day. I always try to ask the same questions.  It is so fun to see their answers change as they change each year!  It helps me to mark what their interests are at that moment in time.  Somethings change while others stay the same.   I always ask these questions:

What is your favorite color?

What is your favorite book?

What is your favorite movie?

What is your favorite food?

What do you want to be when you grow up?

It is such a great tradition; I highly recommend you implementing it with your own family!

first-day-of-school.jpg

5.       The Preparations

There is a lot of preparations that are done before the school year begins.  Make sure to capture all these moments: the cereal they eat, the packing their lunches, brushing teeth and hair, the squirrelly energy that happens right before that first day begins at school.  These are all moments that help tell that first day of school story.  

details-of-a-school-lunch.jpg

These are just some ideas on how to remember the new school year.  I’d love to see and hear about your traditions! Feel free to contact me! Thanks for reading!

How to Can Peaches

If you didn’t already know, my family and I try our hands at gardening every year.  Some years are great, and other years we hardly get anything out of the garden.  We usually always have green beans. In addition to our garden we have a few fruit bearing trees. We have 2 cherry trees, and a couple apple trees, and we have 2 peach trees. Recently our tiny 3-year-old peach trees put on the most fruit we have ever seen in our lives.  They are contender peach trees.  Normally they put on just a few small flavorful peaches, however this year they went nuts!  We had piles of peaches! We ate some, gave some away, made peach preserves out of some and froze some.  It seemed all that effort hardly made a dent in the supply of peaches we had! 

peaches.jpg
contender-indiana-peaches.jpg

So, I decided to can (or preserve) some.  We usually can something every year.  (Usually green beans).  So, this year canning peaches was a little different.  All together I canned about 14 quarts of peaches.  Everyone kind of has their own way of canning.  I just use the Ball Blue book of Preserving.

How-To-Can-Peaches.jpg

I used the raw pack method.  First you peel the peaches, and cut into halves or quarters, and pit. Then you’re supposed to treat the peaches to prevent darkening or browning.  To do this you add about 2 TBS of lemon juice concentrate for every 8-10 peaches and ½ teaspoon of sugar.  We had pretty small peaches, so it was closer to 10 for us, or about 4 cups worth. (FYI, the lemon juice, and peaches together smell awesome, or at least I think so!)  Next is packing the peaches into clean jars and making the syrup.  I used a medium syrup which was 3 & 1/4 Cups of sugar and 5 Cups of water.  You mix it together and heat it up until the sugar is dissolved.  Then ladle it over the peaches leaving about ½ inch head space.  If that is confusing refer to the diagram: here.  Remove the air bubbles.  I do this by shoving a wooden spoon in the jar all the way to the bottom. It is an important step, even though it doesn’t seem like it at the time.  Your jars will have trouble sealing if you skip this step.  Next clean the rim of the jars and place the lids and rings on them.  (Some lids require that you boil them.  The sure fit lids by Ball say to just wash and rinse them in warm water). The book says to process pints for 25 minutes and quarts for 30 minutes in a boiling- water canner.  I did this for two rounds, and then we still had peaches left over. Ha!

bowl-full-of-peaches.jpg

Thanks for reading! I hope you enjoyed this small detour from photography.  
A Fun Outing to Anderson Falls, Indiana

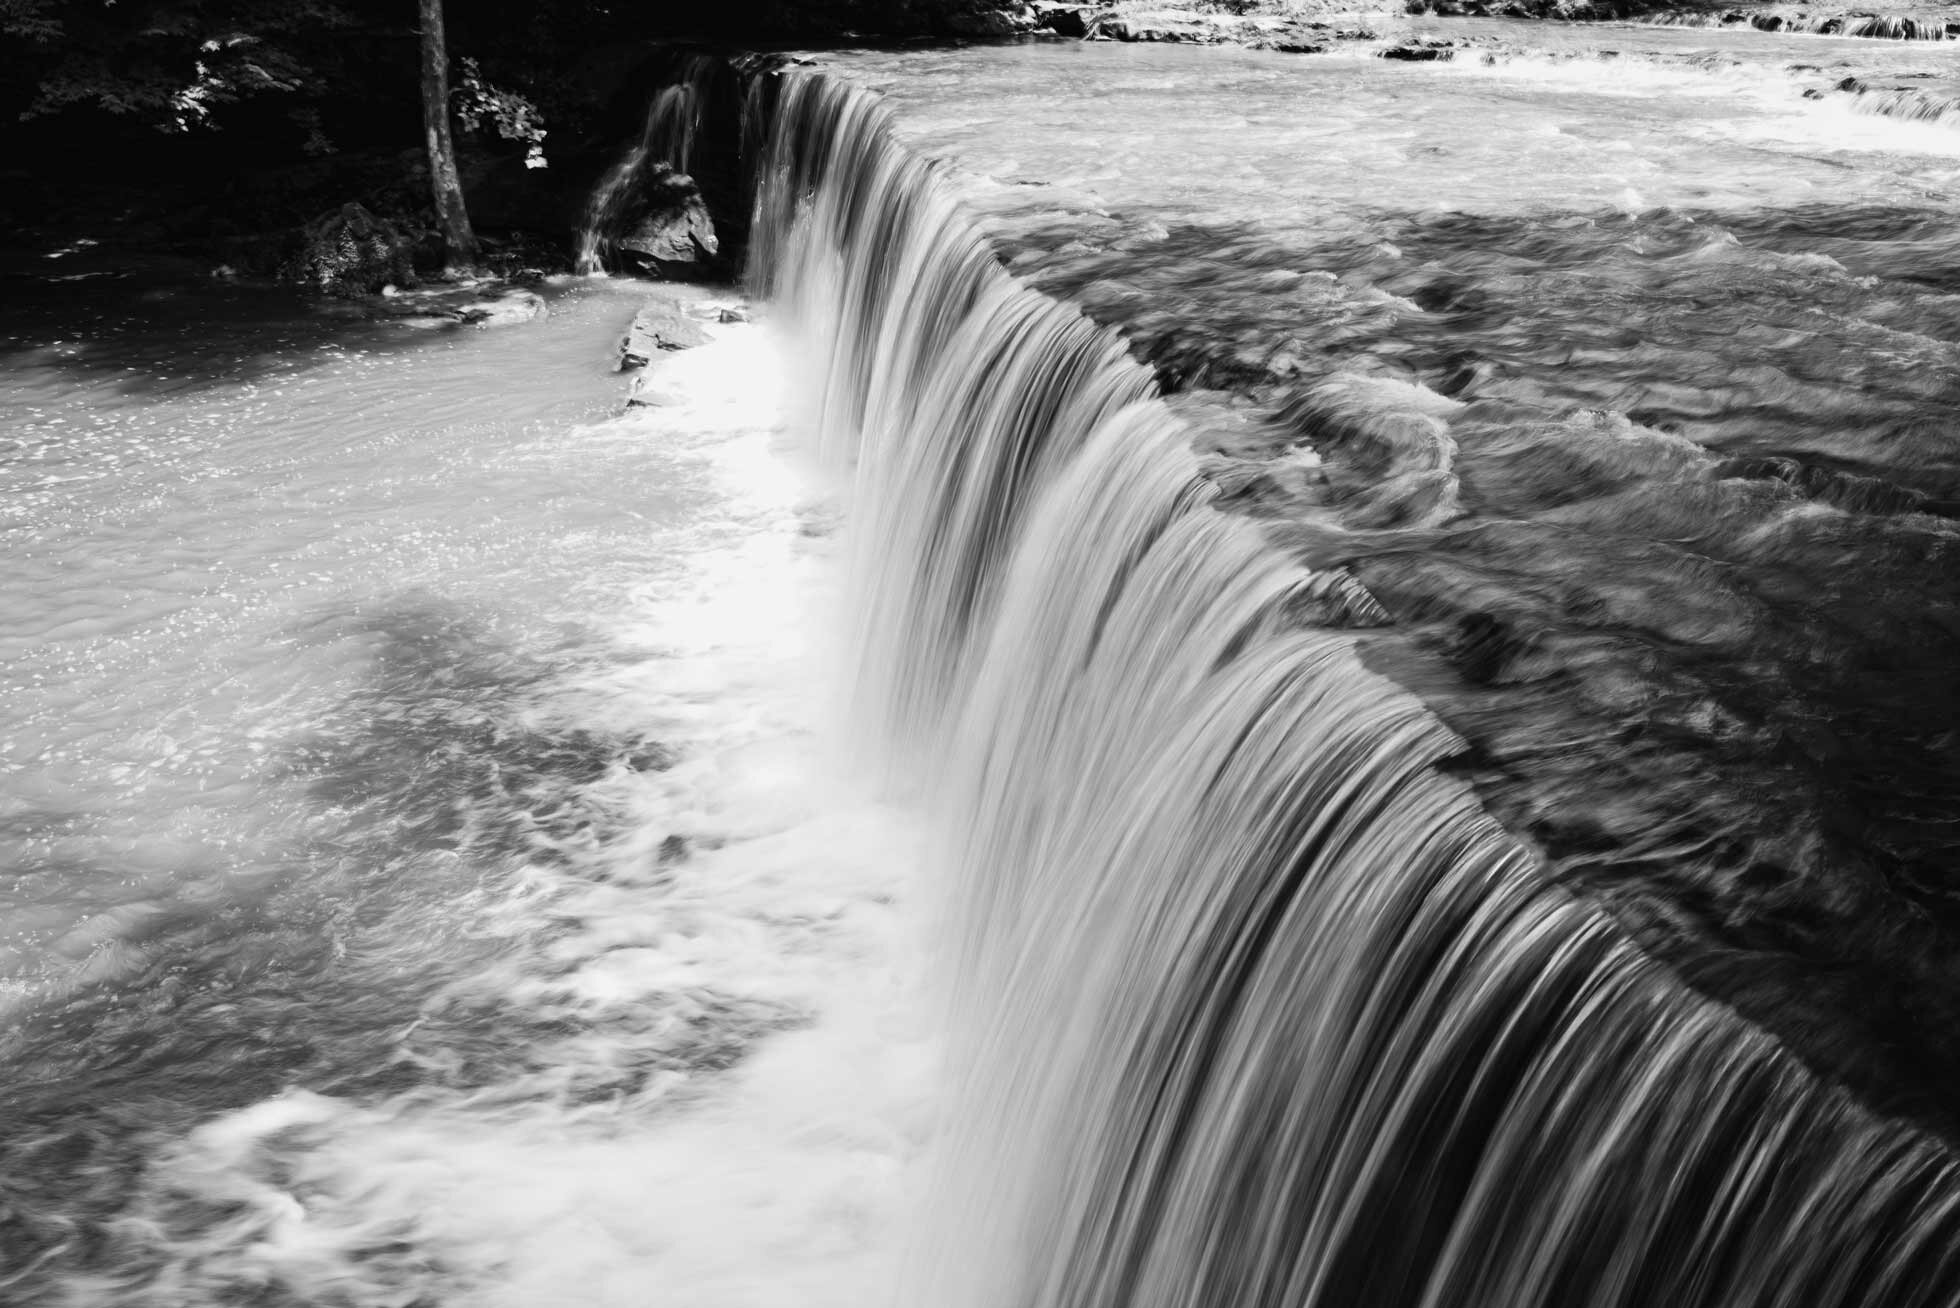
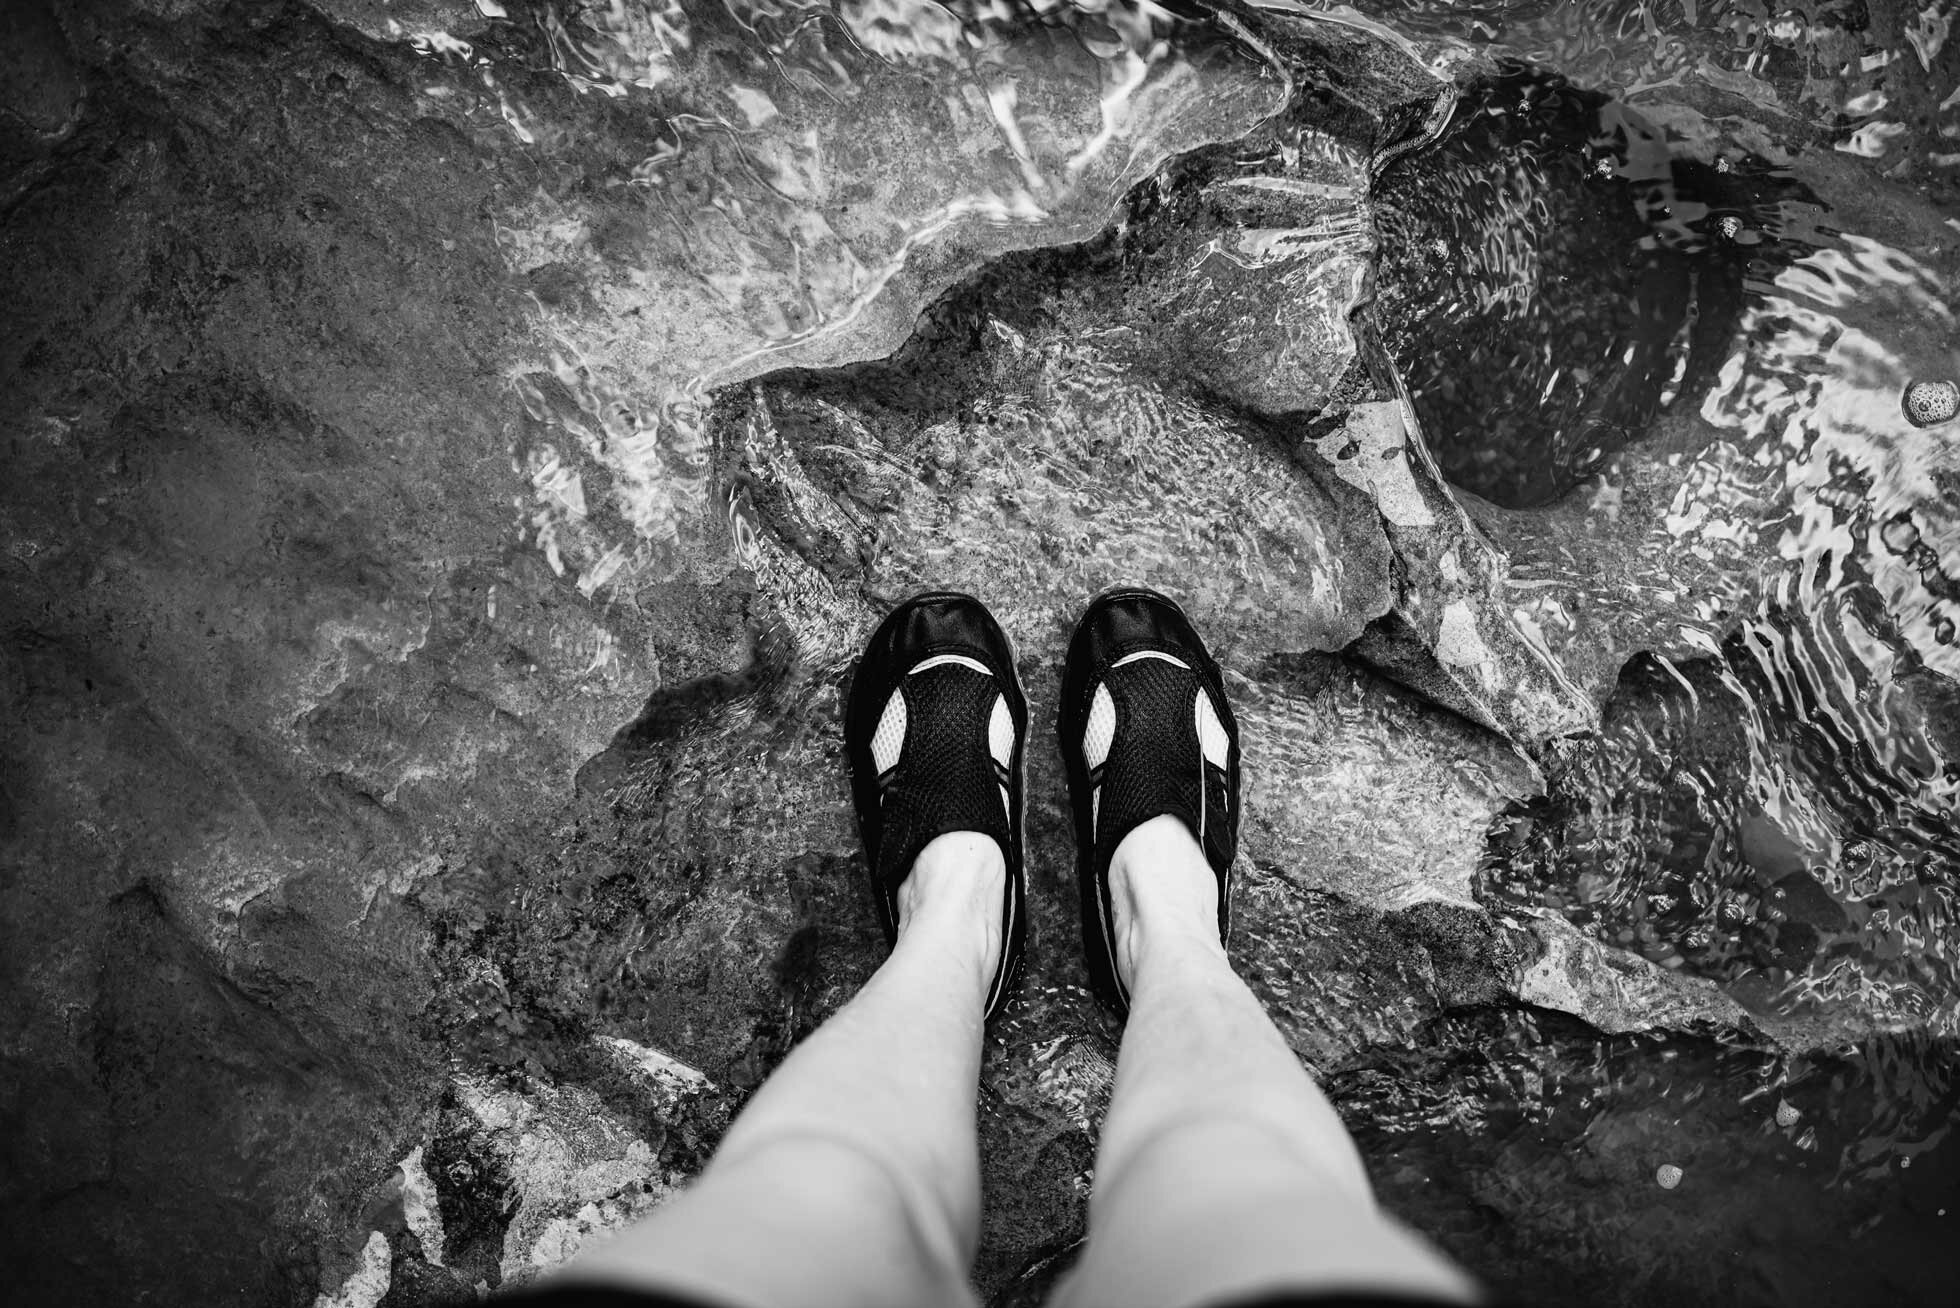
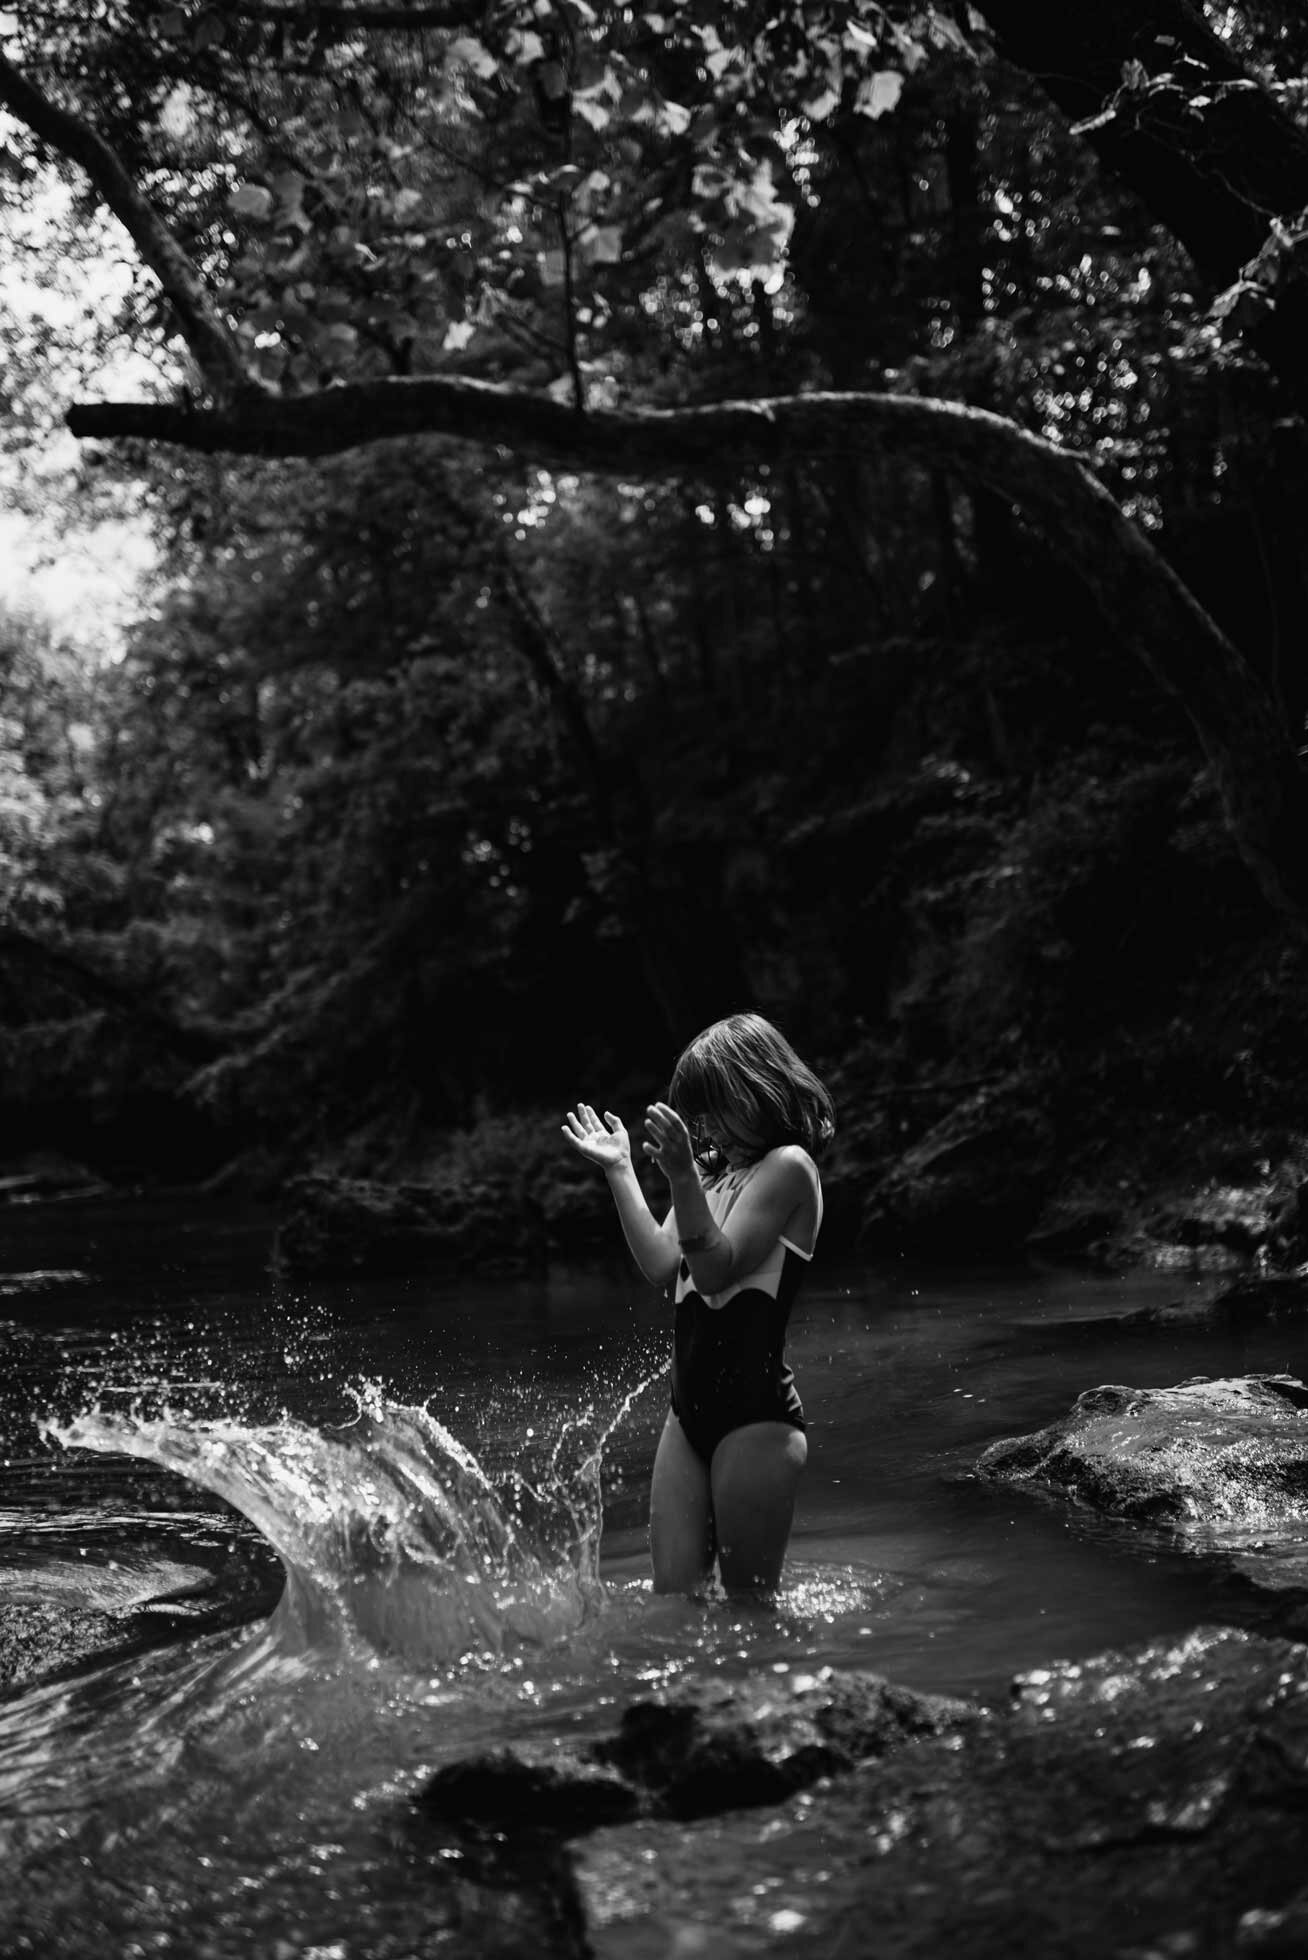
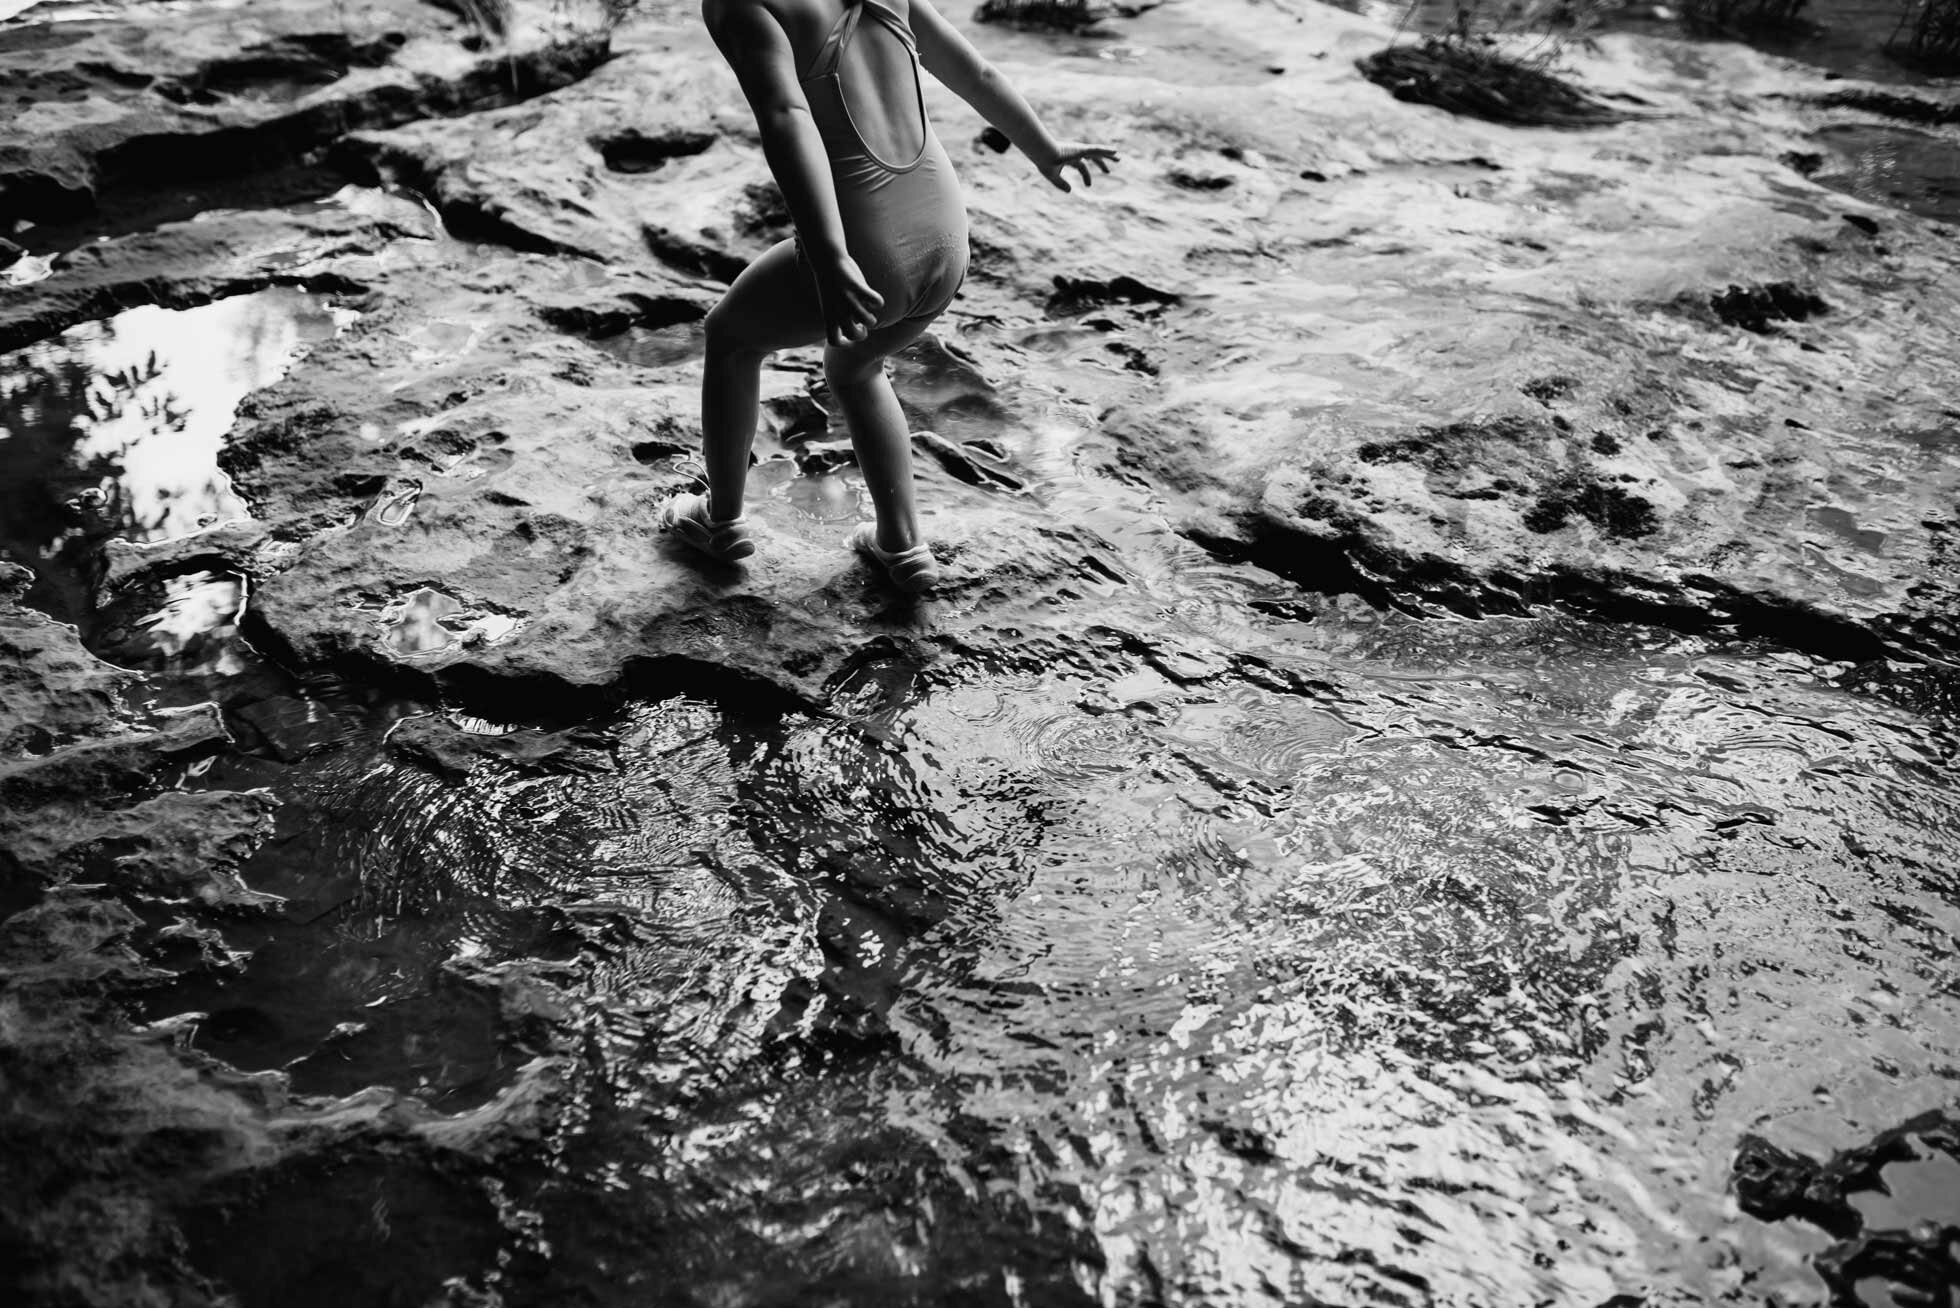
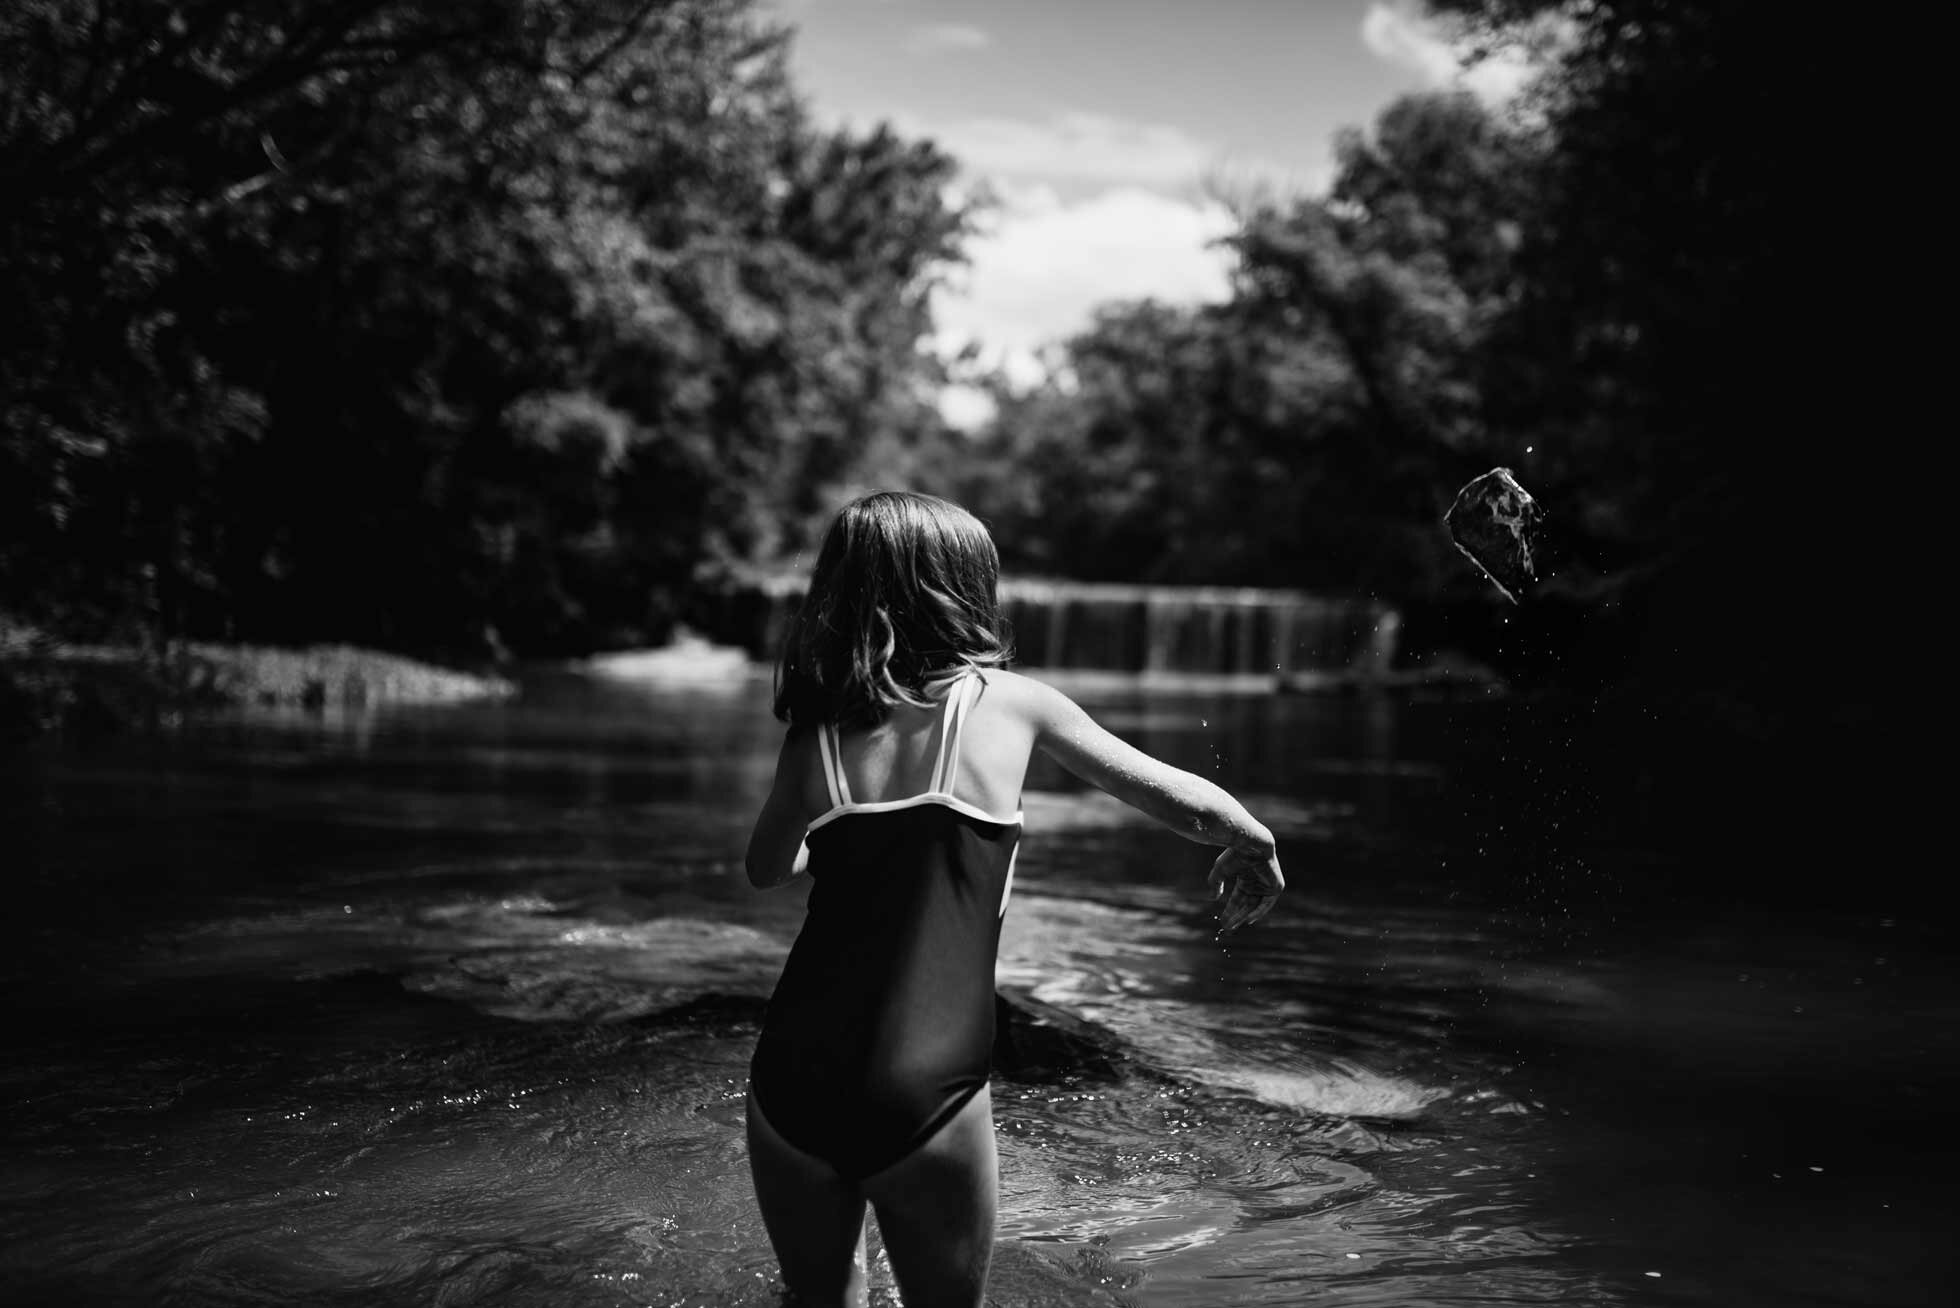
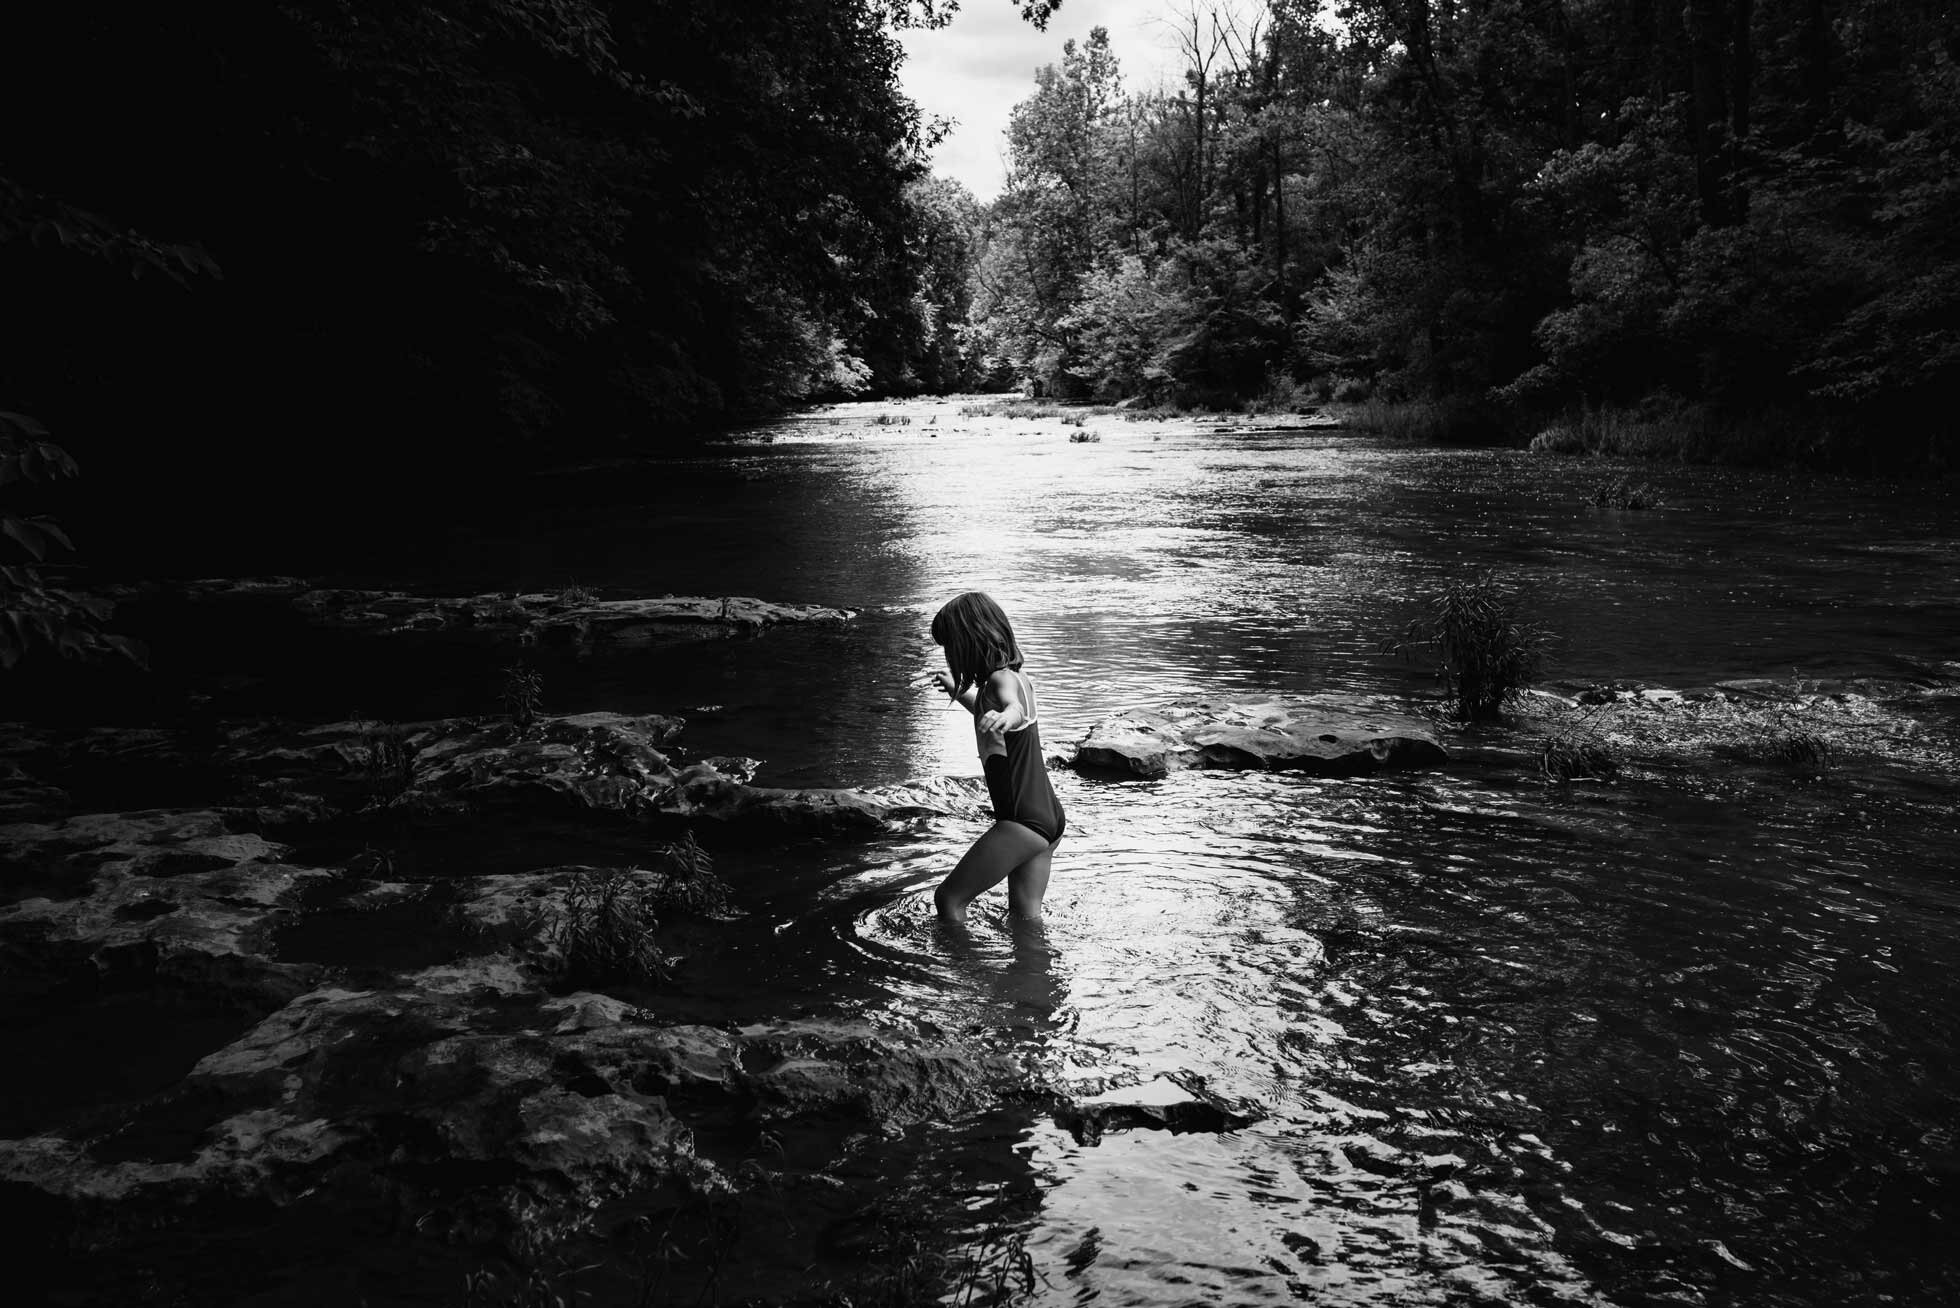
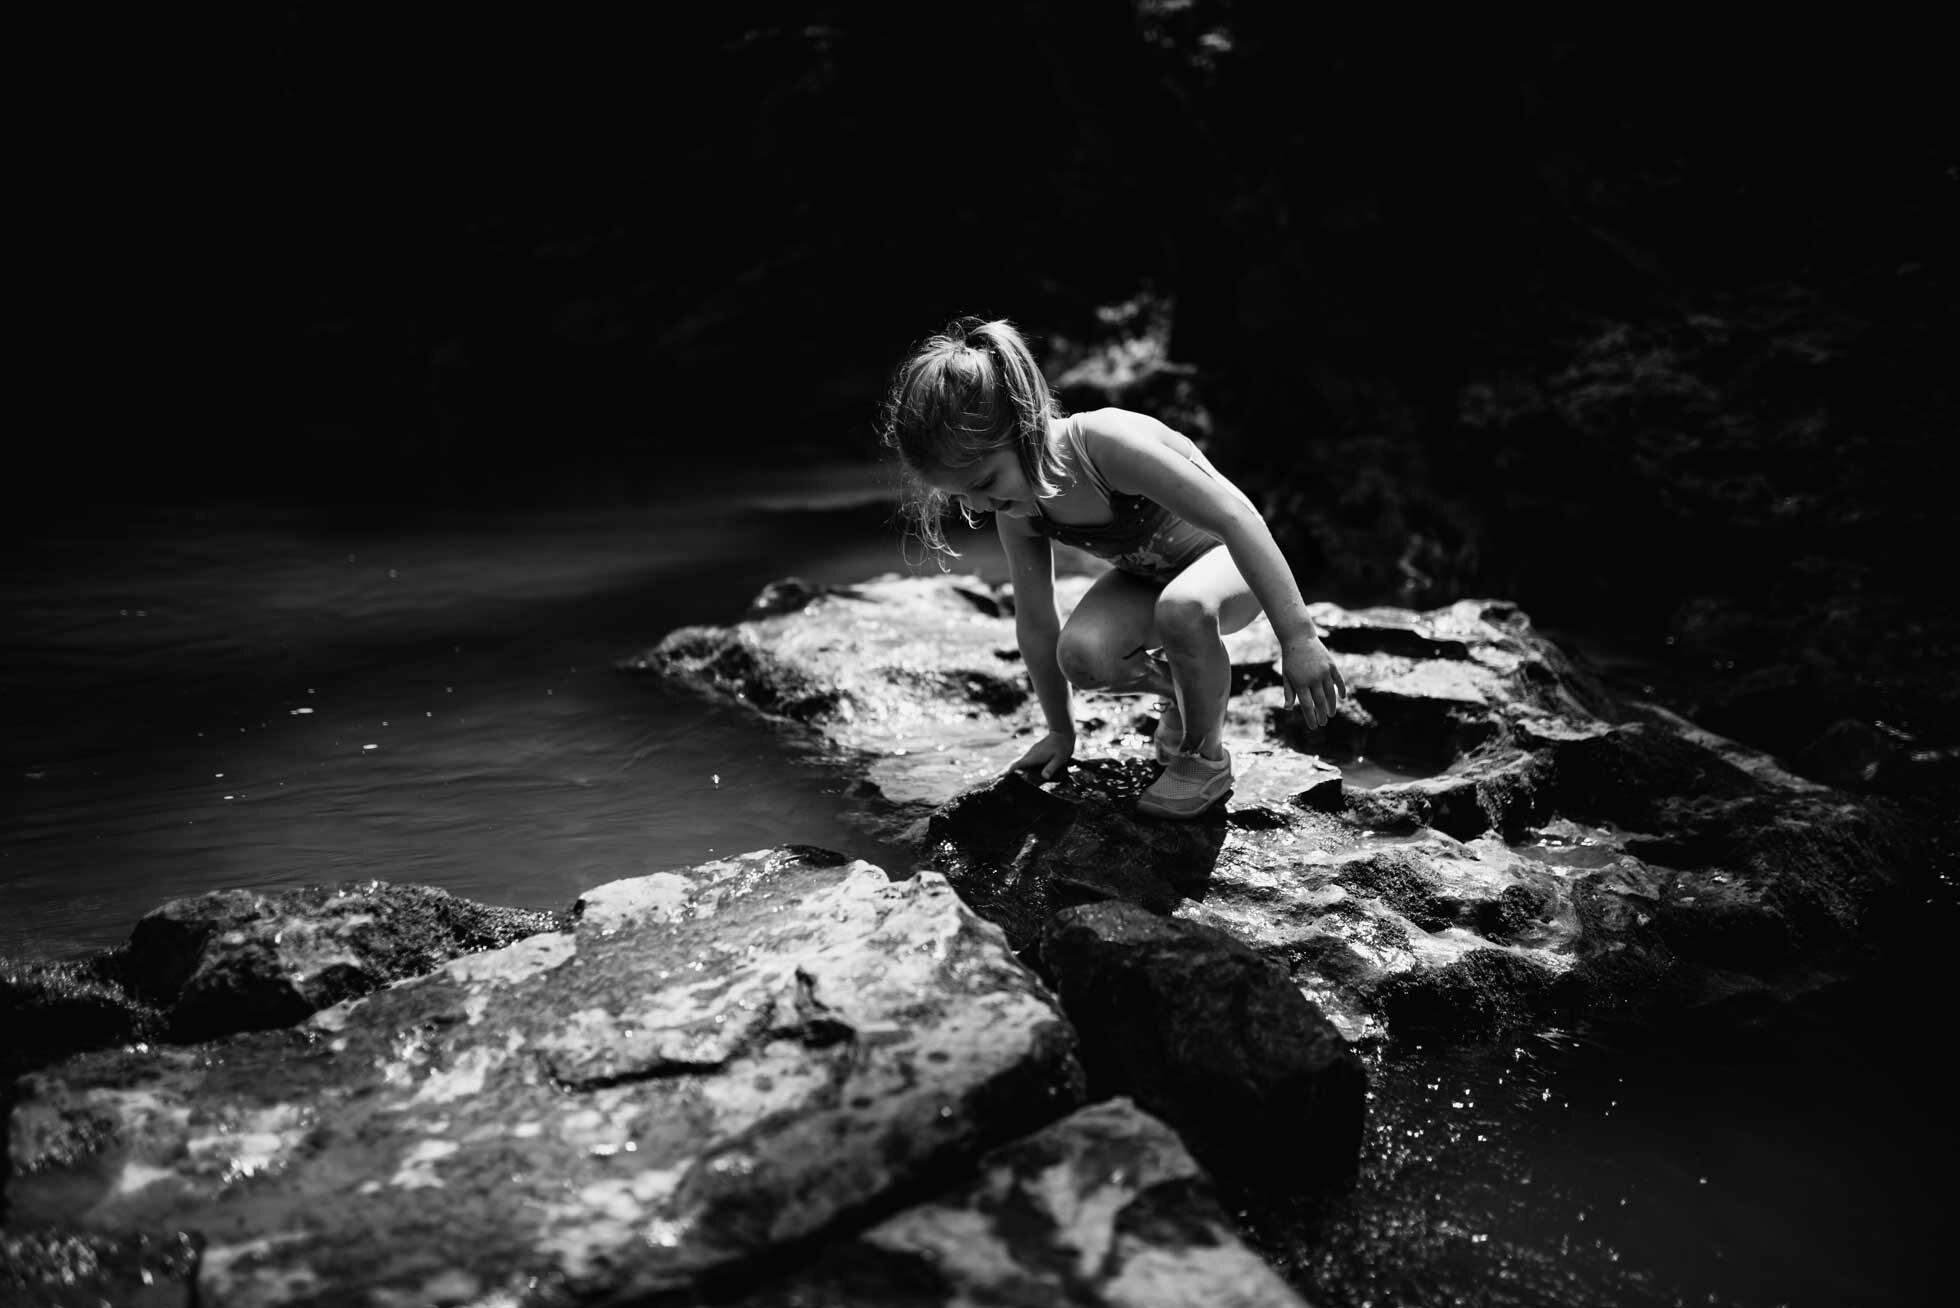
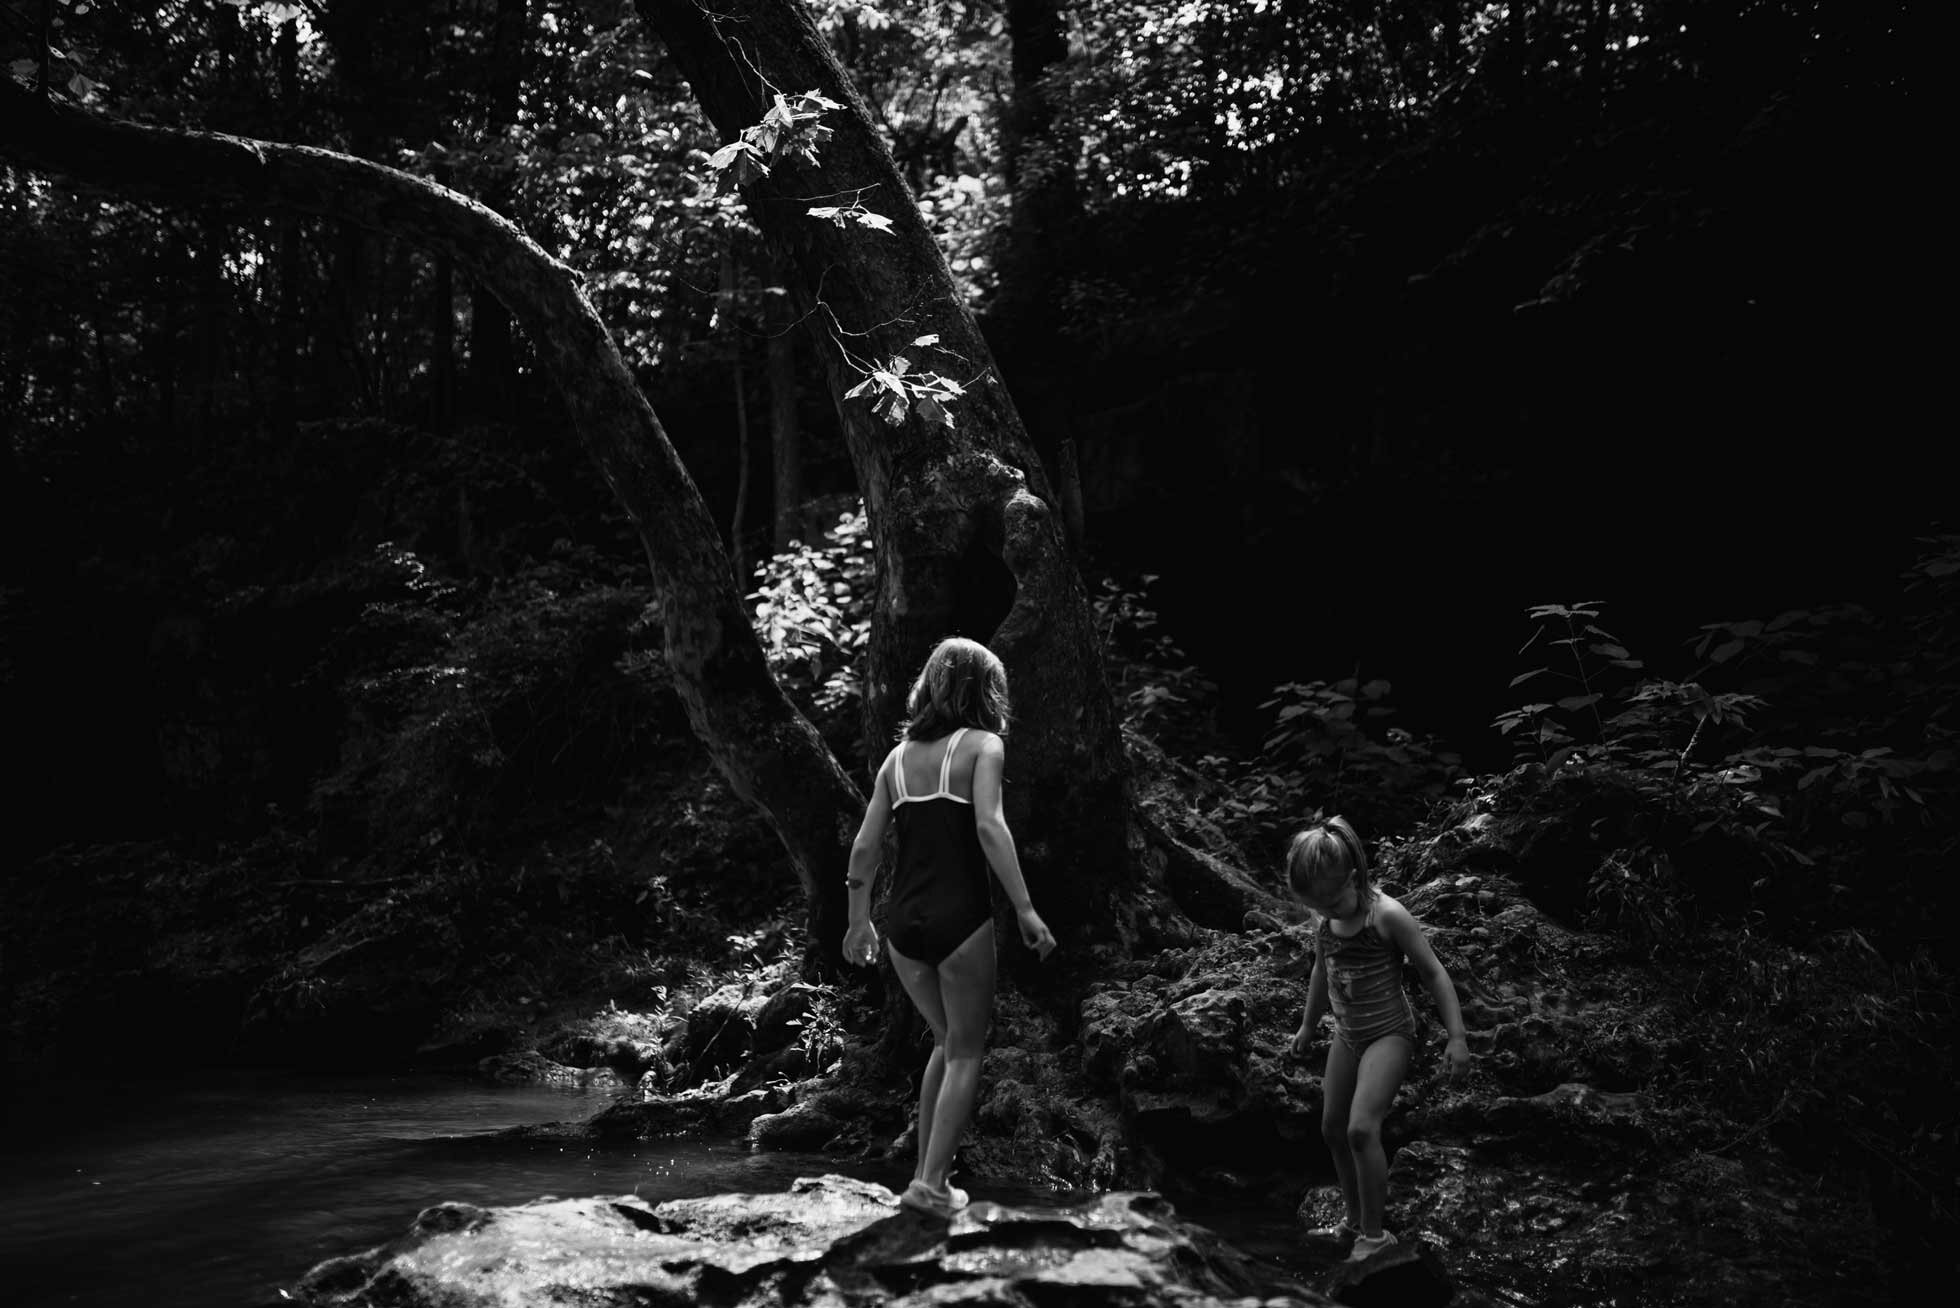
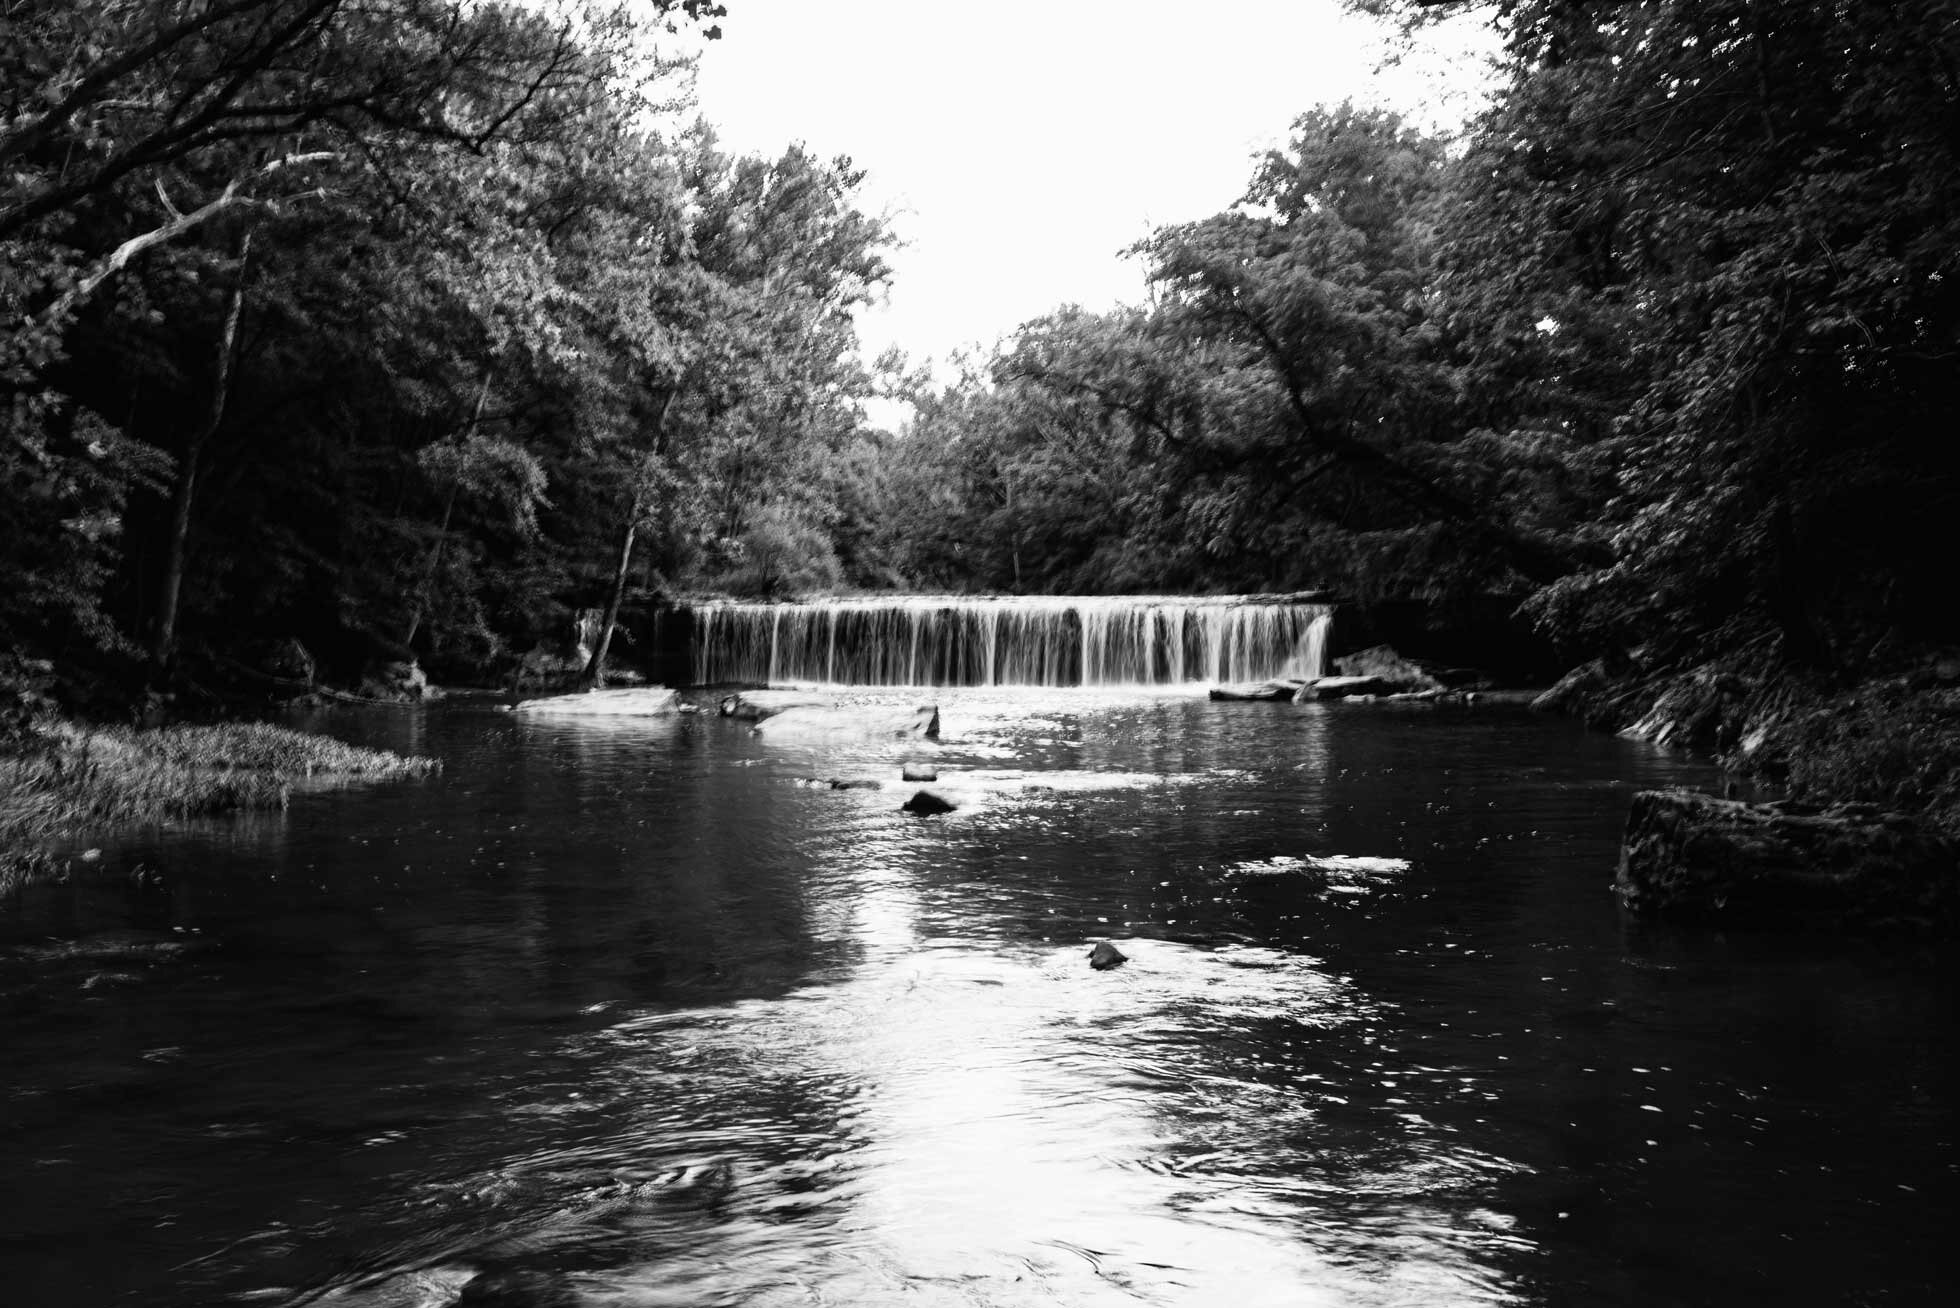
We went to Anderson Falls in Indiana a few weeks ago. Equipped with a picnic lunch and water shoes, we set out to explore the Fall Fork of Clifty Creek and it’s beautiful waterfall. It was a perfect day, and since school had started for a lot of people, it was almost completely vacant. The river was low, and wide. There are a couple trails, but we just waded up and down the river throwing rocks in and playing in the water. Here are some photos from that day.

If you’re wondering whether I fell in, the answer is yes. Yes, I fell in. My camera was ok though, thankfully! It is a bit slick in some places, so watch your step if you visit and just prepare to get wet!

Thanks for reading.