
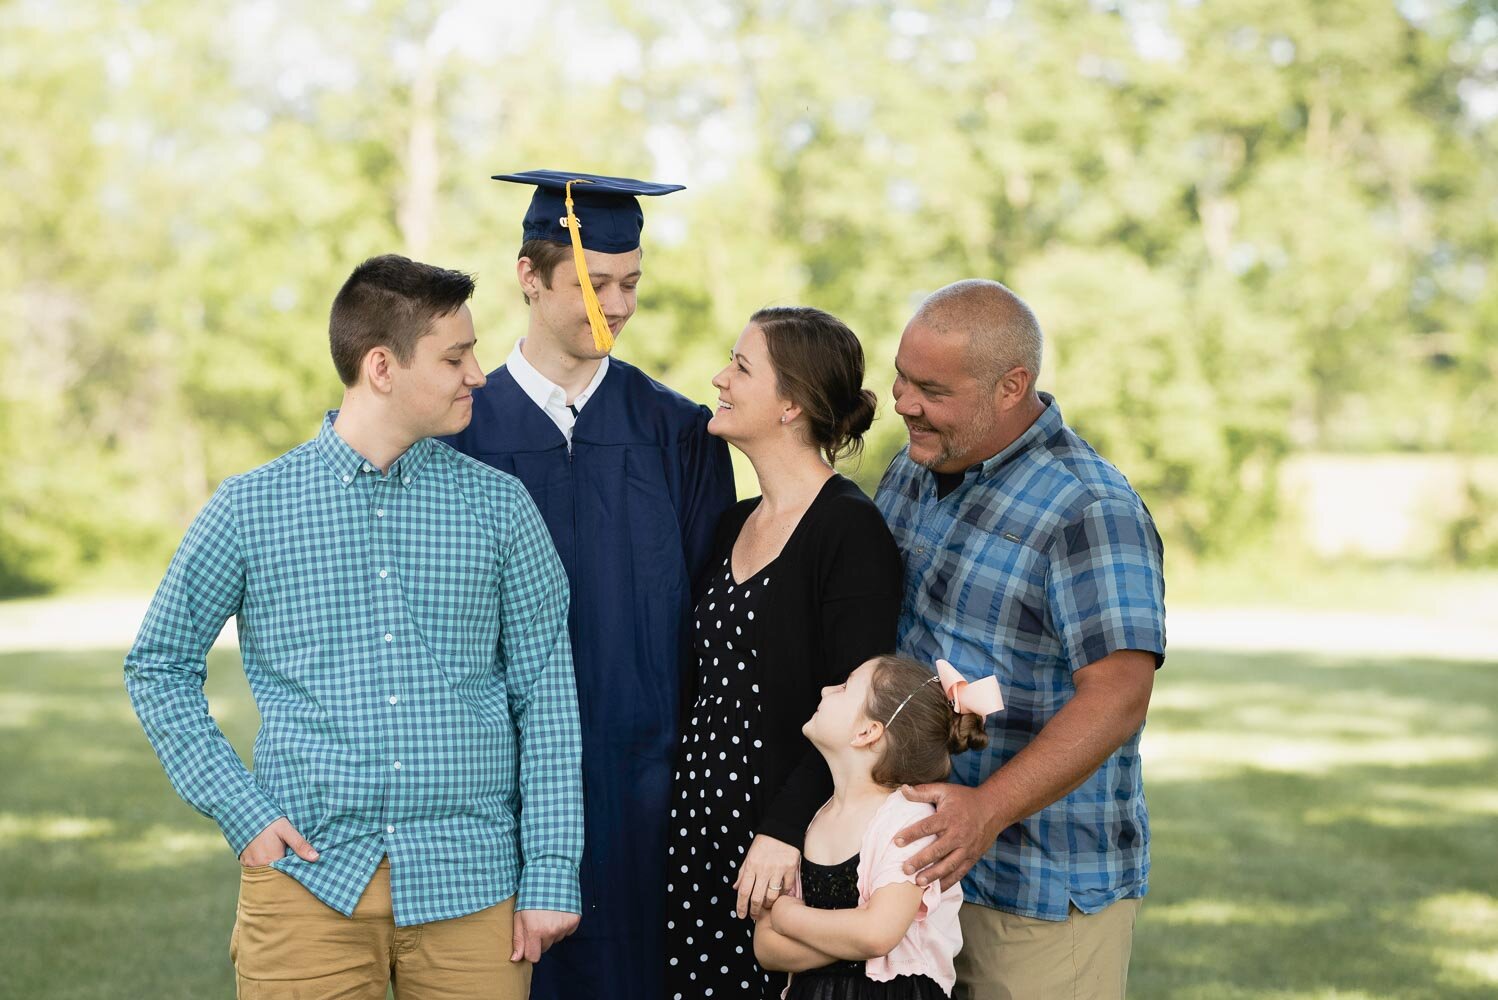
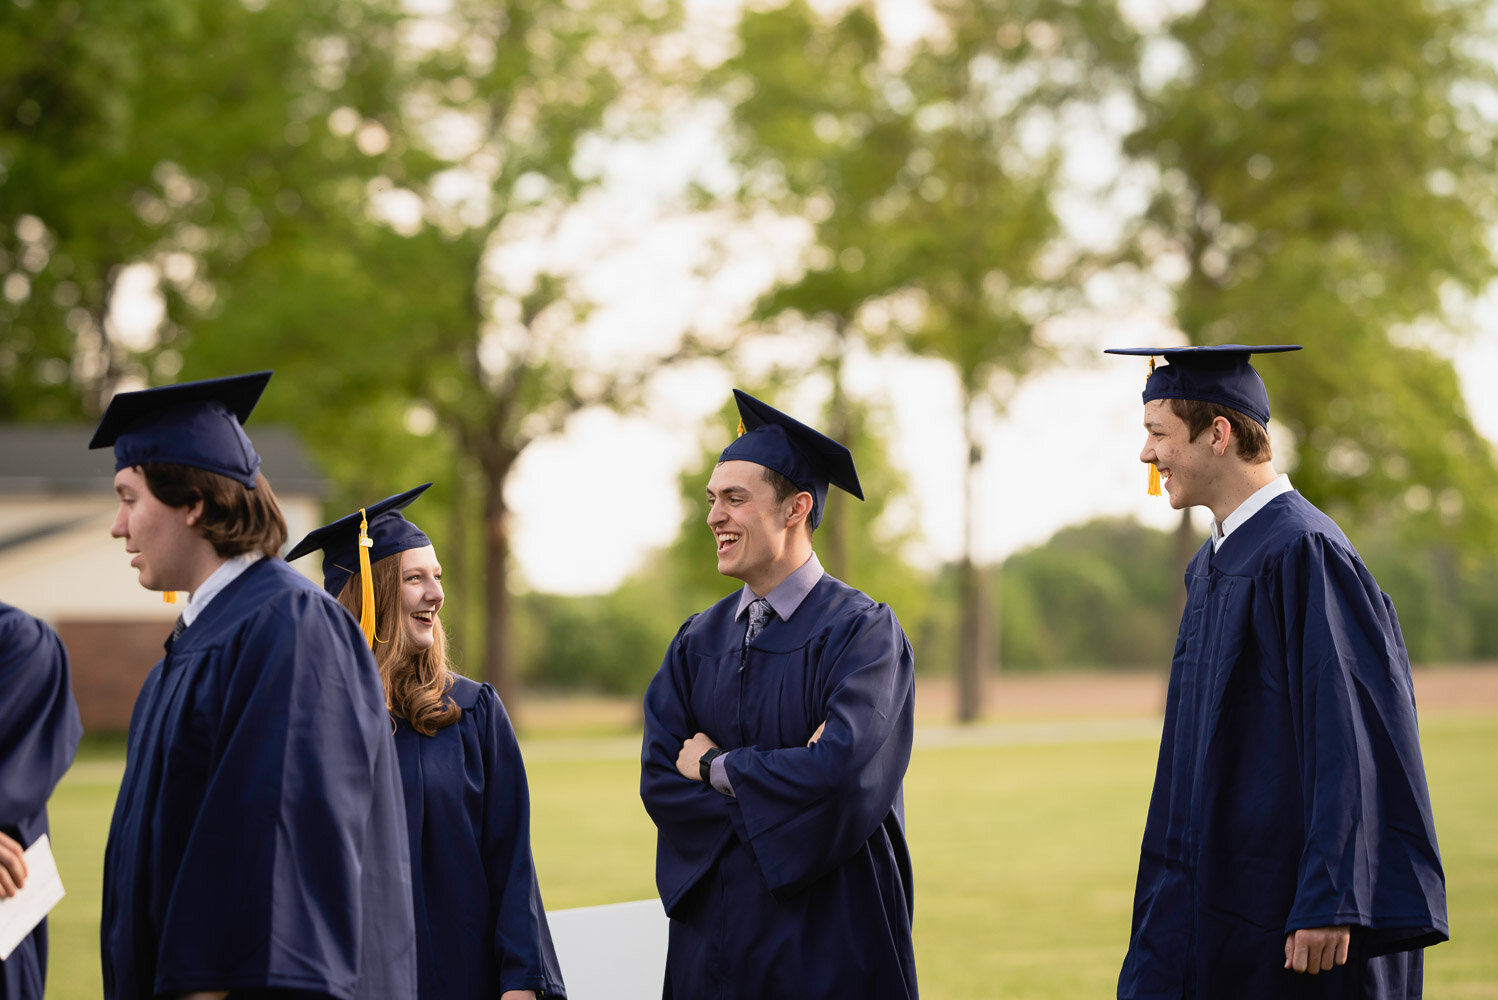
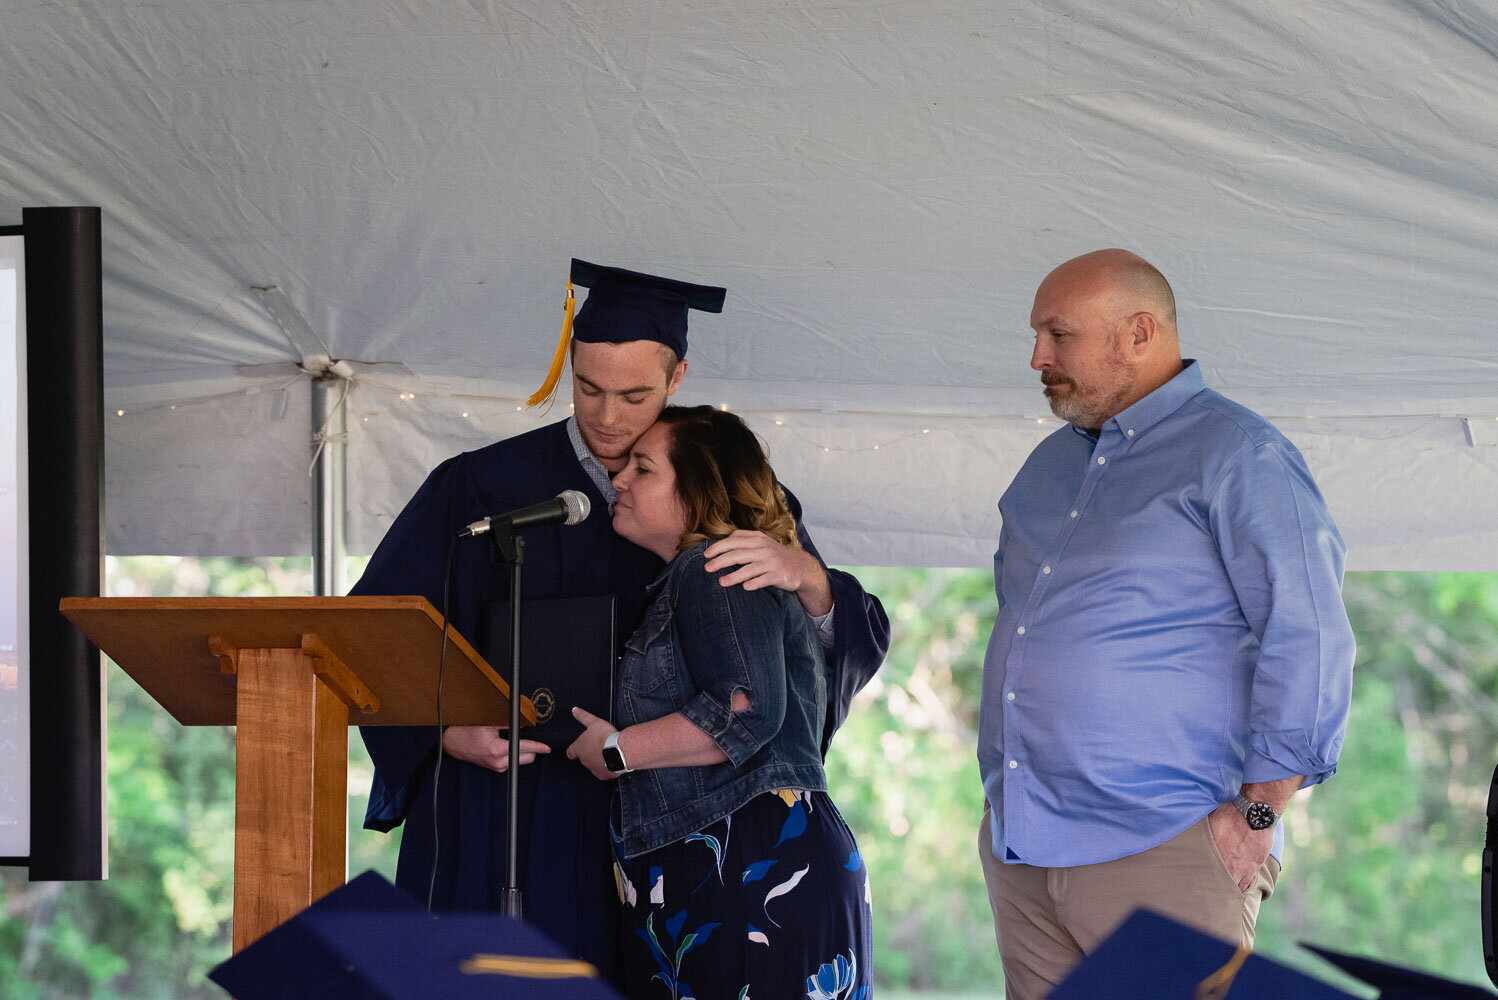
Let me tell you, these home school kids had an awesome graduation! It was so personalized and sweet for each of them. The ceremony opened in prayer, they had two slide shows to recap their time together, they all gave such sweet and intelligent speeches at the end as their parents presented them with their diplomas. And to close it all out they all jumped into the pool (with their robes and caps on) in celebration! So congratulations to these kids! May you have success in life!
Congratulations Classical Conversations Class of 2020


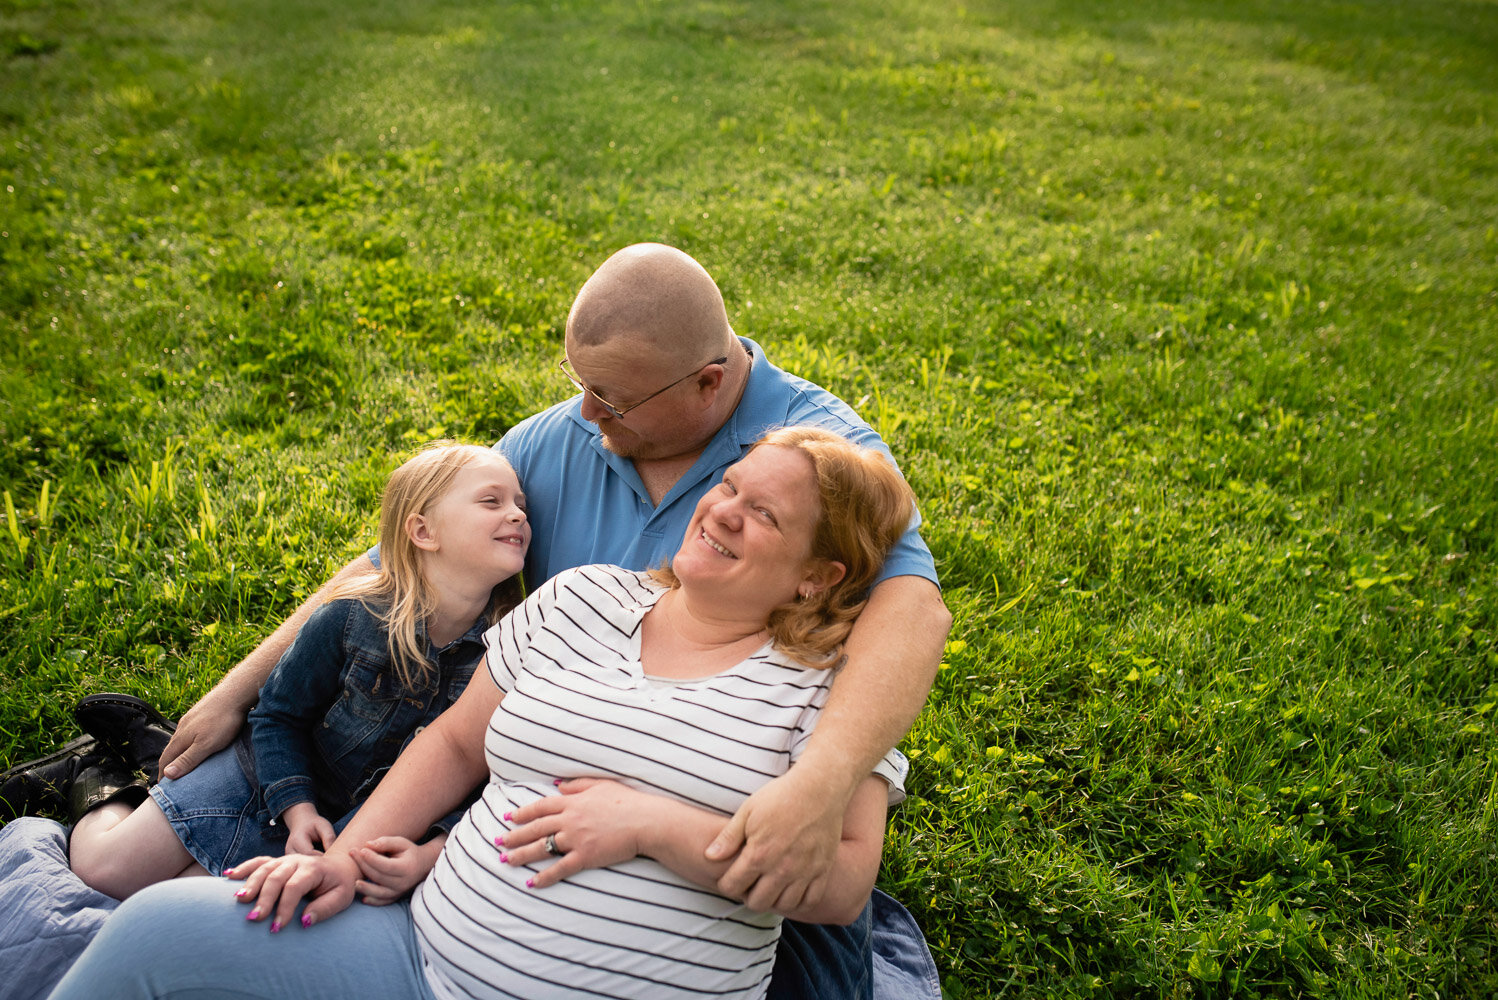
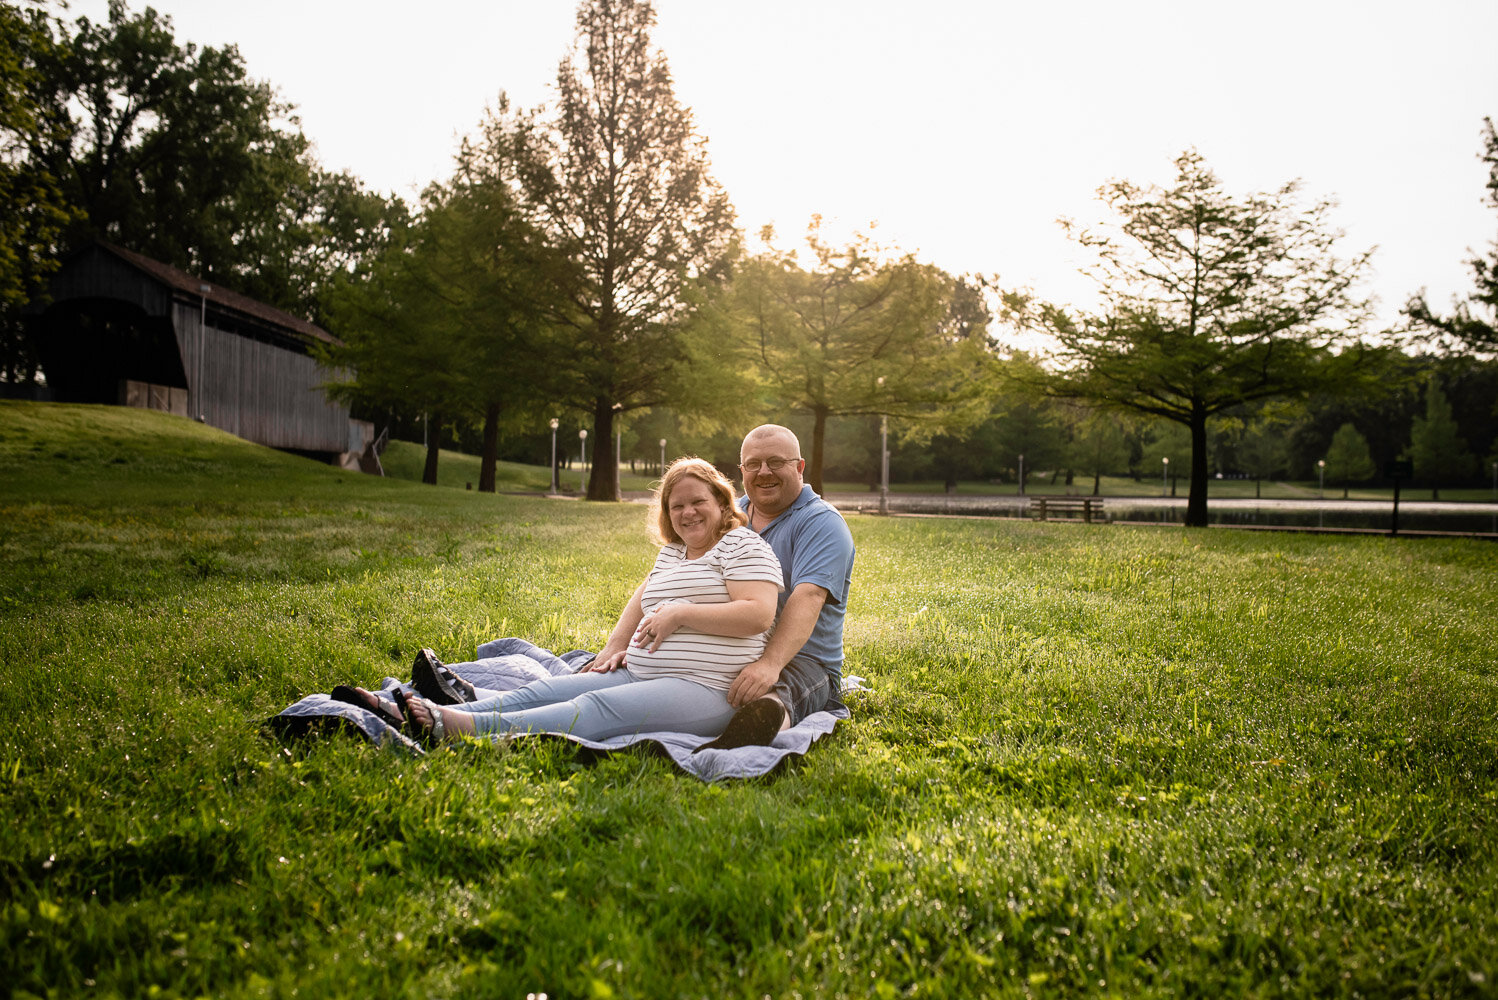
A Family/Maternity Session at Mill Race Park in Columbus, Indiana
This session was done early in the morning with this sweet family. We went to Mill Race Park, in Columbus, Indiana and the light was just perfect. I was afraid it was going to be cloudy that day, and I do love doing photos on cloudy days, but there is just something I love about backlight! This family is just so happy together! They are so full of love and joy as you can tell by their pictures! Please enjoy this session’s images.


How to Correct Color Casts
First of all, what is a color cast? A color cast is an unwanted color shift in the whole image or on skin, which can be caused by reflected light from a nearby object. Here I am going to show you how to correct a localized color cast.
I had to actually dig to find a good photo for an example. Largely, because this can be prevented by proper white balance and good lighting. Also, picking neutral clothing helps too. In this photo you can see the greenish yellow tint underneath her chin (causing an unwanted color beard). Ha!

In order to correct this color shift you will want to create a new layer. The shortcut is shift-Ctrl-N (Mac) or Shift+Ctrl+N (PC). Then set the blending mode to color. (You’ll find this at the bottom of the list under saturation and above luminosity.) Pick a nice soft brush. Then select a clean part of the shadow using the eyedropper tool. (Hold down the alt key to select). Then paint over the color cast area. This maybe all you need to do, but sometimes it might take multiple layers. The luminosity of the previous layer is preserved by using the color blend mode. Next lower the opacity of the layer until you can’t see the edges of where you painted. Some areas might have more color than others which will have to be dealt with on a separate layer. And there you have it! This simple technique will completely elevate your photography to a more professional look.

Here is a quick video on the edit if you prefer to watch it! Thanks for reading/watching!