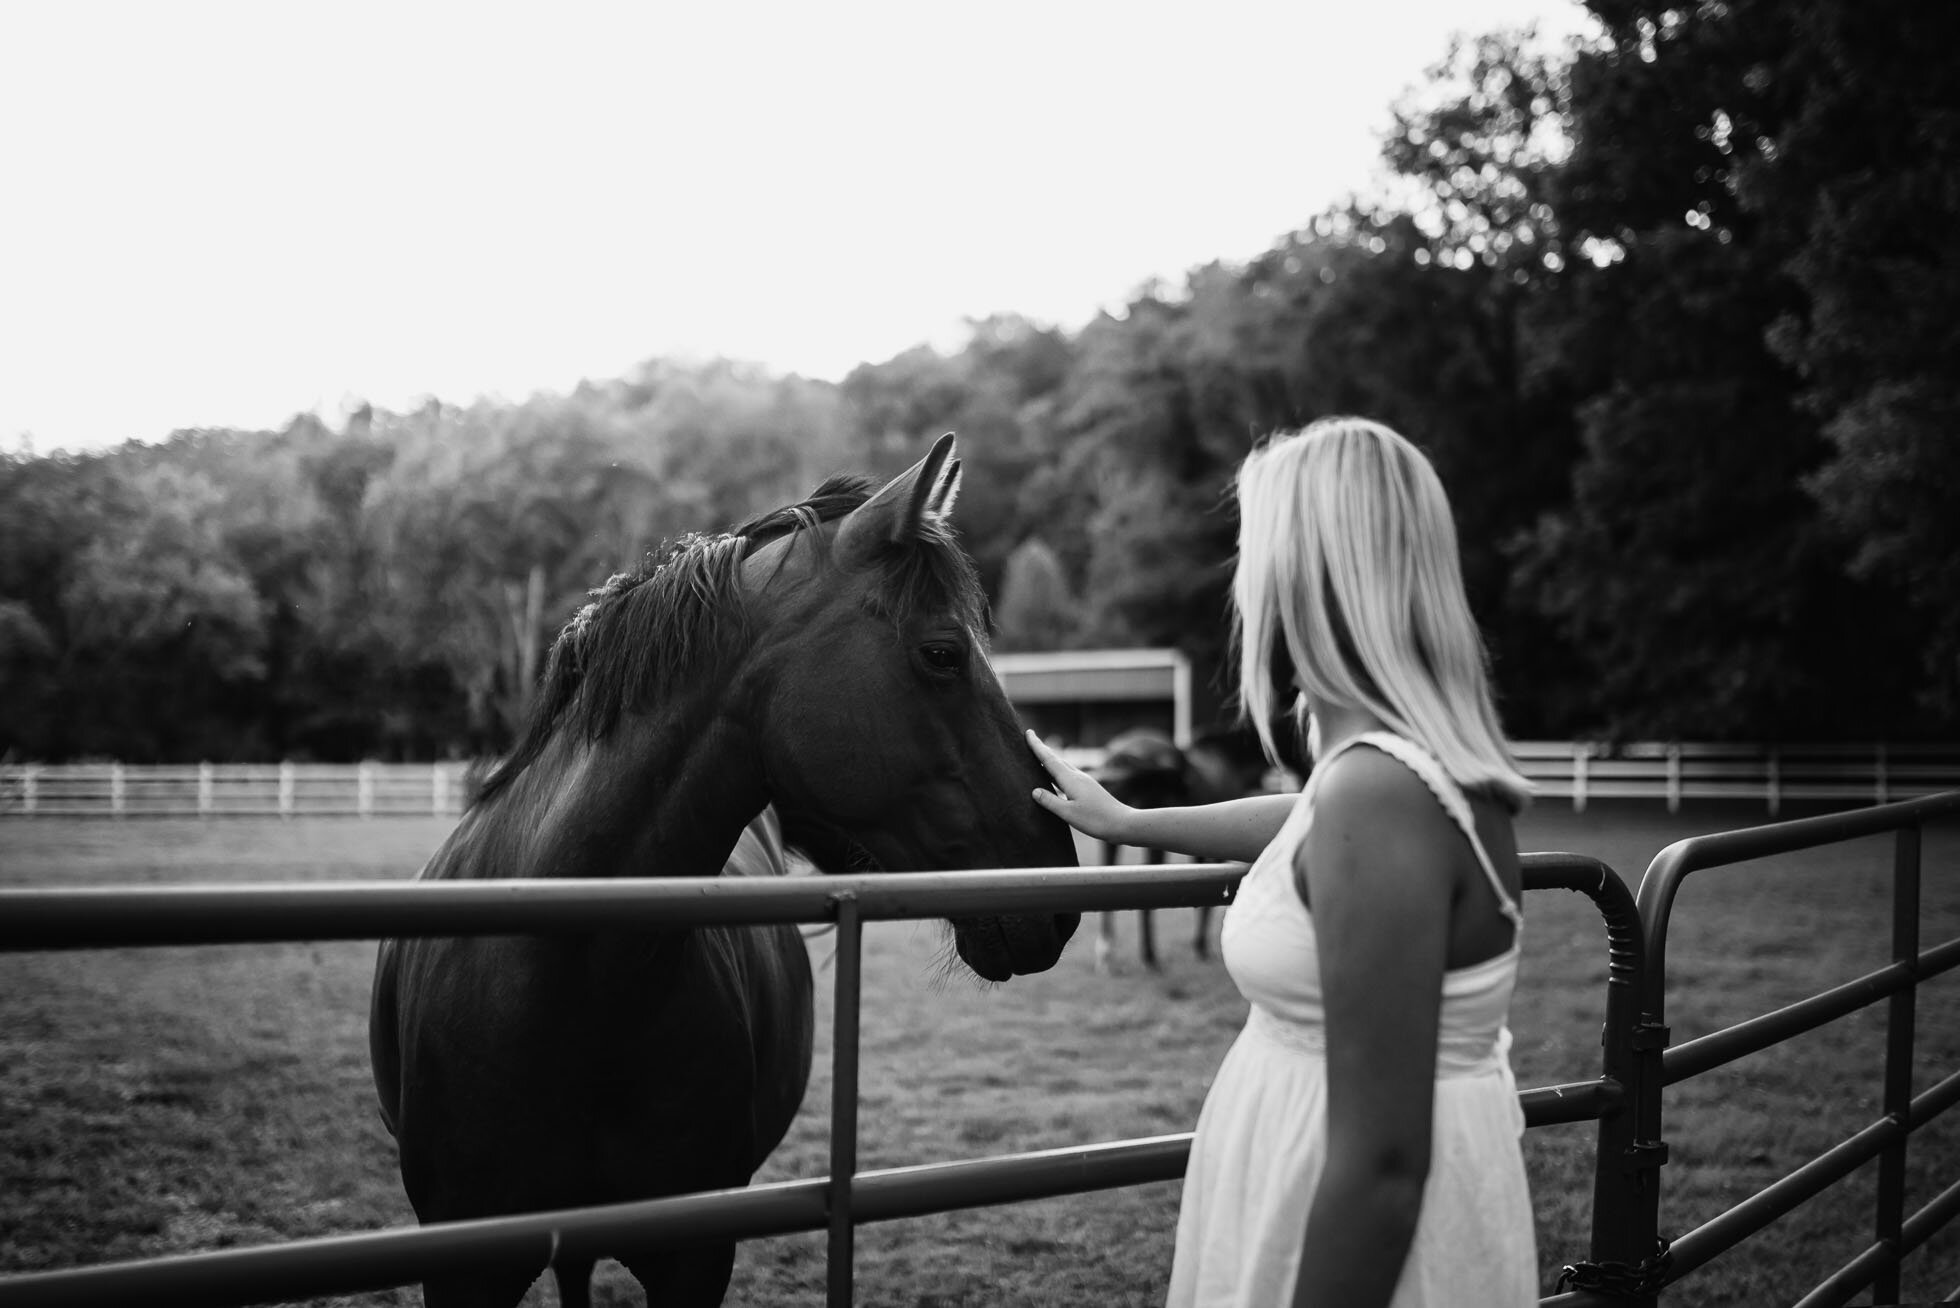
Let me introduce you to Kloe! She is the sweetest teenager you could possibly meet. She drives the cutest little jeep and looks just like Barbie- ;) ha ha! Her photos were such a joy to take! We had so much fun getting to know each other as we walked around Columbus and Story. We also went to Mill Race Park, since it is right across the street from downtown, Columbus. She was such a good sport, and picked out the cutest outfits for her senior session. Kloe, I hope you have an awesome senior year!! Thank you so much for letting me be part of it!
5 Tips for Taking Photos of Your Child at a Playground
Recently I took the kids to Muscatatuck Park in North Vernon, Indiana. I got to thinking about all the moms who have kids and struggle to take good pictures of them having fun. I wanted to pop on here and give you a few tips for doing that, and the park is a perfect place! What could be better than kids having a great time and completely unaware of the camera! It is a recipe for genuine smiles and fun interactions.
Tip 1: Take note of what it feels like for your child.
Try to really portray what the park is like for your child. What are they experiencing? Are they climbing the tallest slide ever? Is your child conquering their fears? Is your child recovering after being plowed down by a swing? Is your child hiding and spying on other kids? This is the perfect opportunity to change your point of view to really reflect how your child is interacting with their environment. If your kid is afraid of heights but is working hard to climb something without fear, then get low and shoot up to really reflect how high that playground equipment really is. Shoot down to emphasize their innocence when they are hurt. Use layering when they are hiding to really emphasize how they are spying on others and you are spying on them.
Tip 2: Children repeat their behavior.
If you miss something, don’t worry they will come back to it, and when they do you will be ready. Your kid will likely do that jump several more times before they get tired of it. Or perhaps they will bring in a friend and then repeat the fun. Be patient, and work for that shot that you want.
Tip 3: Remember the details.
I always forget this. I am a big picture person, so I have to work at what doesn’t come naturally to me. Details are one of those things. The details really help to tell the story of what is happening! Is your kid gripping those swings so tightly their little knuckles are white? Are your child’s feet in the air when they come down the slide? Are they bouncing from activity to activity? Try to get in close and capture those little things.
Tip 4: Look for shapes
There are tons of shapes at a playground. Circles, squares, triangles! Use these shapes for framing or incorporating some other kind of composition. Don’t forget about your composition! It is important. To read more about composition go here.
Tip 5: Friends and Interactions
I don’t know about your kids, but mine pick up like 10 new friends every time they go to the park. Make sure to get those cute little interactions with siblings and new found friends. Did they share their snacks? Did they swing simultaneously? Of course it goes without saying that it’s always a good idea to check with other moms before you start photographing another kid.
Happy shooting! Thanks for reading!
5 Ways to Isolate your Subject
We have all heard about how important it is compositionally to direct your viewers eye to your subject. Well, how exactly do you do that in photography? Here are some ideas on how to isolate your subject from the background therefore guiding your viewers’ attention exactly where it needs to be.
1.) Rim light
Rim light is my absolute favorite type of light. This is where you have a thin line of light around your subject. To achieve rim light, place your subject in directional light. It helps to have the background dark. This makes the rim light even more visible. Rim light will separate your subject from the background giving them an angelic look. Right now, here in Columbus, Indiana, a good time to get rim light is between 6:30-7:30PM.
2.) Lightest Object in the Frame.
Your eyes automatically gravitate to the lightest object in your photograph. So, if you surround your subject with a dark background it will not only bring interest to your subject but separate them from the background.
3.) Framing with Negative Space
If you love a minimalist photo this is the way to go! By using lots of negative space, it will bring your eye directly to your subject. You can do this by getting low and using the sky. Or you can use a large tree or building to create space around your subject. So, it is perfect for urban or rural settings. You can really use this type of composition anywhere.
4.) Shallow Depth of Field
This is my go-to idea! I love to shoot using a wide-open aperture. This will create a dreamy and soft background completely isolating your subject. You can also achieve a shallower depth of field by using a longer lens and shortening the distance between you and your subject. I love using my Sigma 135mm Art lens for this technique. But any lens will do as long as you can open the aperture to 2.2 or below.
5.) Panning
Panning is an art in itself. It takes some work to get used to. This is where your background is very blurry and shows movement, but at least a small slice of your subject is sharp. This is achieved by using a slower shutter speed and then moving the camera along with your moving subject. I suggest lots of trial and error when adjusting your settings. I prefer 1/20- 1/60 sec shutter speed. This, of course, depends on how fast your subject is moving. So, it may take some patience and effort to find that perfect shutter speed. I also find it a little easier to use a longer lens if you can. Though I end up using my 35mm often!
Try to apply these ideas to your photography! I’d love to see it! Thanks for reading.