
Bokeh is “the visual quality of the out-of-focus areas of a photographic image, especially as rendered by a particular lens.” Christmas lights create the best bokeh! And you can make an overlay yourself and then add it to an image in post-production.
In order to create your overlays you will need:
· A camera
· A string of Christmas lights
· Card stock or Bristol board (for shaped bokeh)
· A dark floor space
· Photoshop
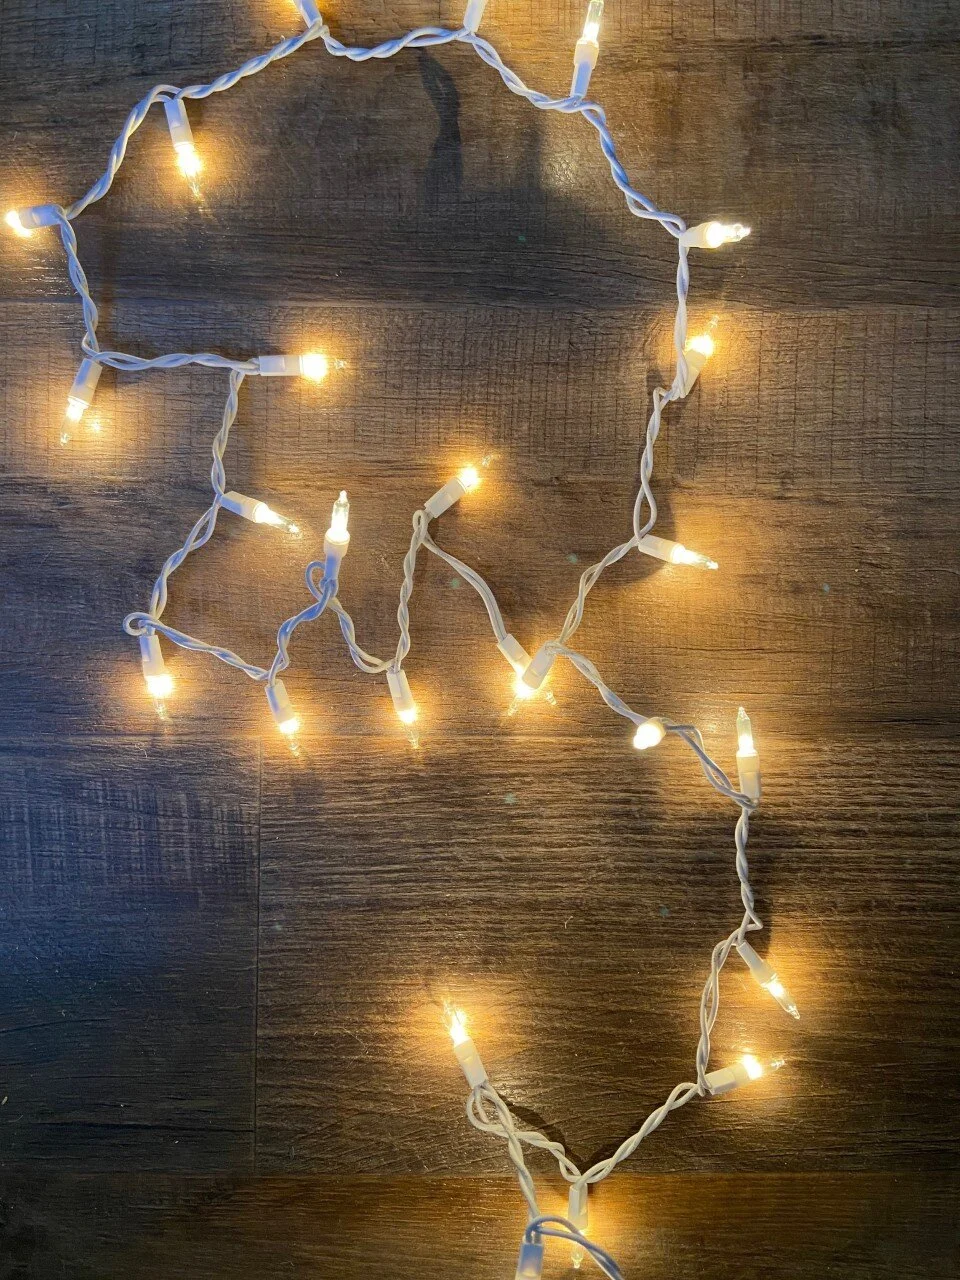
First, you need to find a dark space, like a corner or hallway of your home. Then place the Christmas lights on the floor. Make sure they are plugged in and lit, and then get your camera. Underexpose as much as you can so that only the spots of light will appear in your image. You may need to meter a couple of stops down than what you think in order to black out all of the background. Next you will need to intentionally set your lens out of focus by switching it to manual focus. Then take your photo. Move the lights around in different ways. Shoot them up close and far away. This will give you lots of different options.
In order to get the heart shaped bokeh like seen here:

You will need to cut out a heart or whatever shape you want on a piece of card stock or Bristol board. Whatever thick paper you can find will work. Trace around your lens cap for the right size and then cut out a circle the size of your lens. Then cut out the shape you want. Next, you will need to attach it to your lens and shoot through it, just as you did before. This will create the heart shape bokeh, and you can add it to an image later in photoshop!

Now it’s time to edit! Bring the photo you want to edit into photoshop. This works well with Christmas images that have Christmas lights. Or maybe you want to add that Christmas bokeh to a wintery scene! The possibilities are endless. Next drag and drop the Christmas Bokeh image (that you just created) over the top of the image you want to enhance. This will be on a new layer. Set this new layer to SCREEN. This is very important. If you can still see bits of the floor in your Christmas bokeh layer you can increase the contrast to make sure the blacks are clipped even more. This will help the background to completely disappear under the SCREEN setting leaving only the bokeh lights. Next add a layer mask to the areas you don’t want the bokeh to be. (Mainly over faces and distracting areas). You can hit the shortcut Cntrl + U to change the HUE/SATURATION if you don’t like the color of the lights. Play around and add several different layers of the bokeh. Sometimes adding different sizes can help add to the depth of the image. Changing the opacity can also help give the impression some of the lights are farther away than other.
Here are some before and after images so that you can see the final effect!


If you don’t feel like doing any of that you can download my own Christmas bokeh overlays here! Enjoy!!
Thanks for reading!